

Integration with Zapier
We’ve partnered with Zapier to help automate your property management experience—making it easier, faster, and more efficient.
Please note!
The integration is available for Business plan users only.
How do I get started?
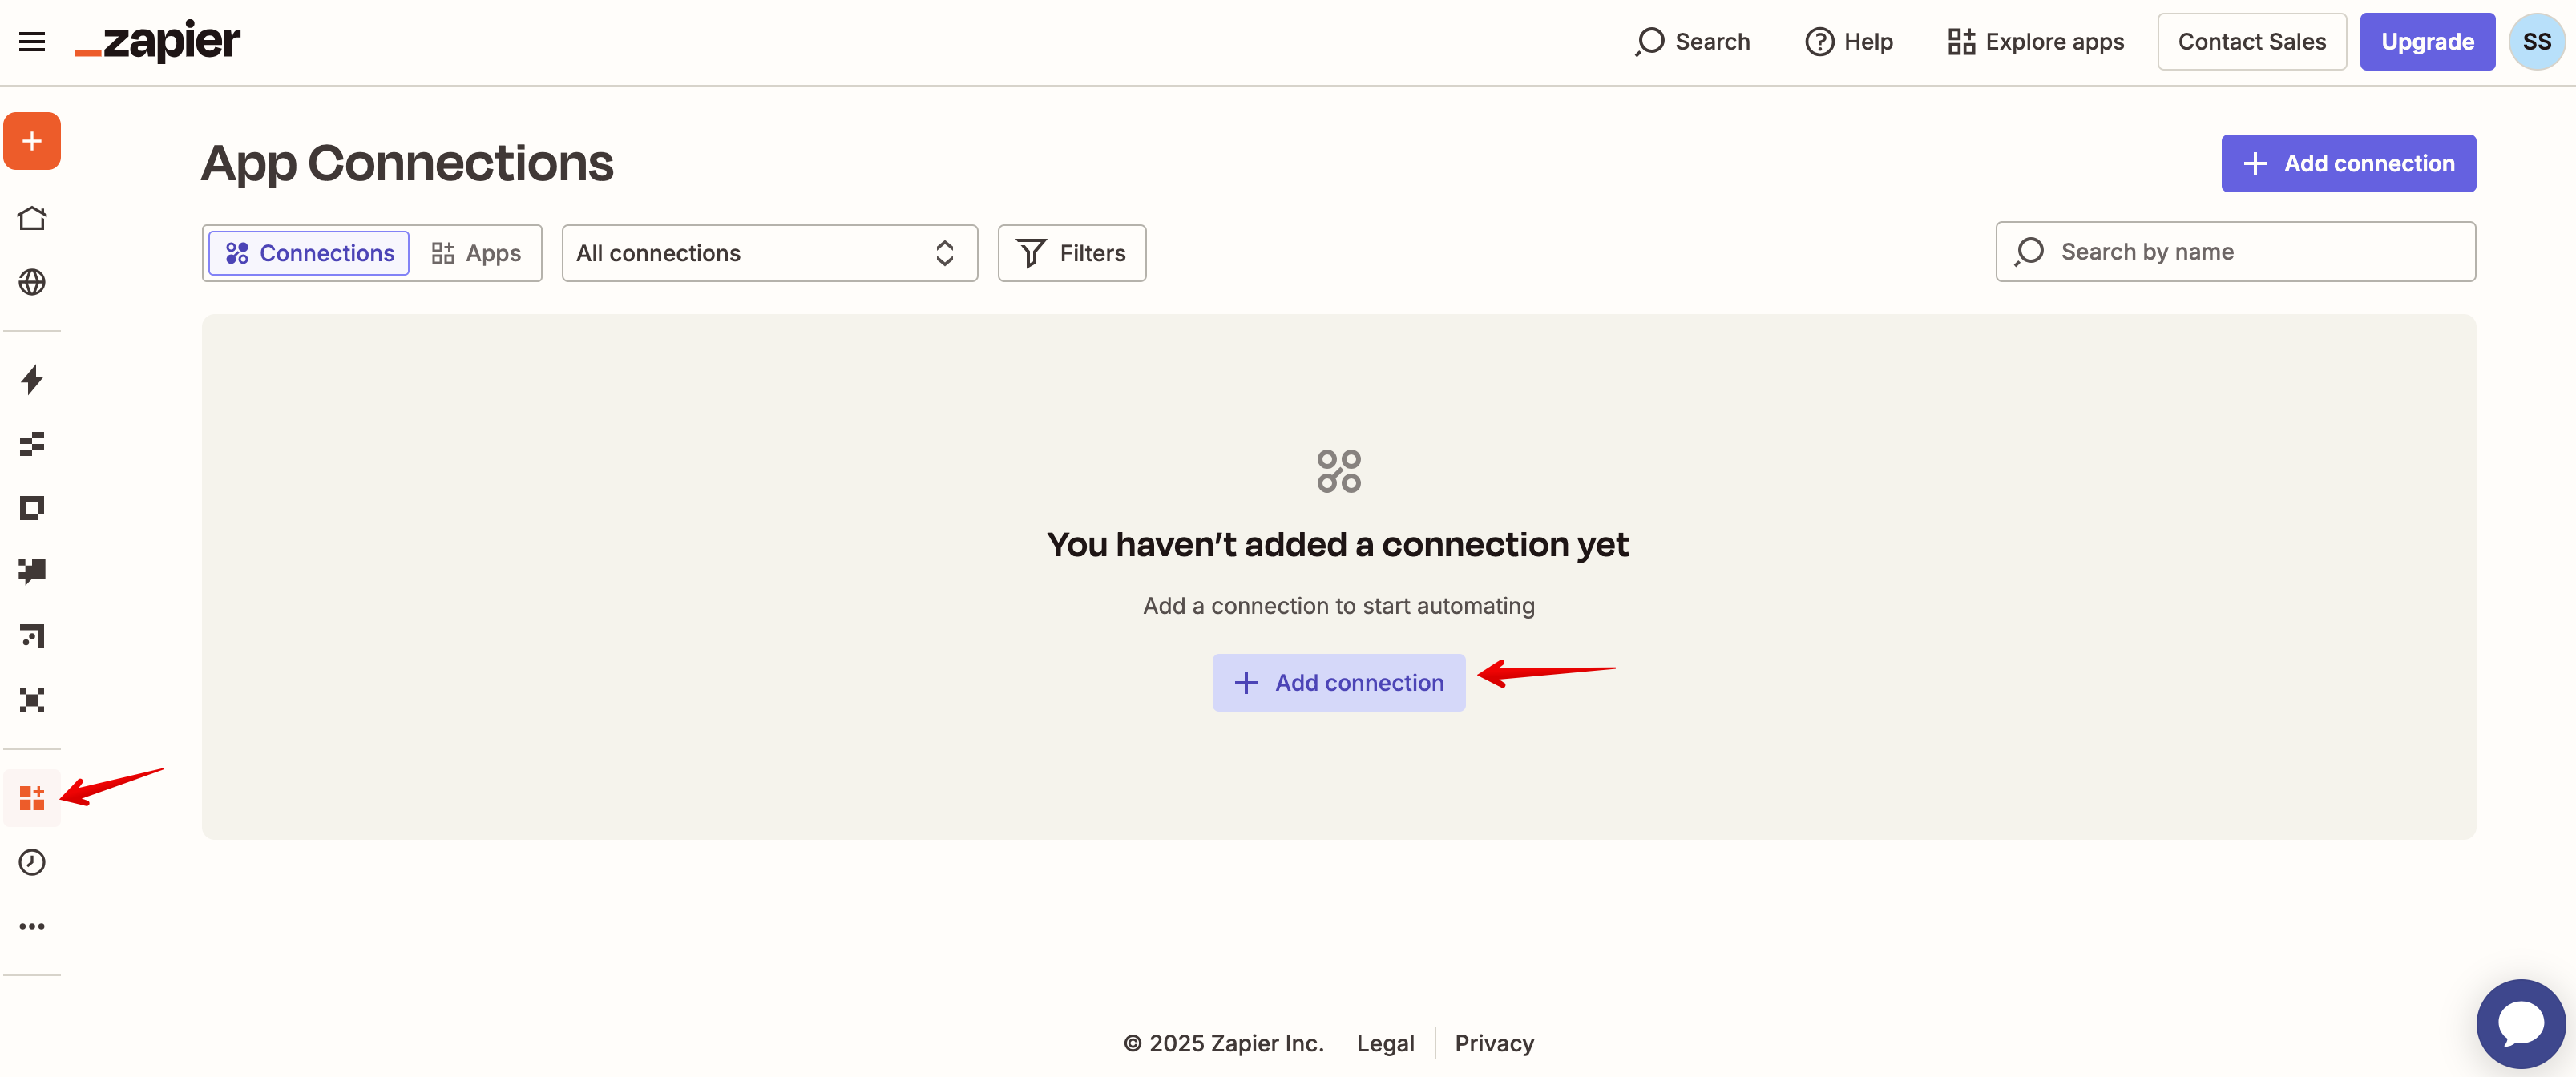
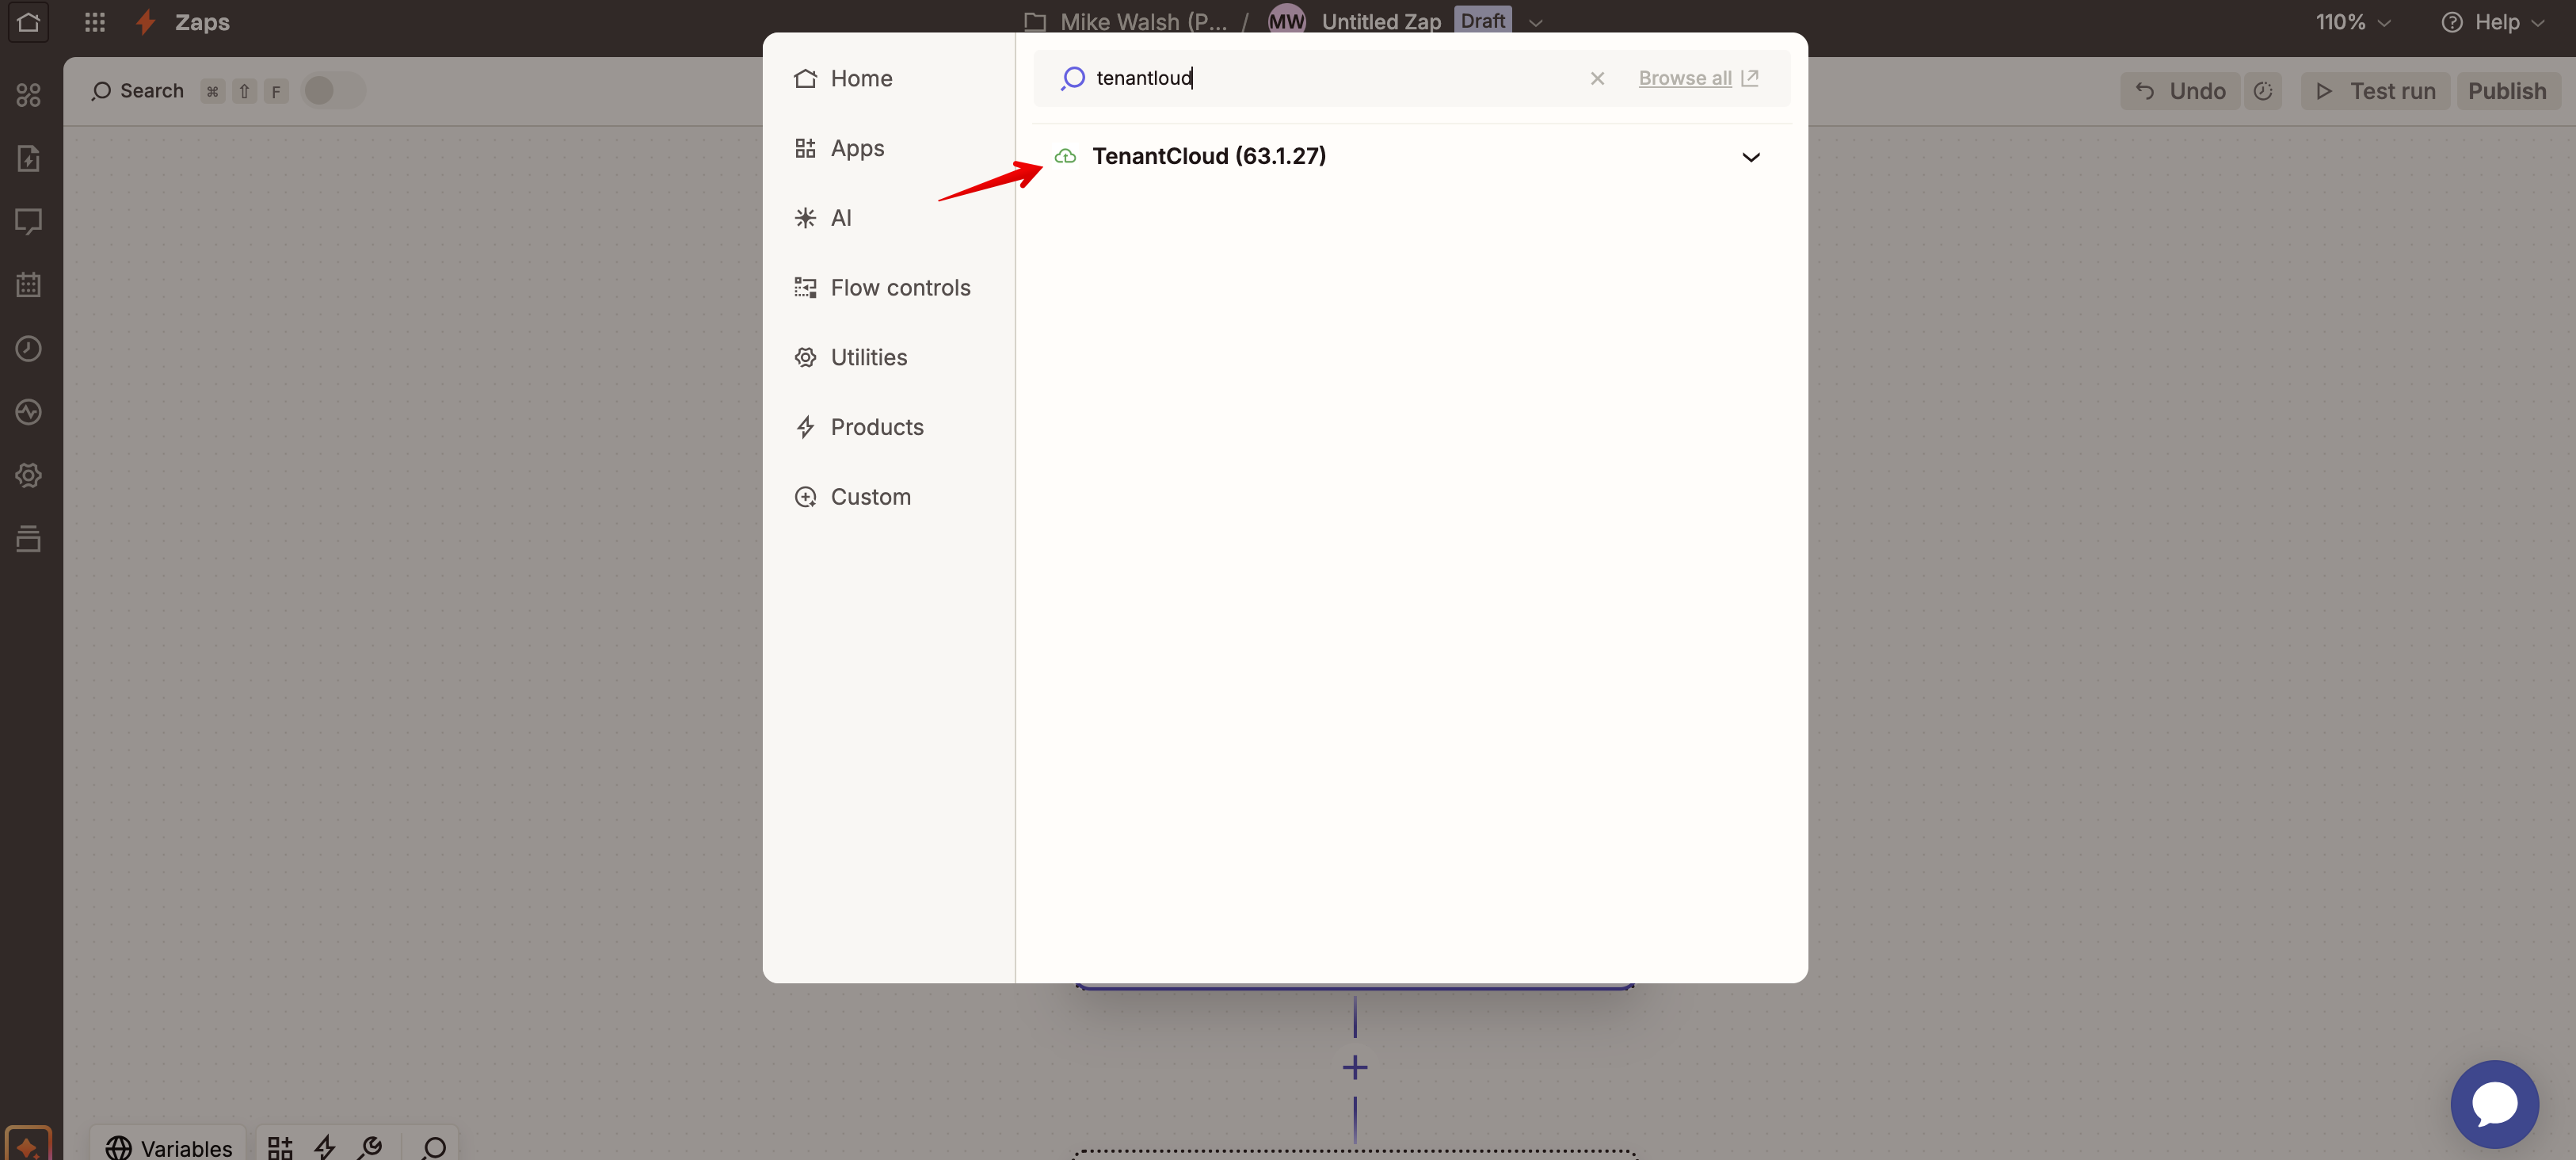
- Sign in to your Zapier account (or create one at zapier.com).
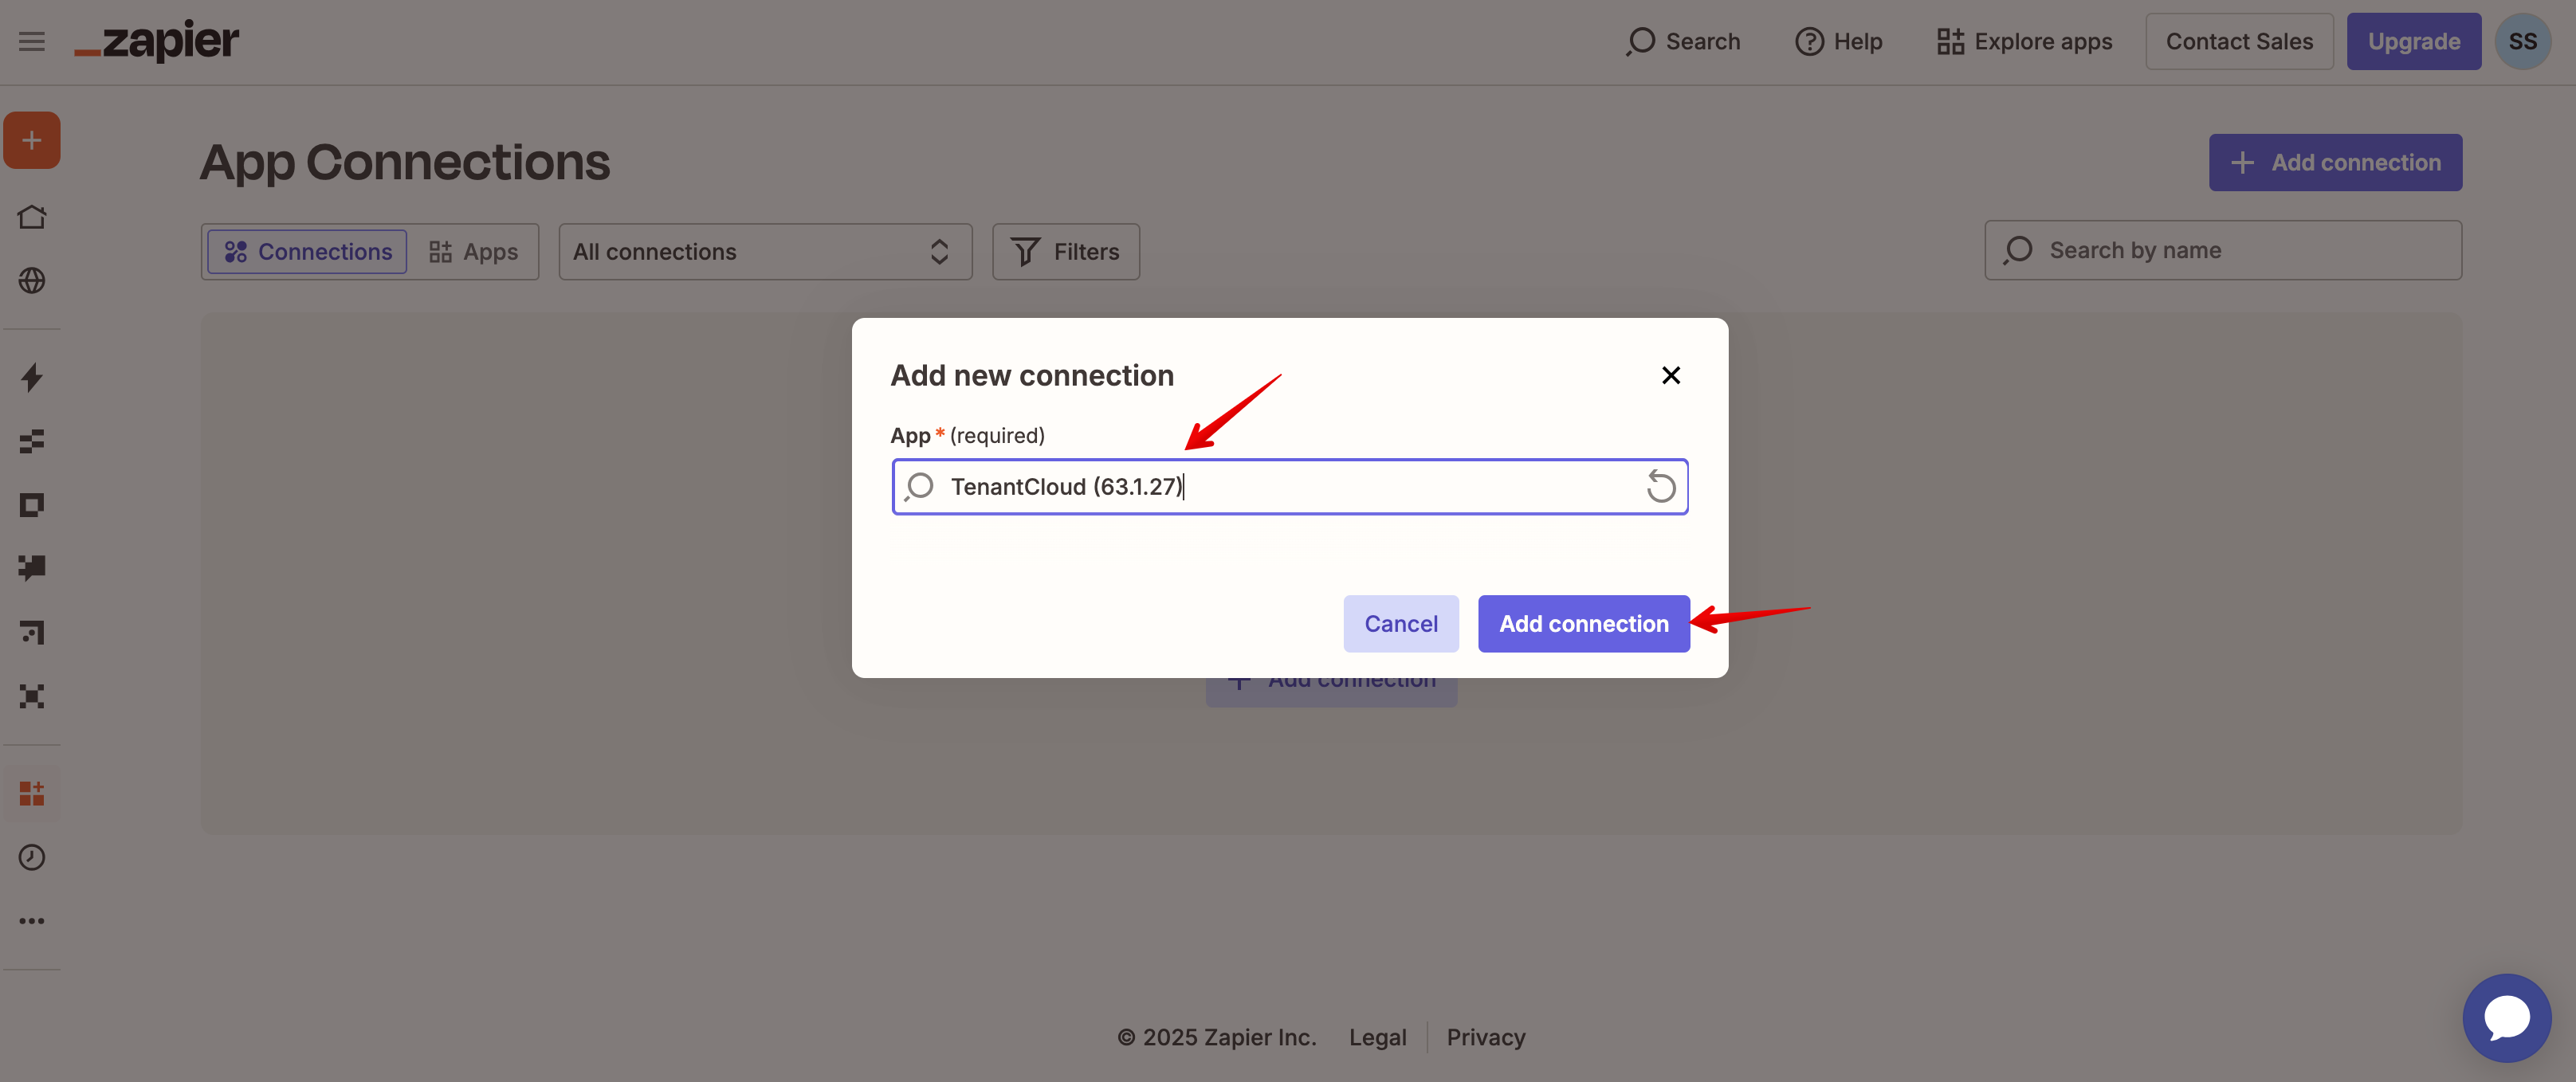
- Search for “TenantCloud” in the Zapier App Directory and select the latest version. Make sure you're already logged in to your TenantCloud account for faster connection.
3.Once connected, your TC account will appear under the "Name" section in Zapier.

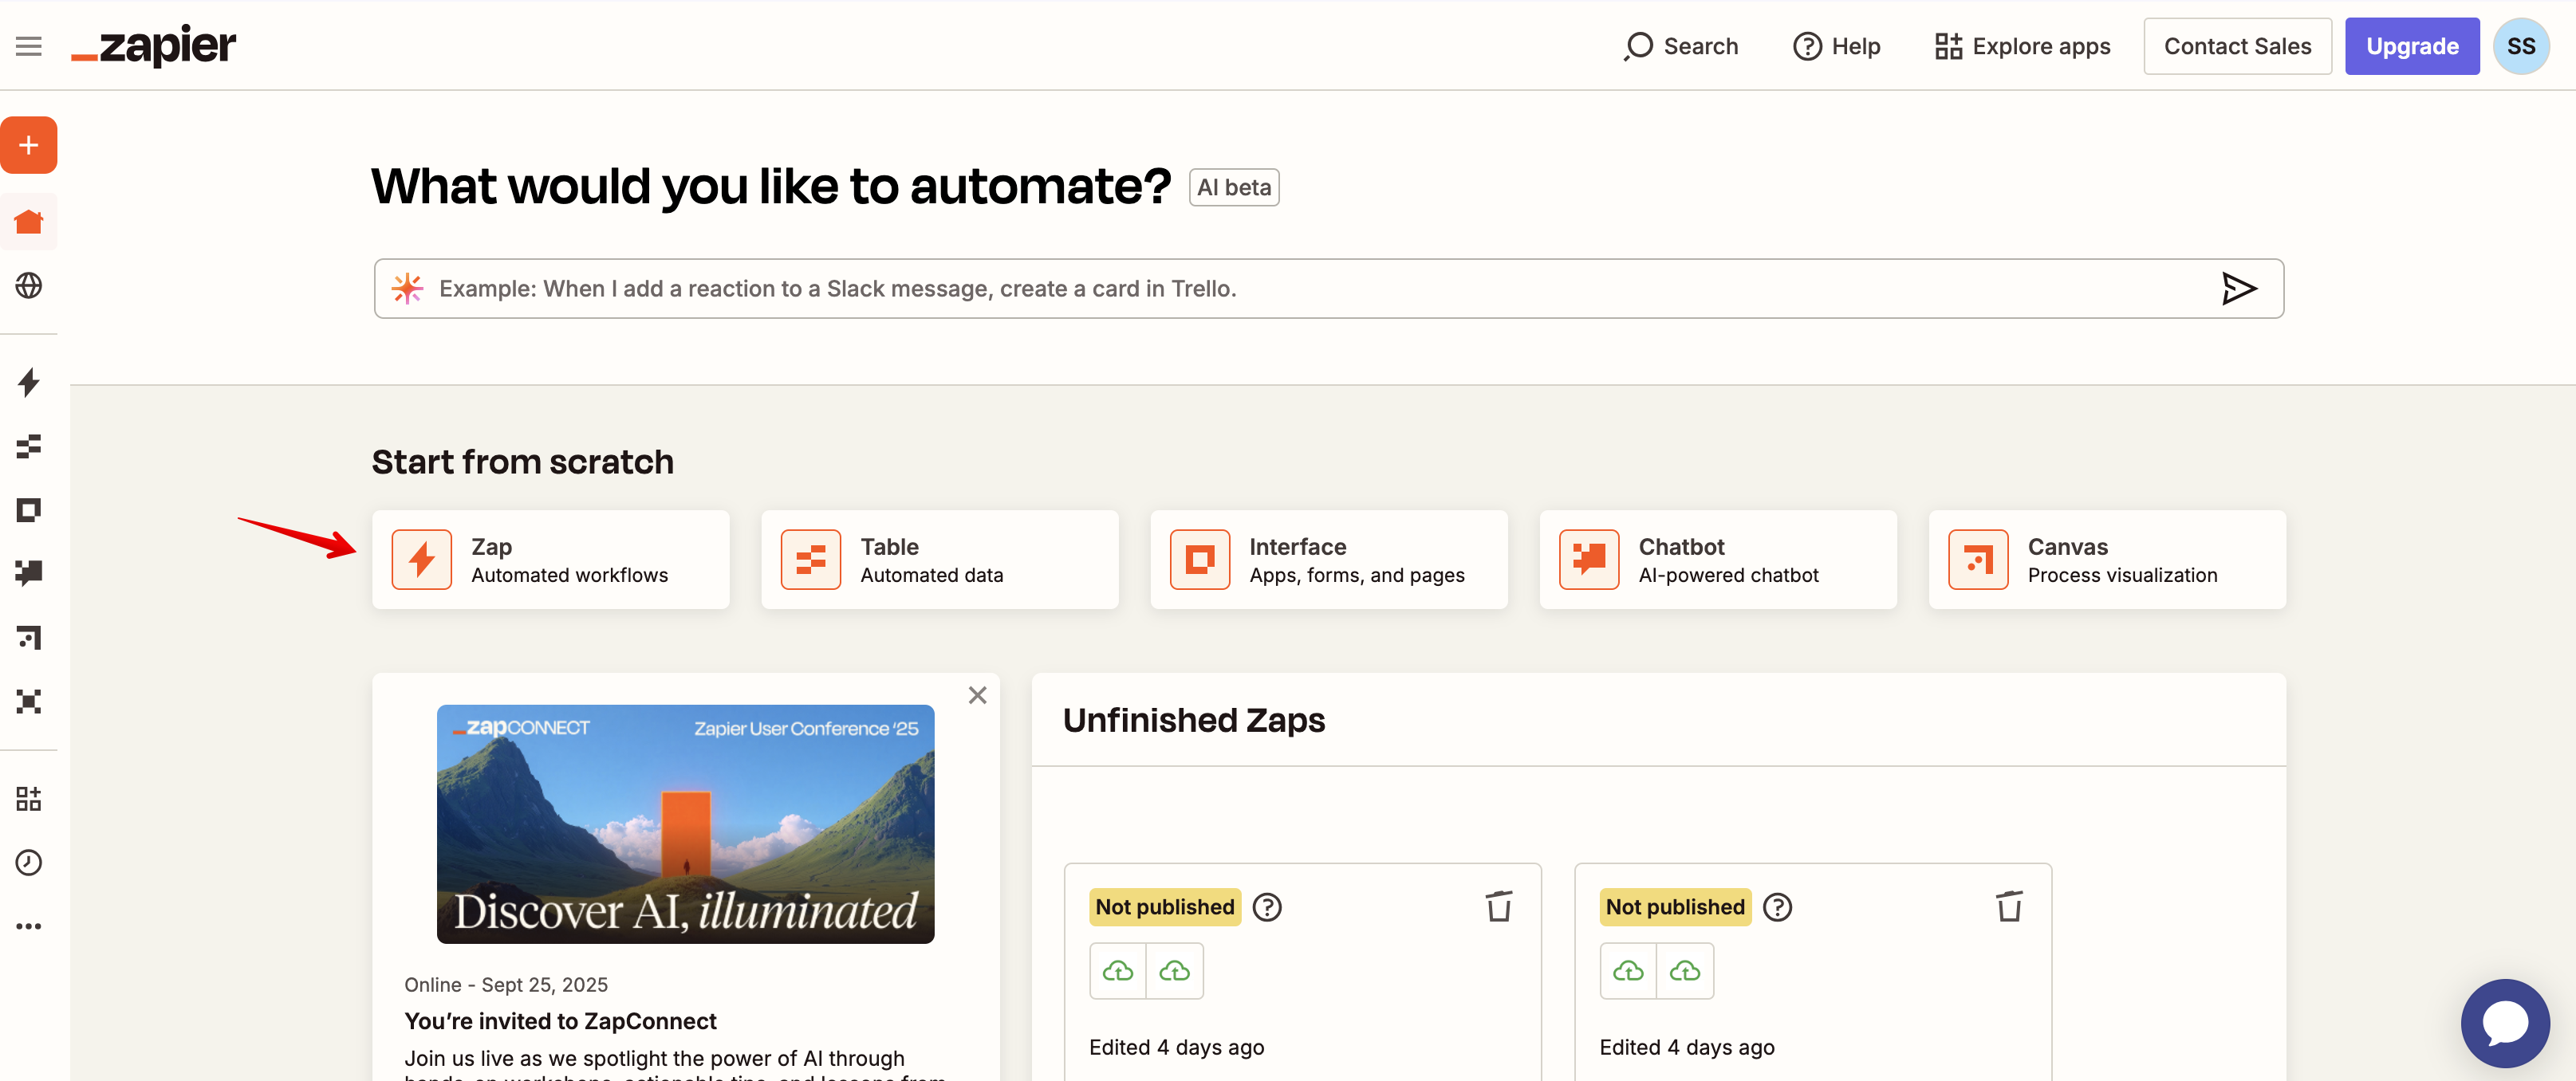
4.Now that you’re connected, you can build your first automation! Click "Create Zap"
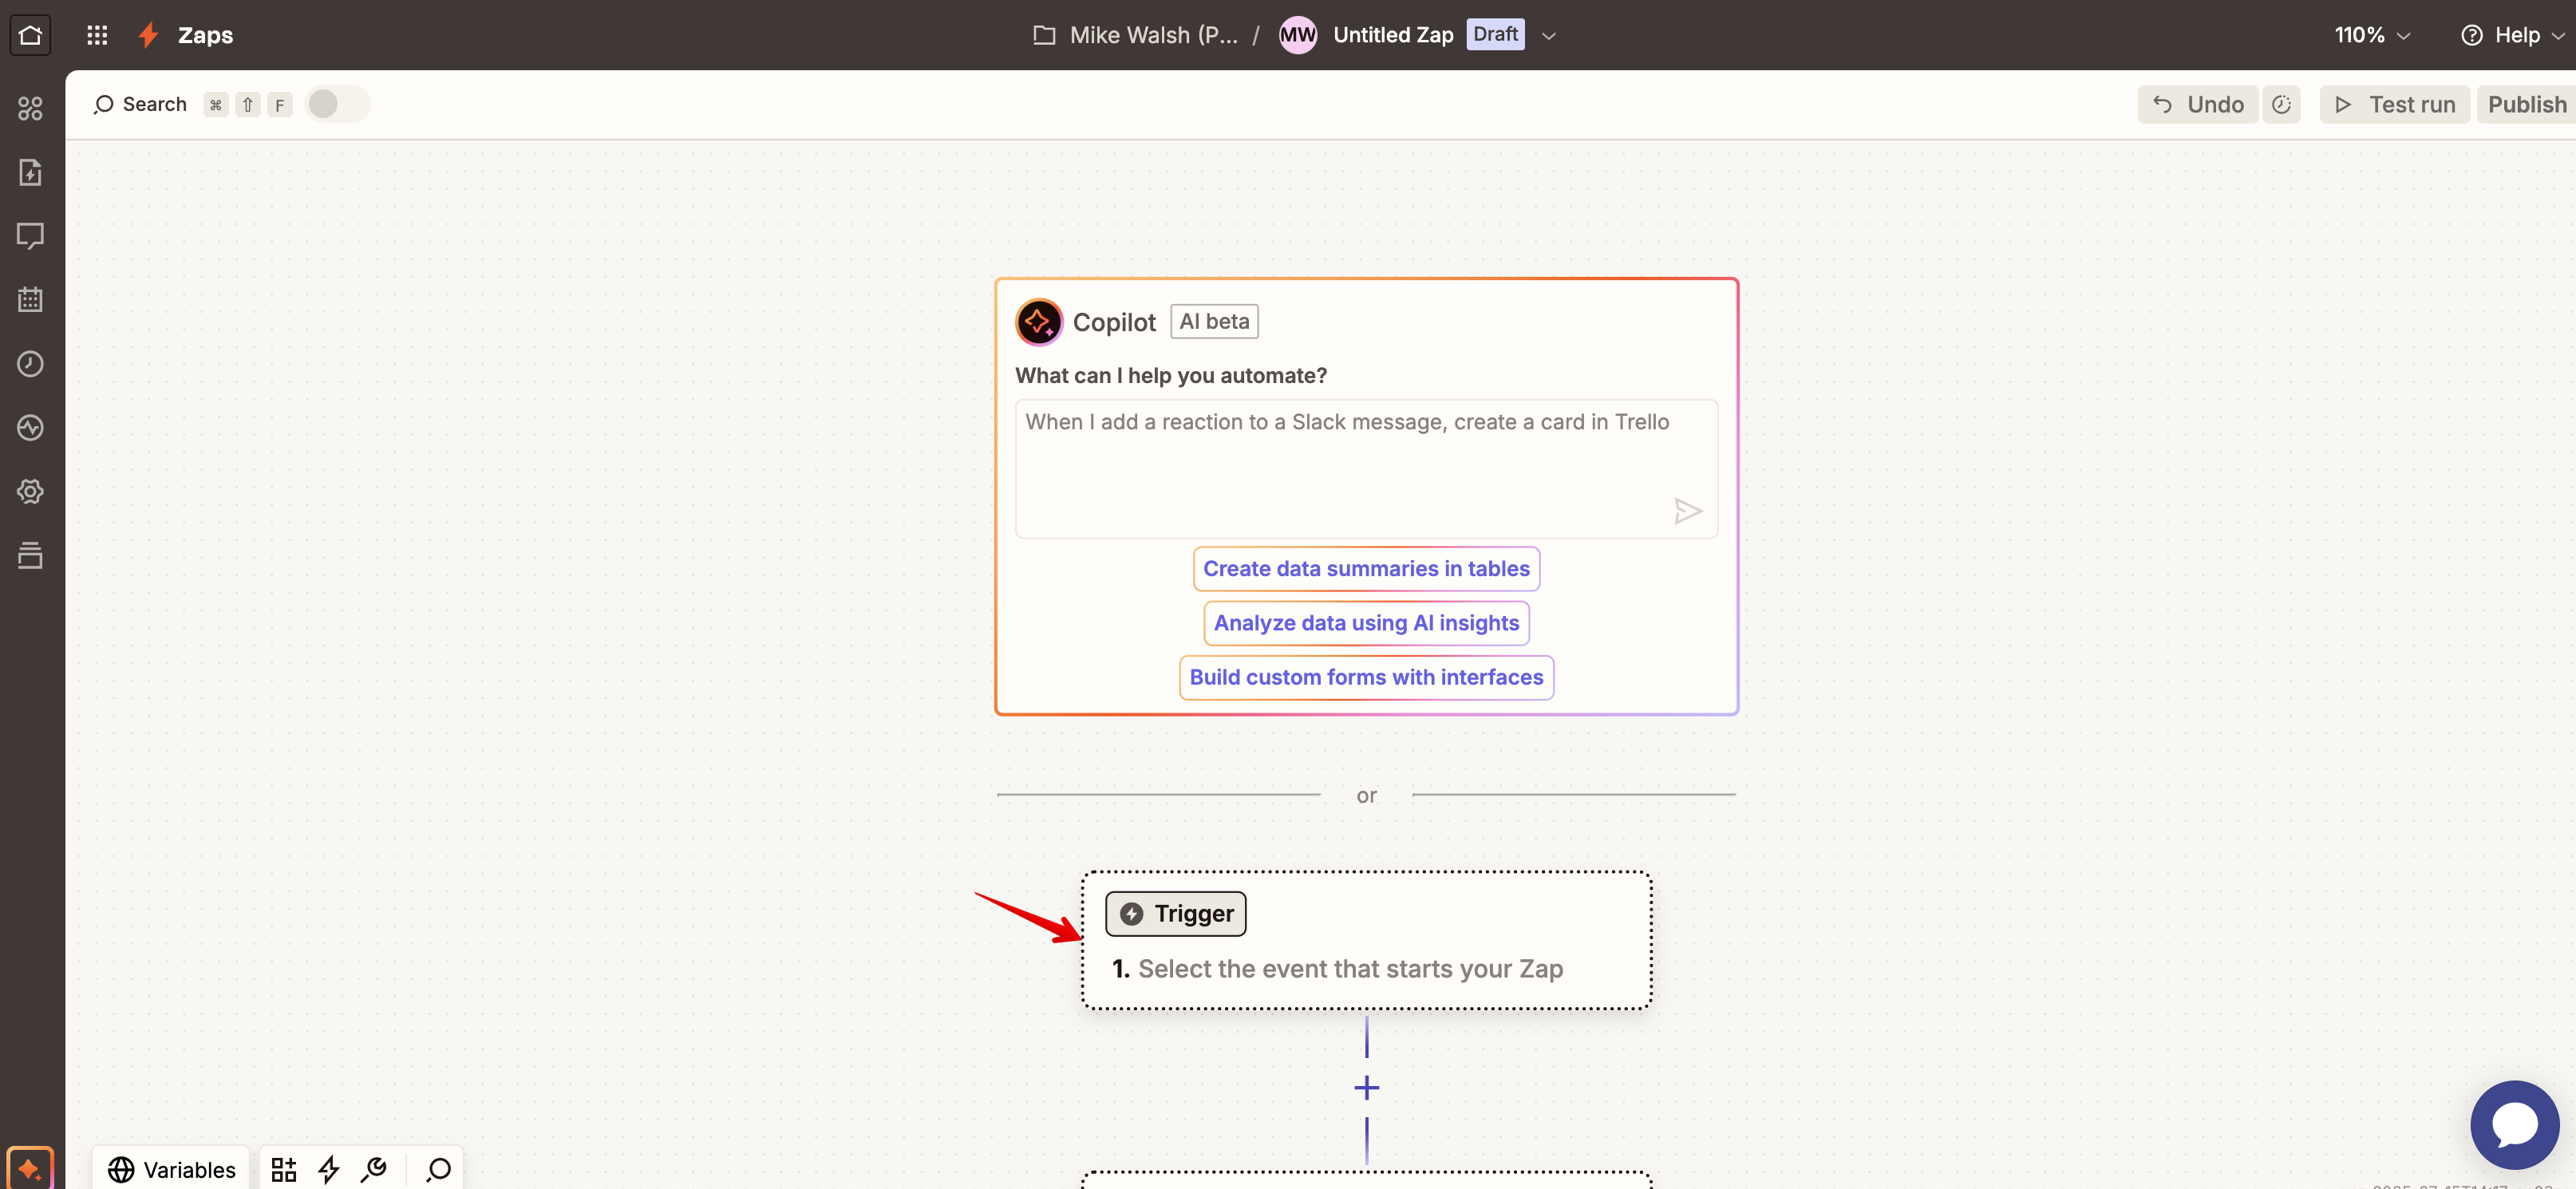
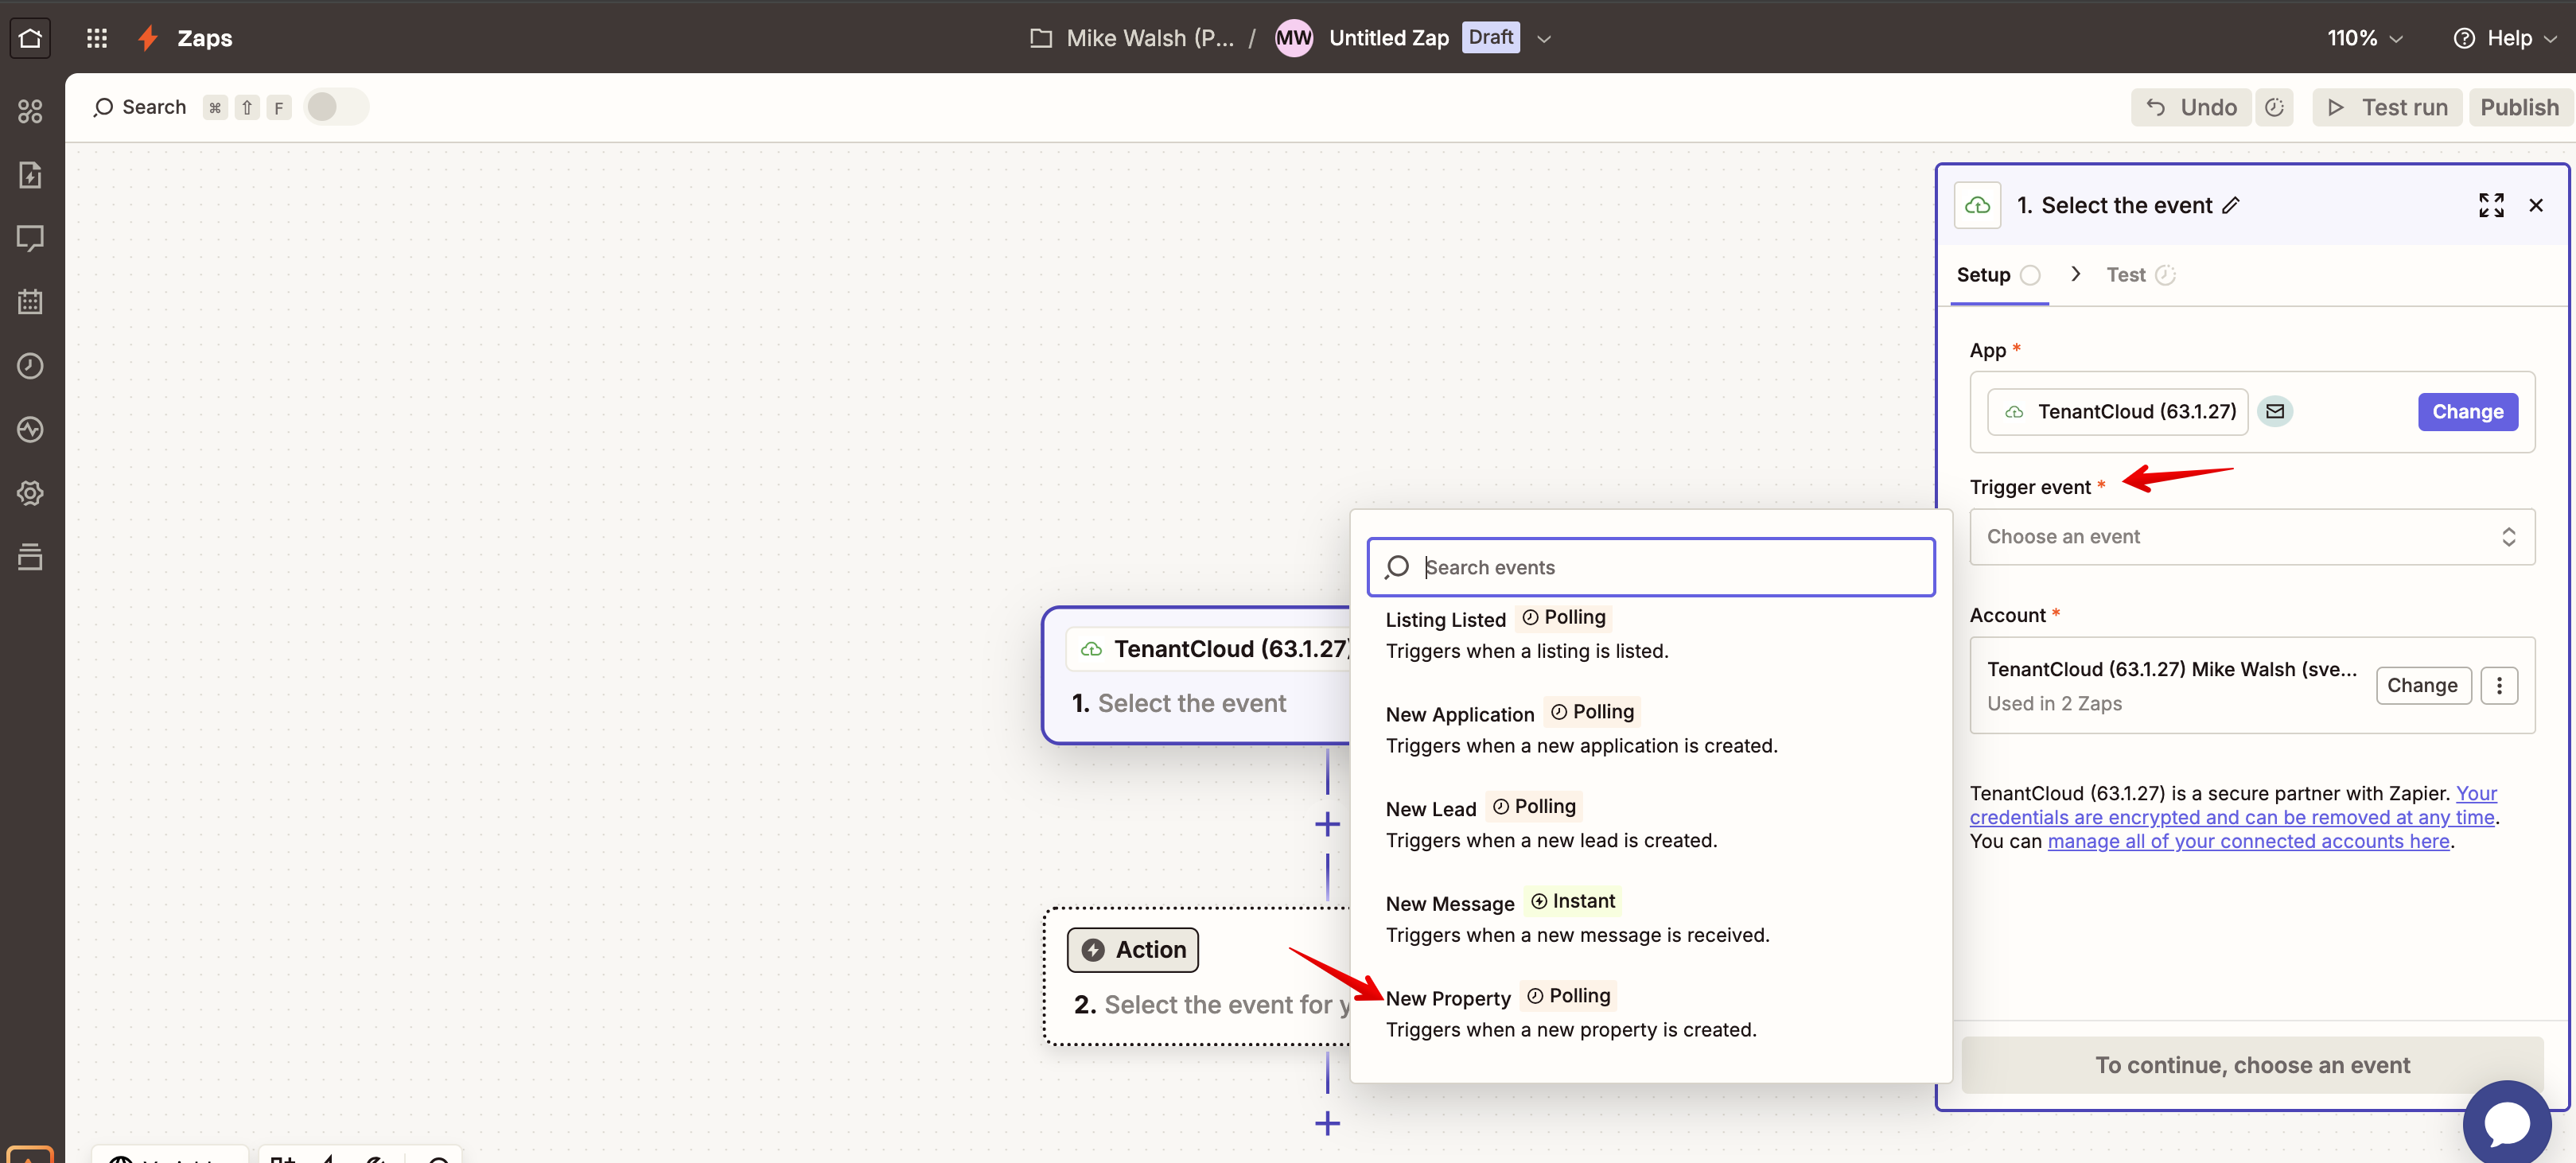
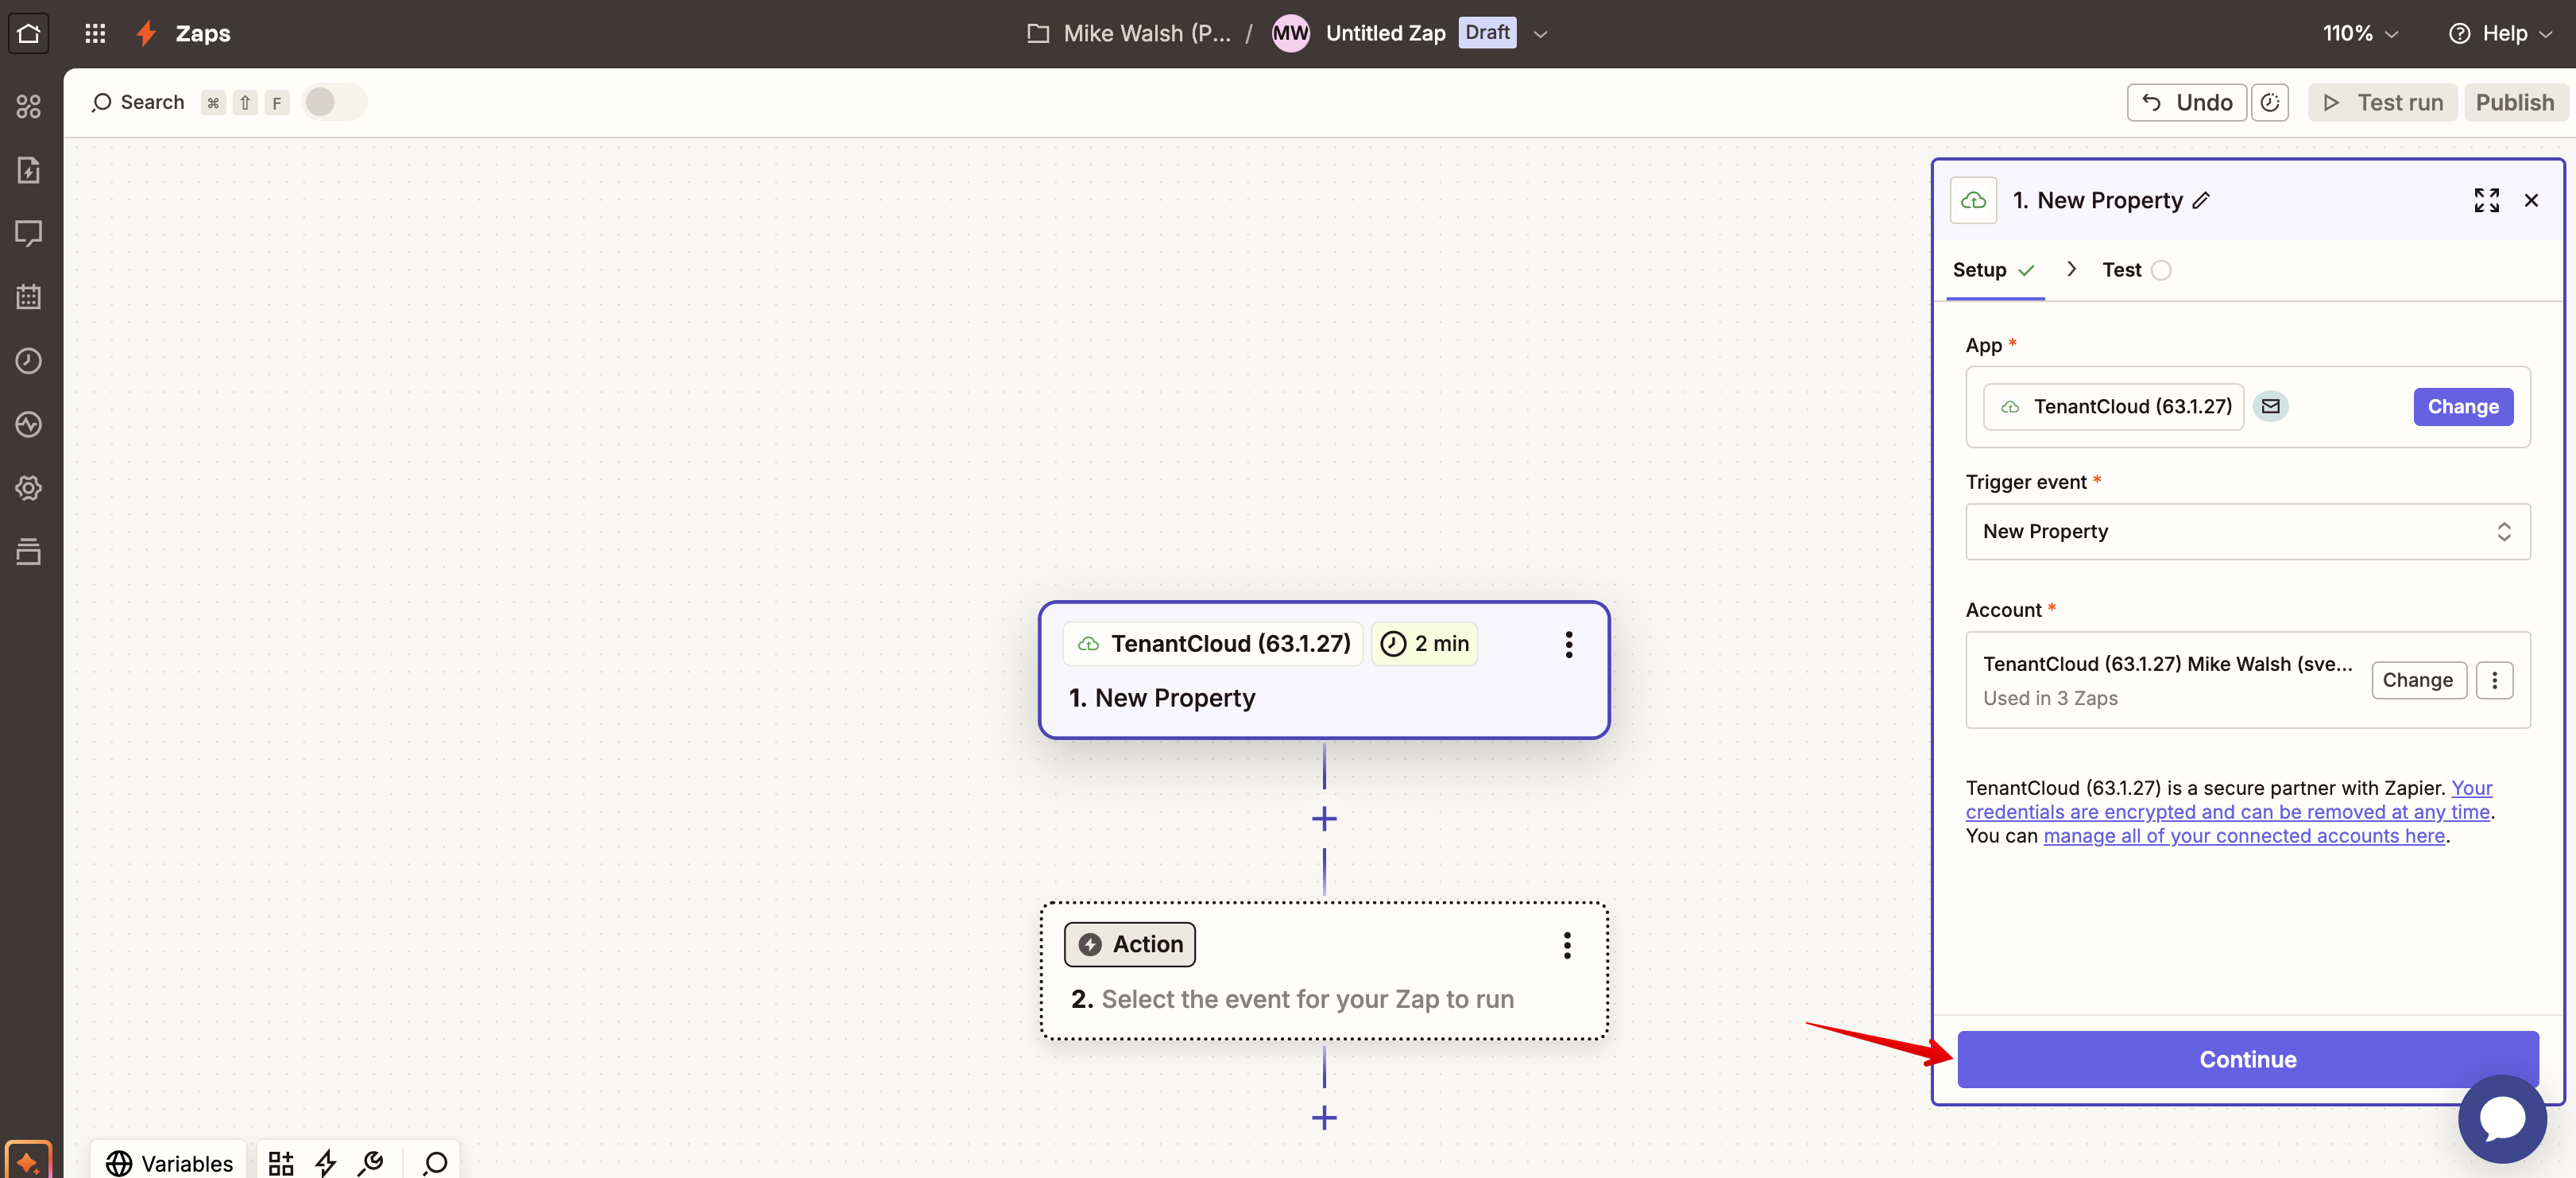
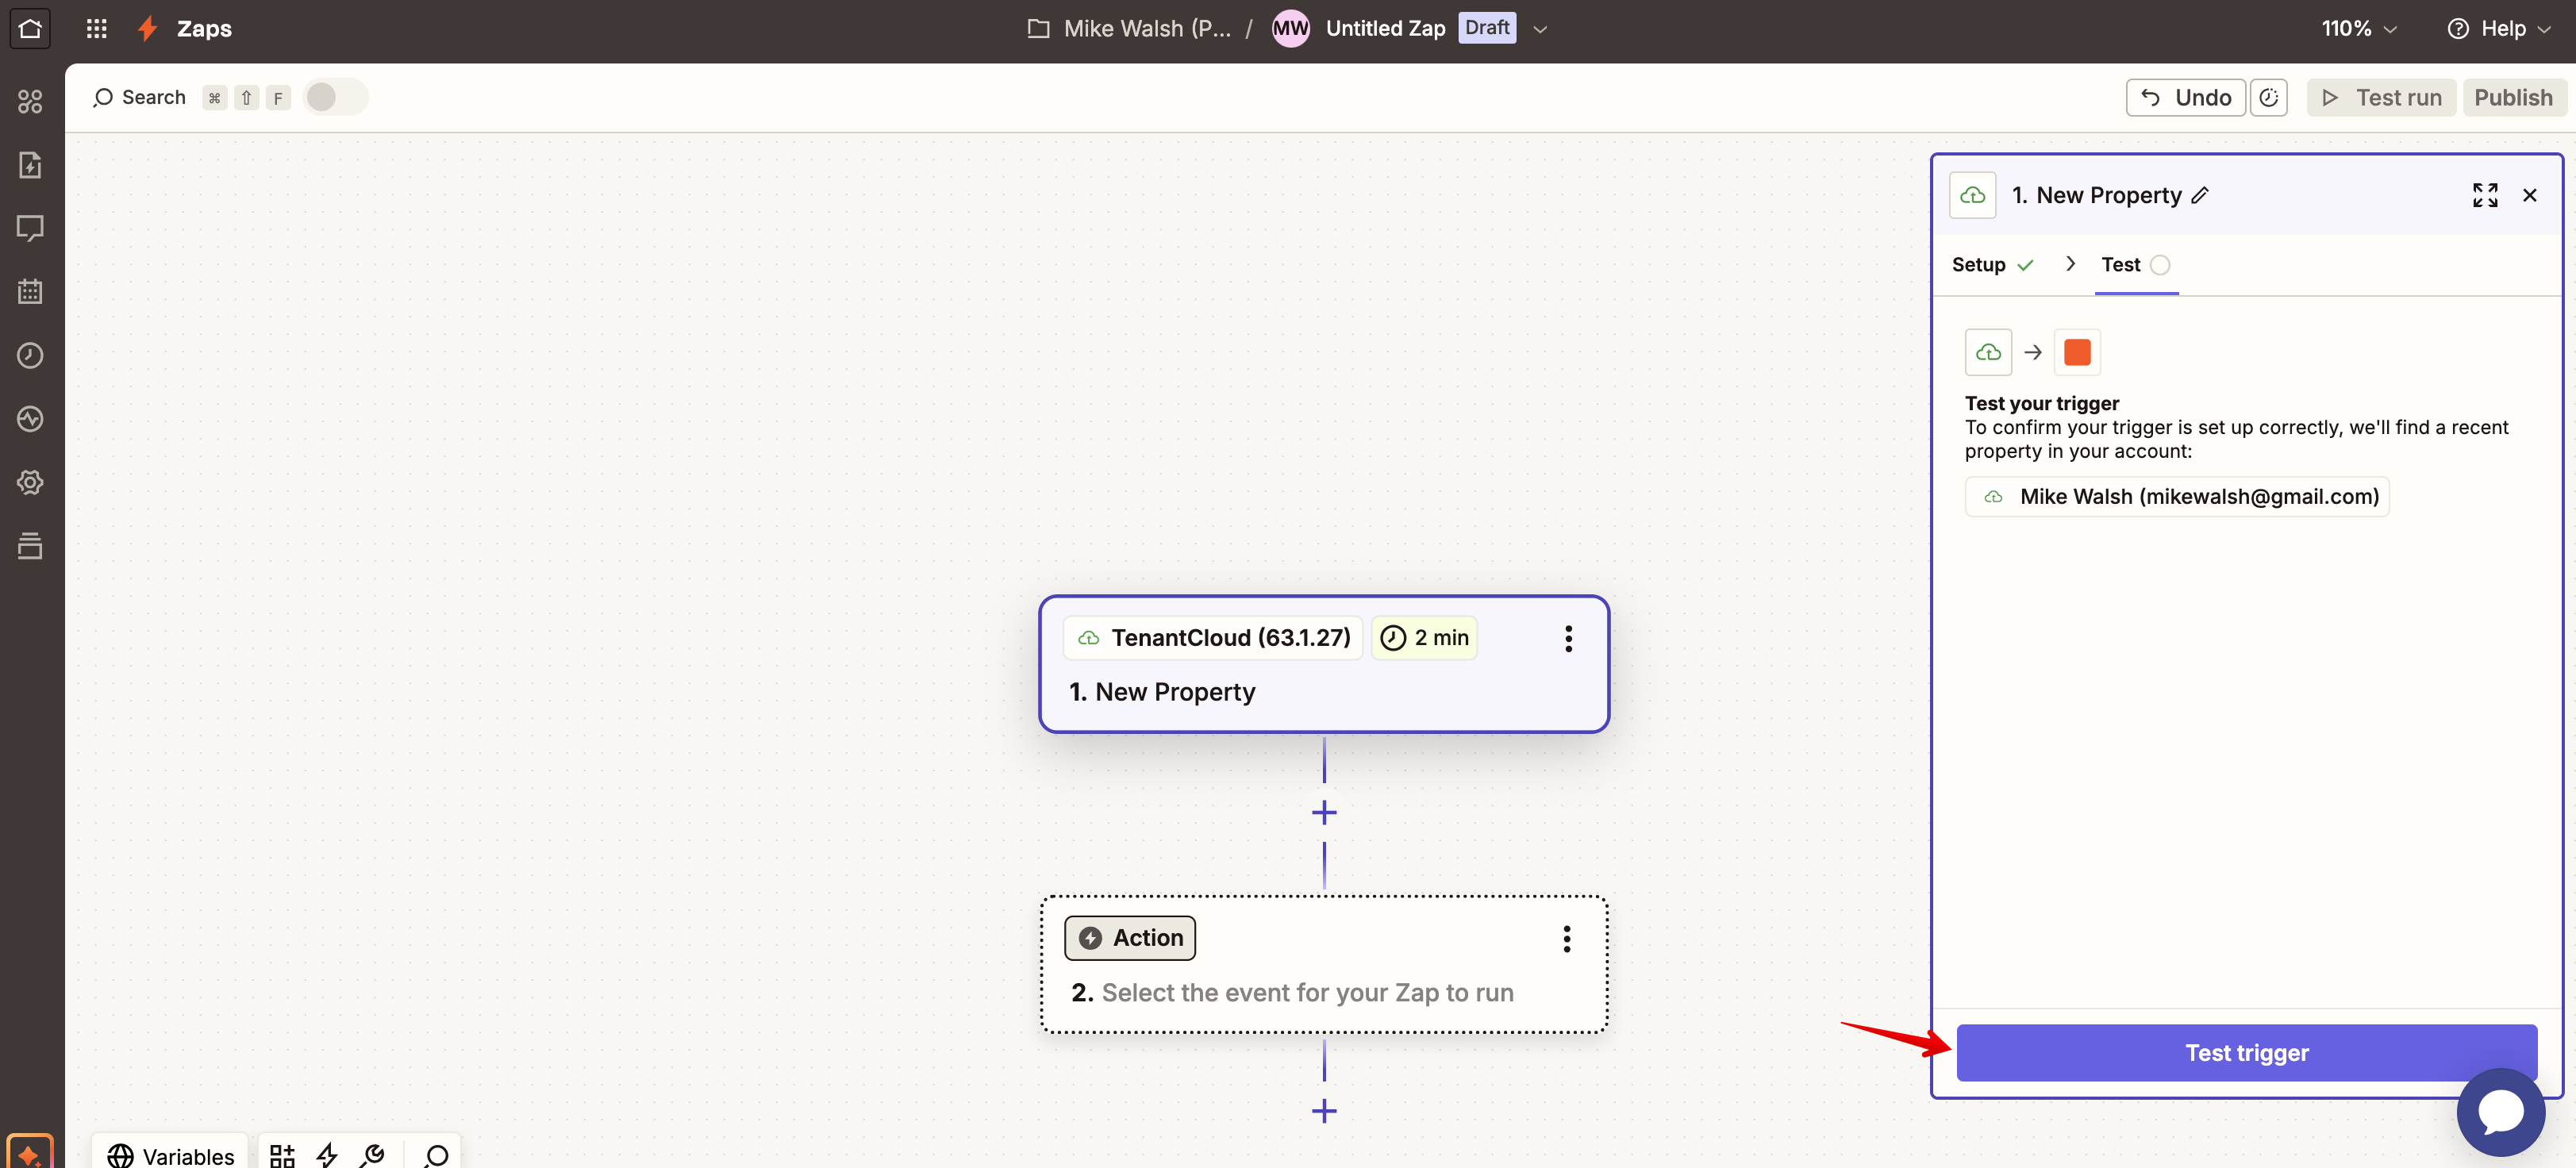
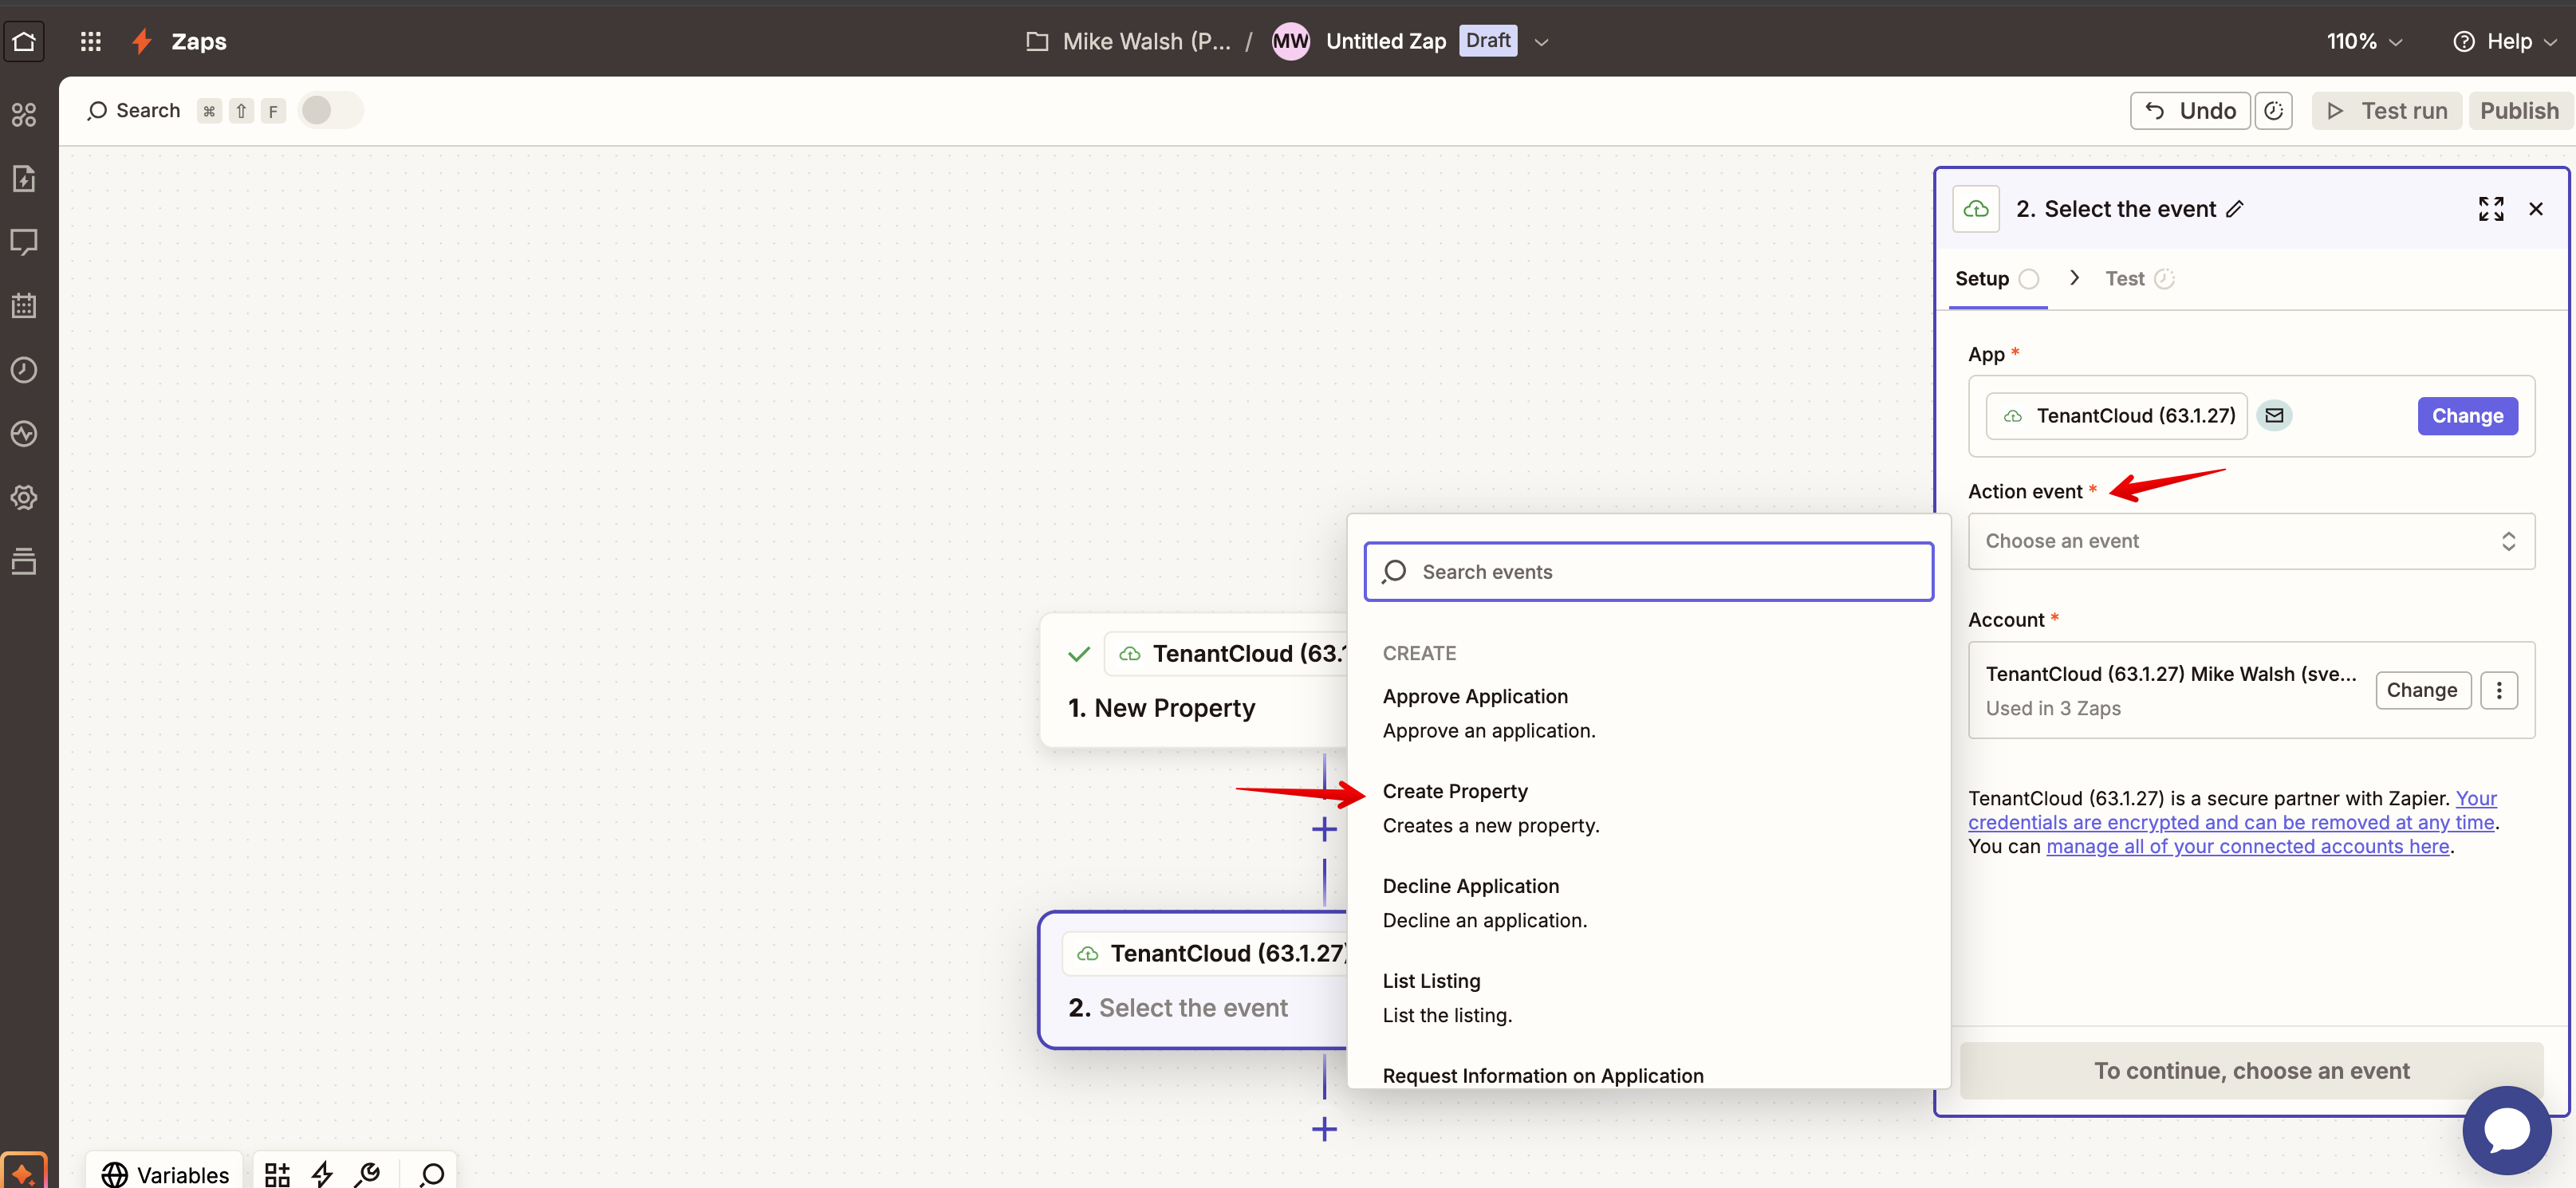
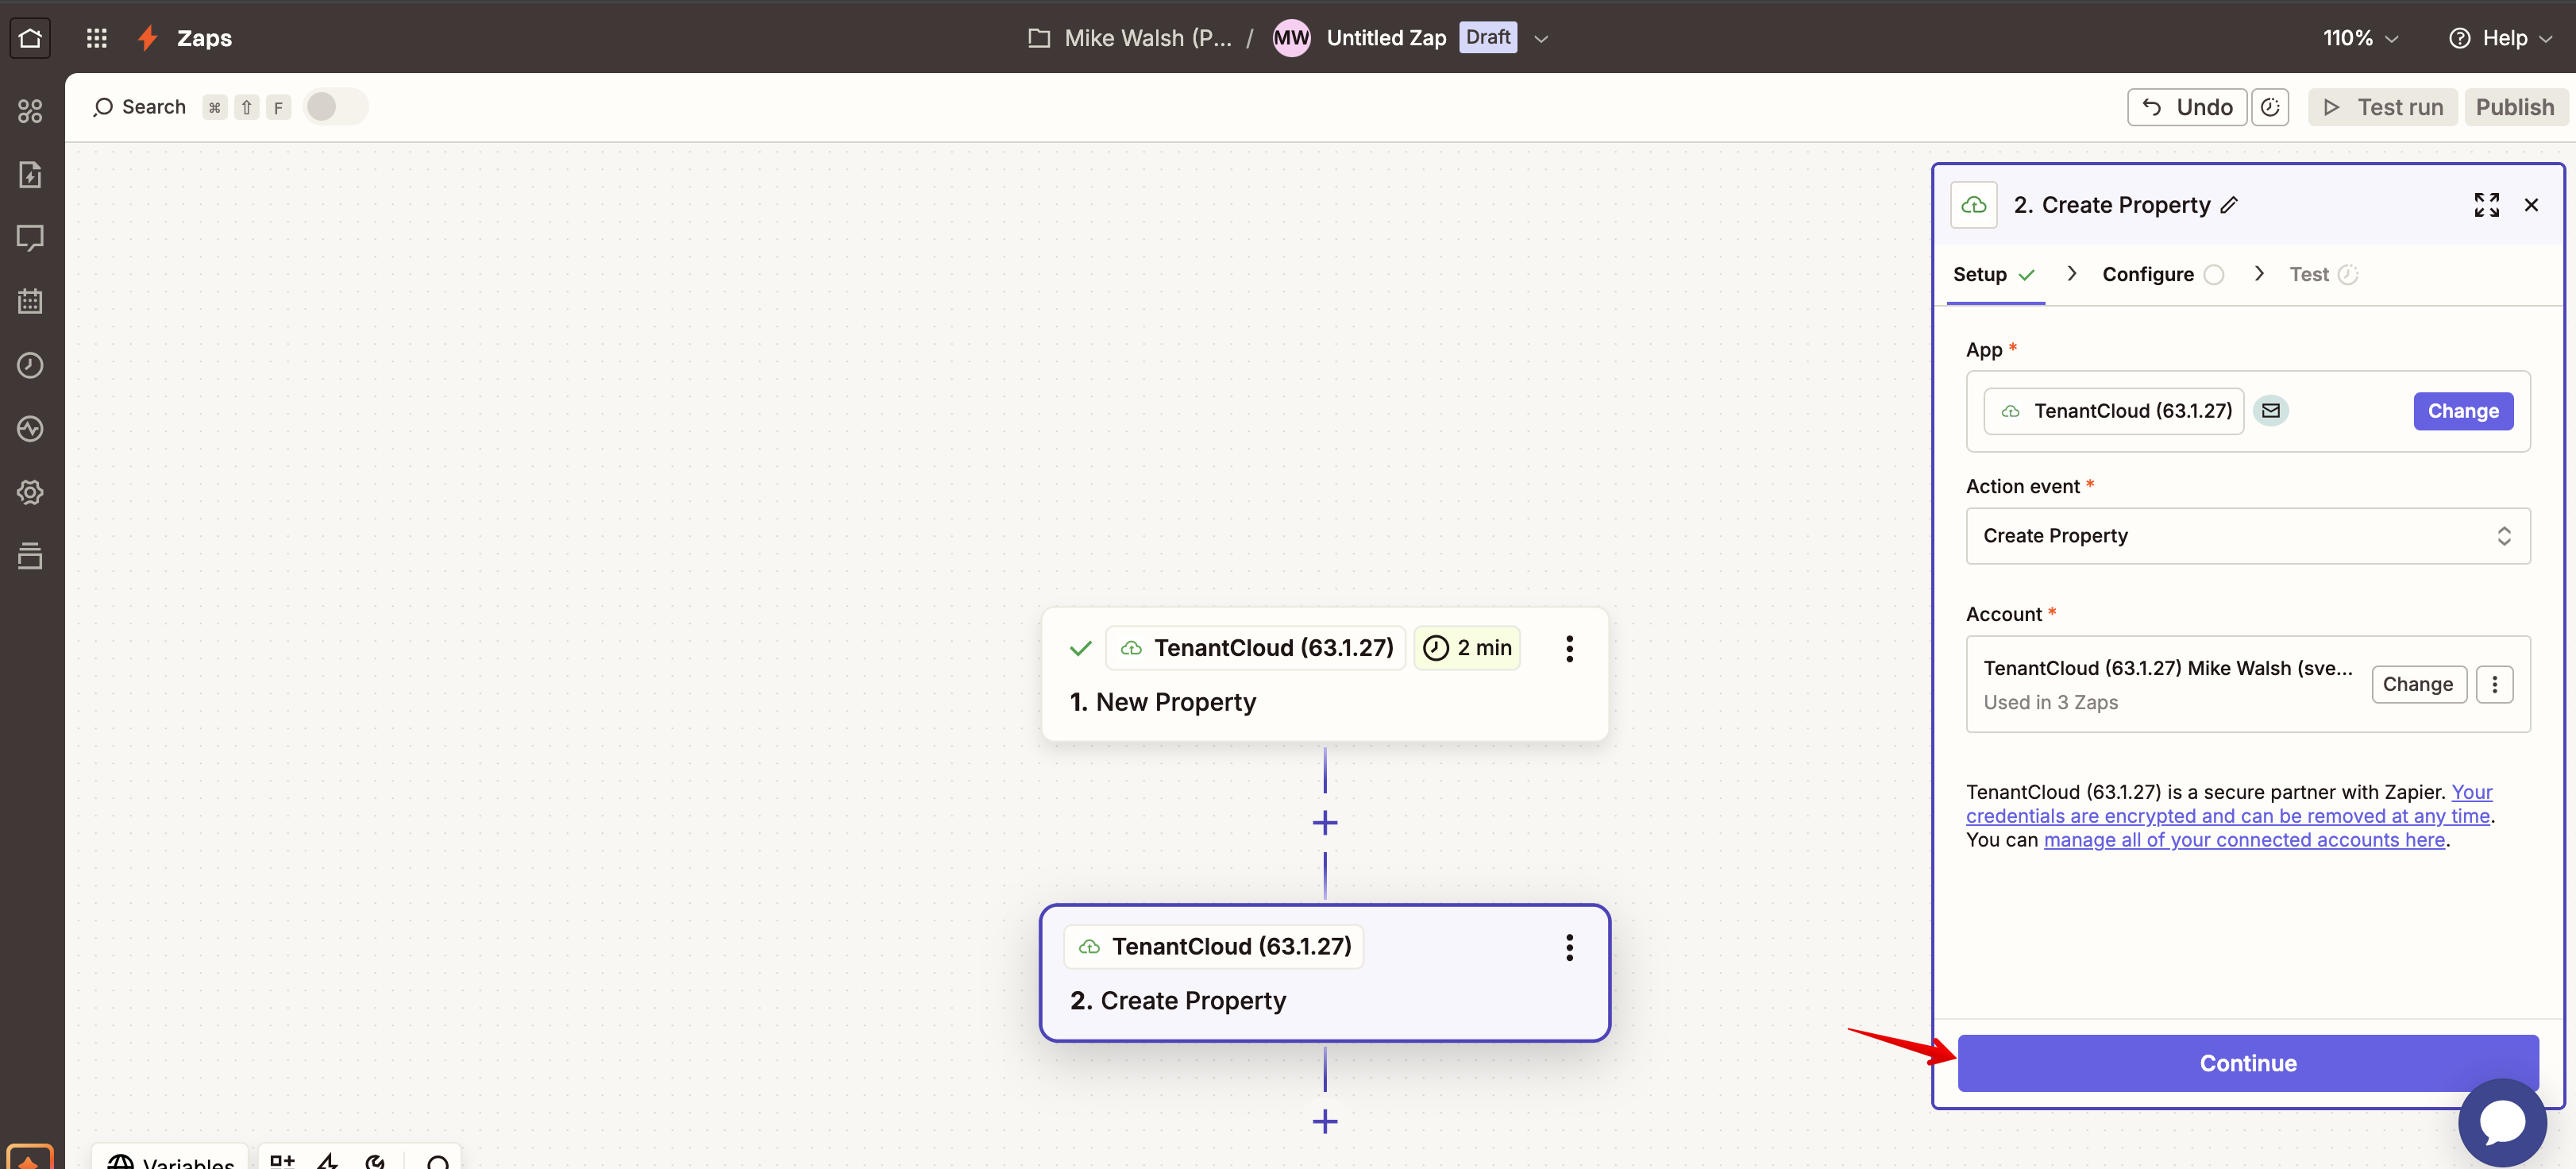
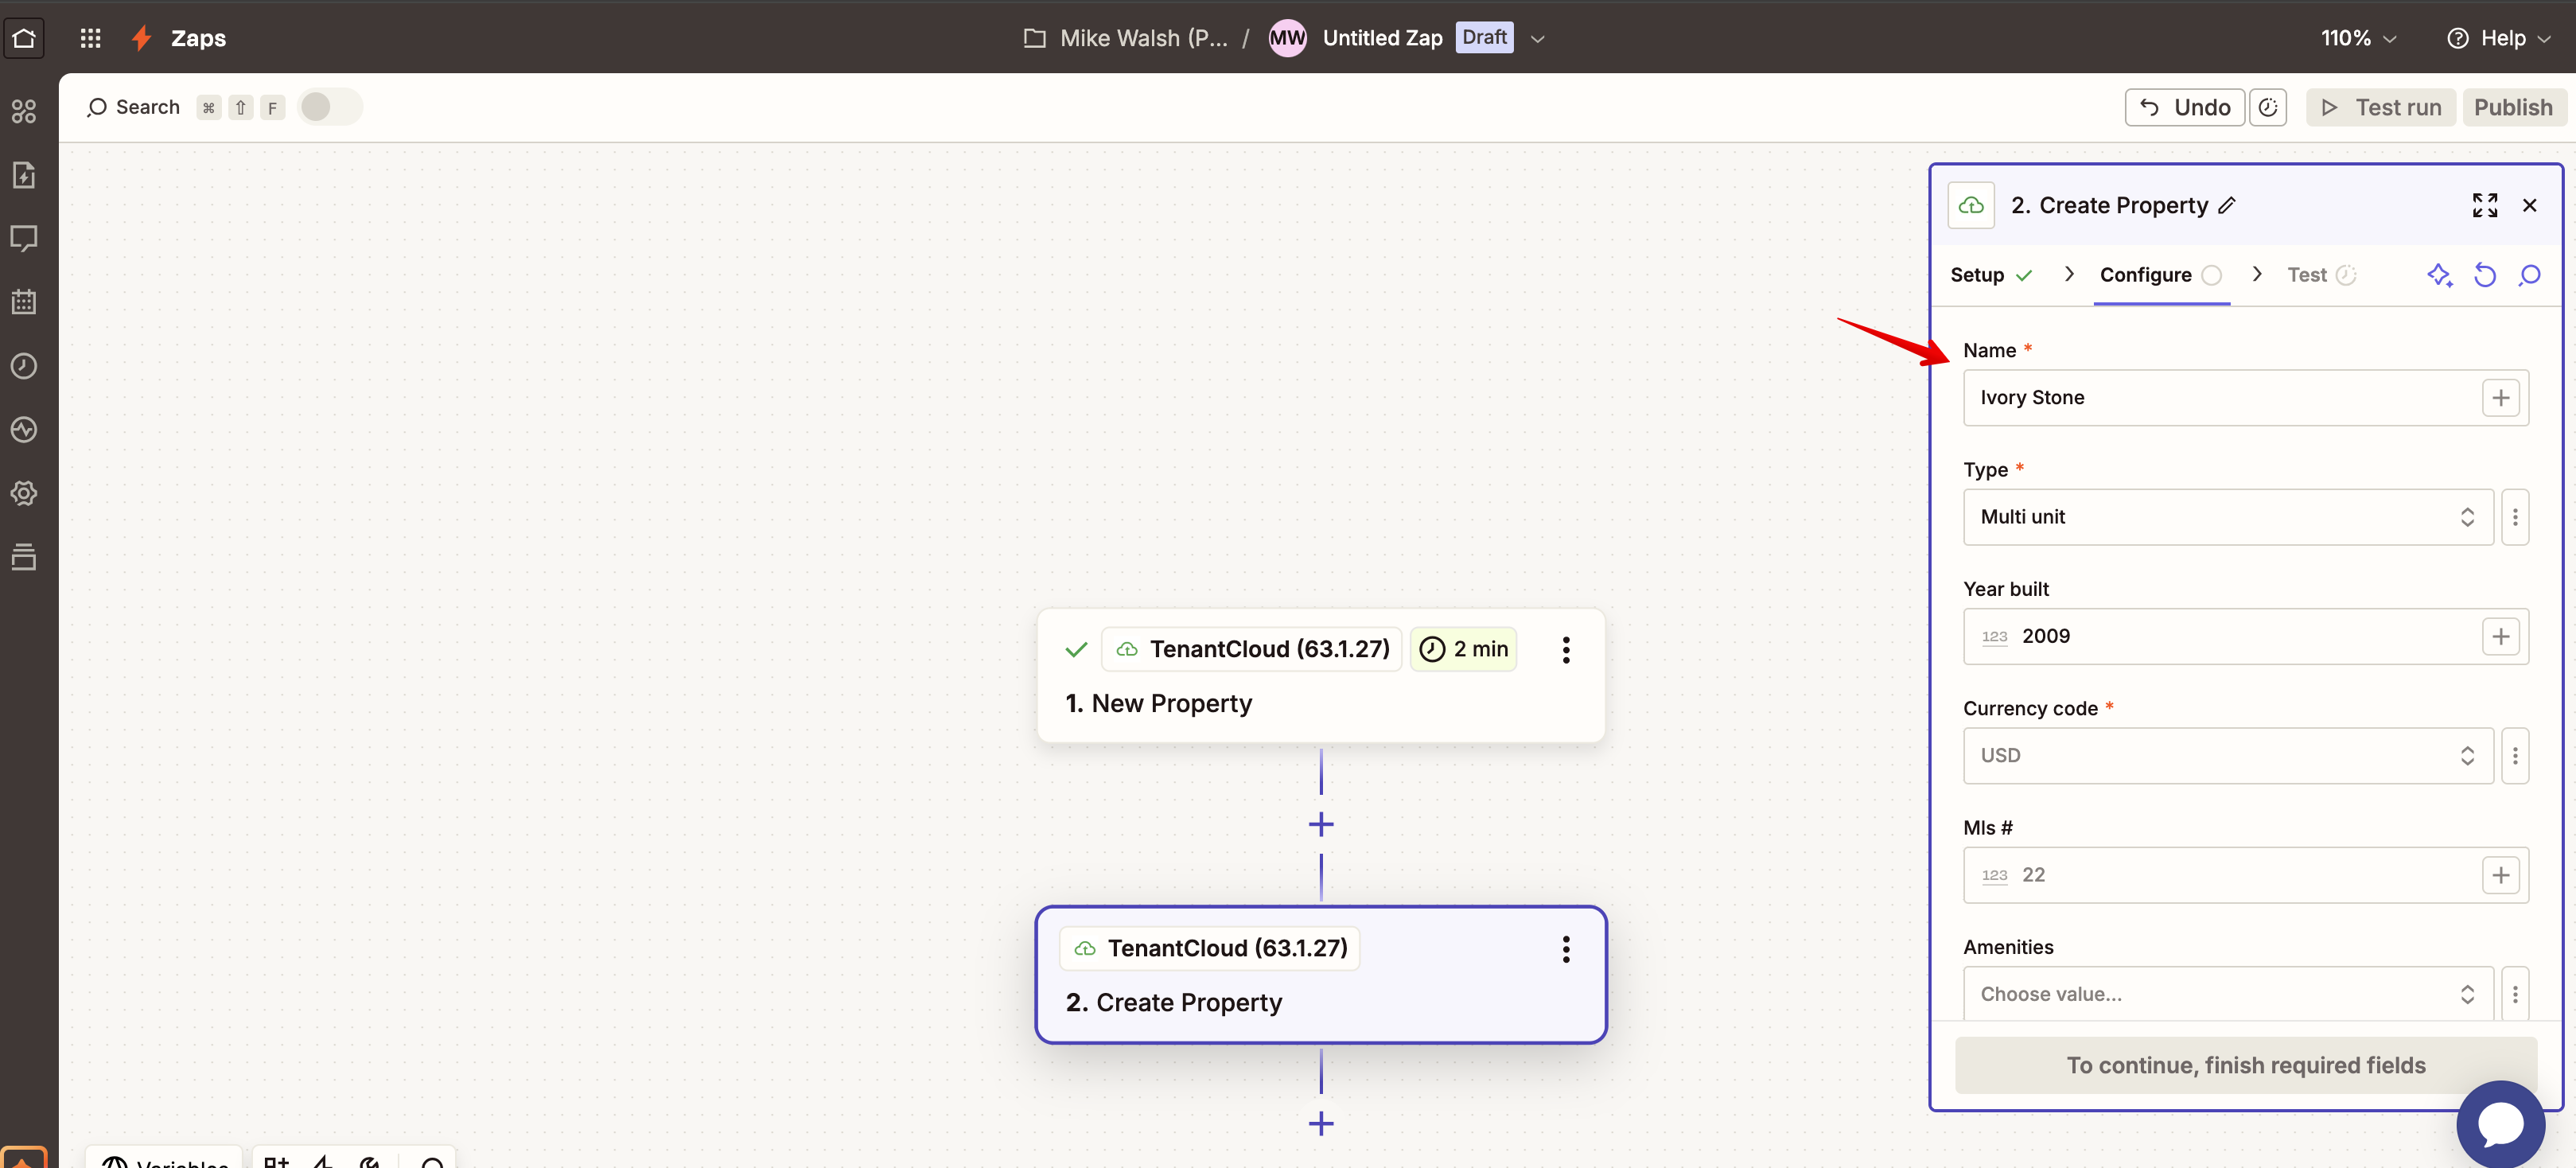
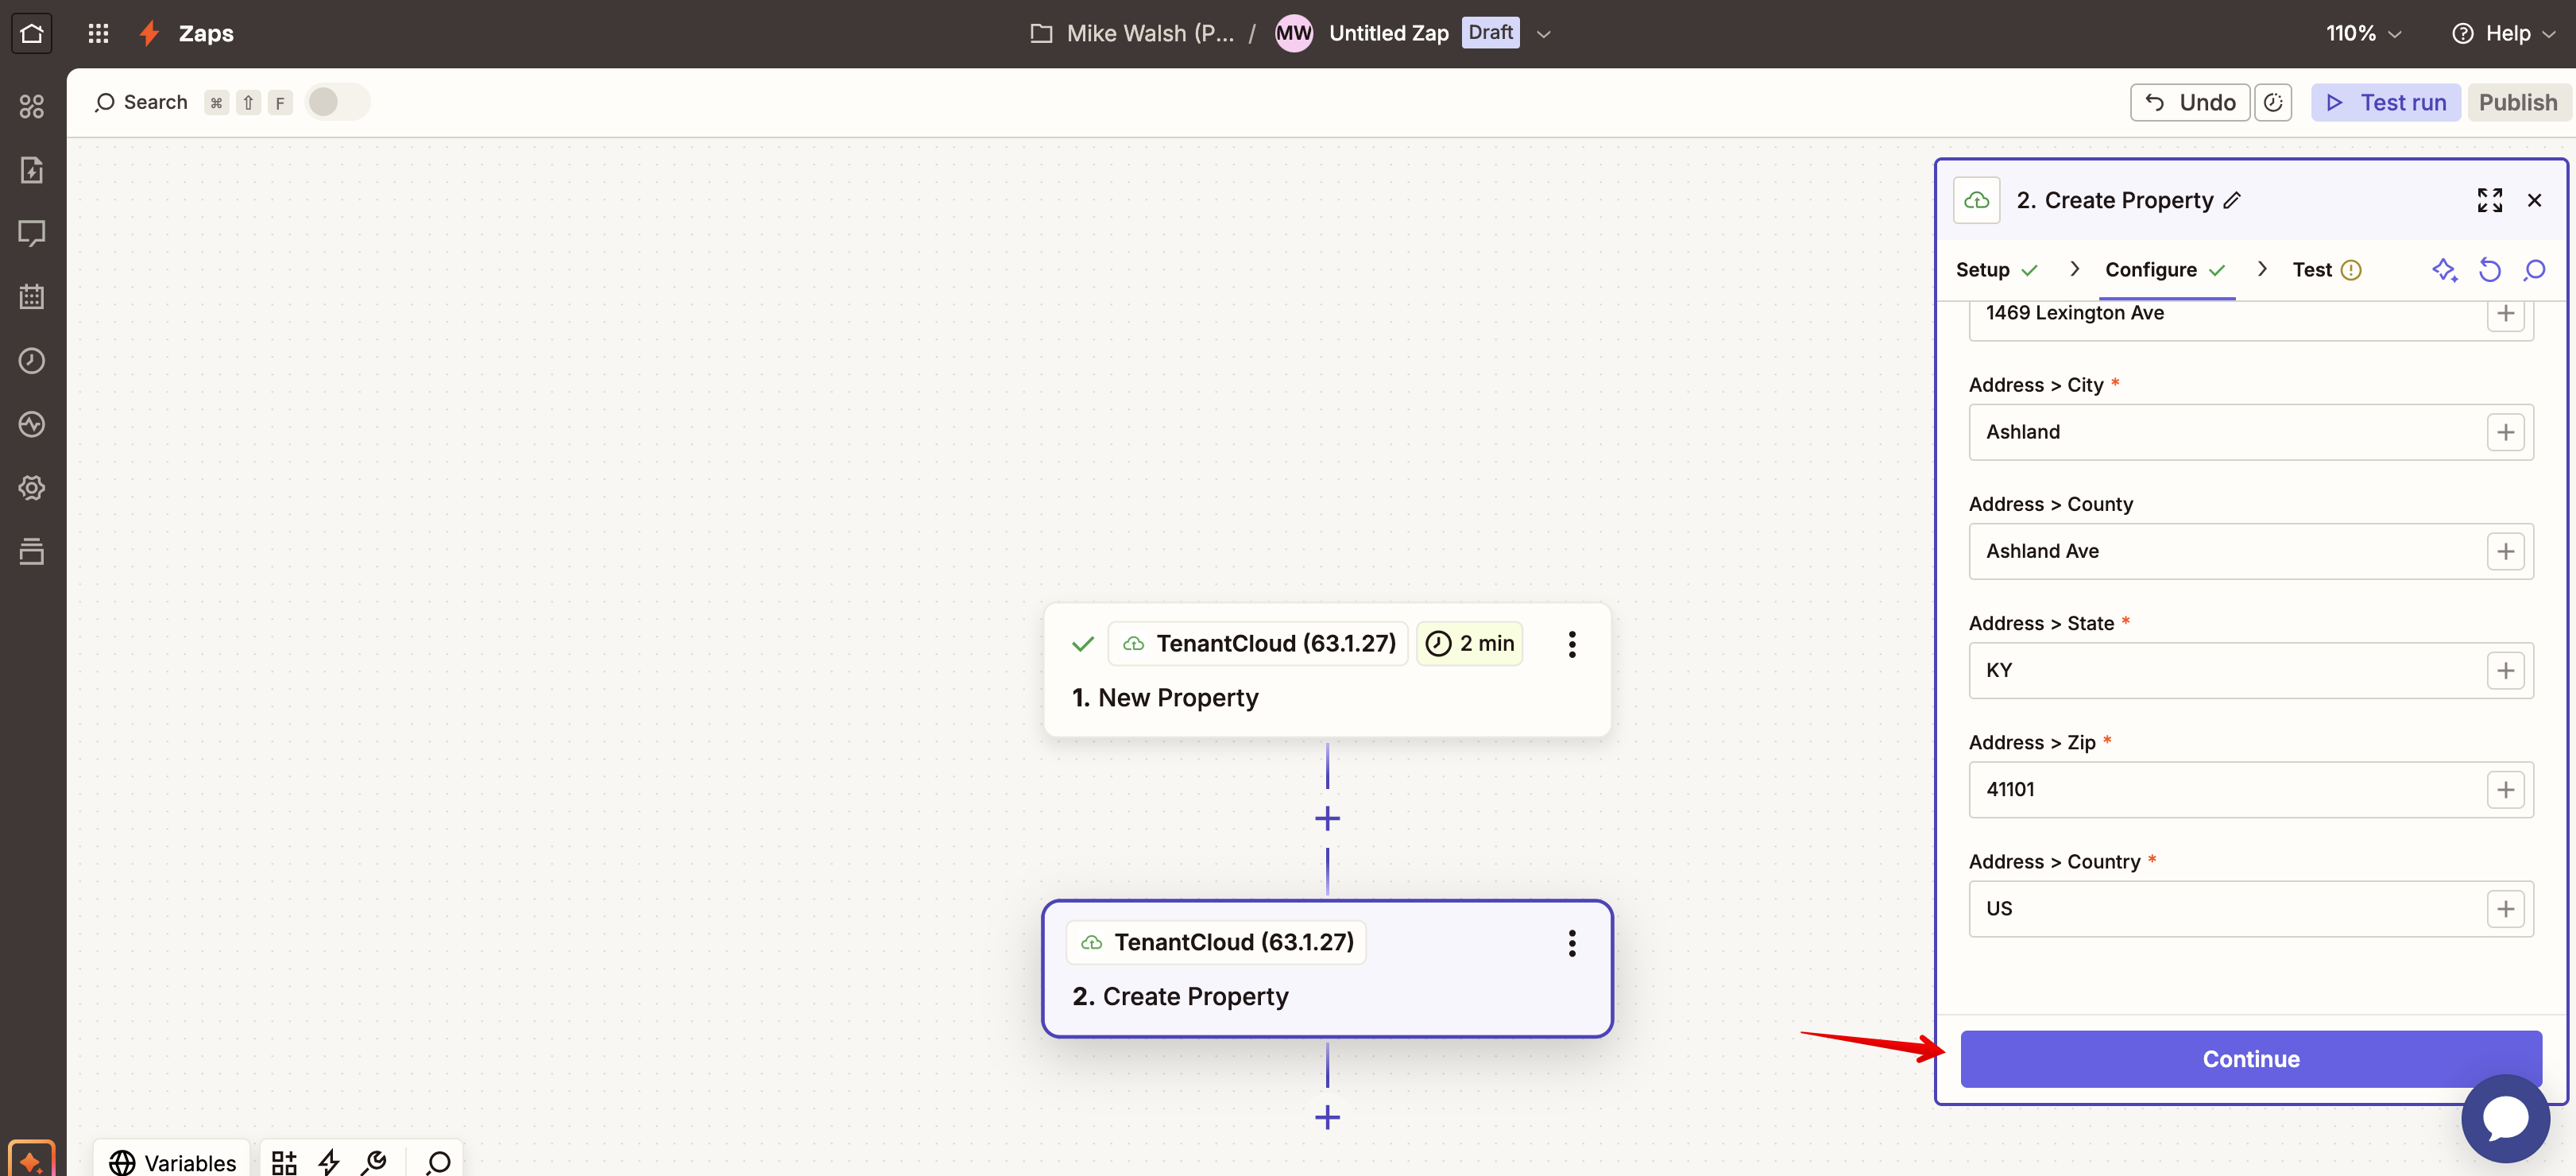
5.Choose a trigger (like "New Property") and an action (like "Create Property") based on what you want to automate. Make sure you have entered all required data in your Zapier account for the property to get auto-created at TenantCloud.
Difference between trigger and action:
Trigger:
A trigger is the starting point — it’s an event that sets the automation in motion.
Think of it as: “When this happens…”
Example:
“A new property is added in TenantCloud”
Action:
An action is what you want Zapier to do after the trigger happens.
Think of it as: “…then do this.”
Example:
“Create a property in TenantCloud account
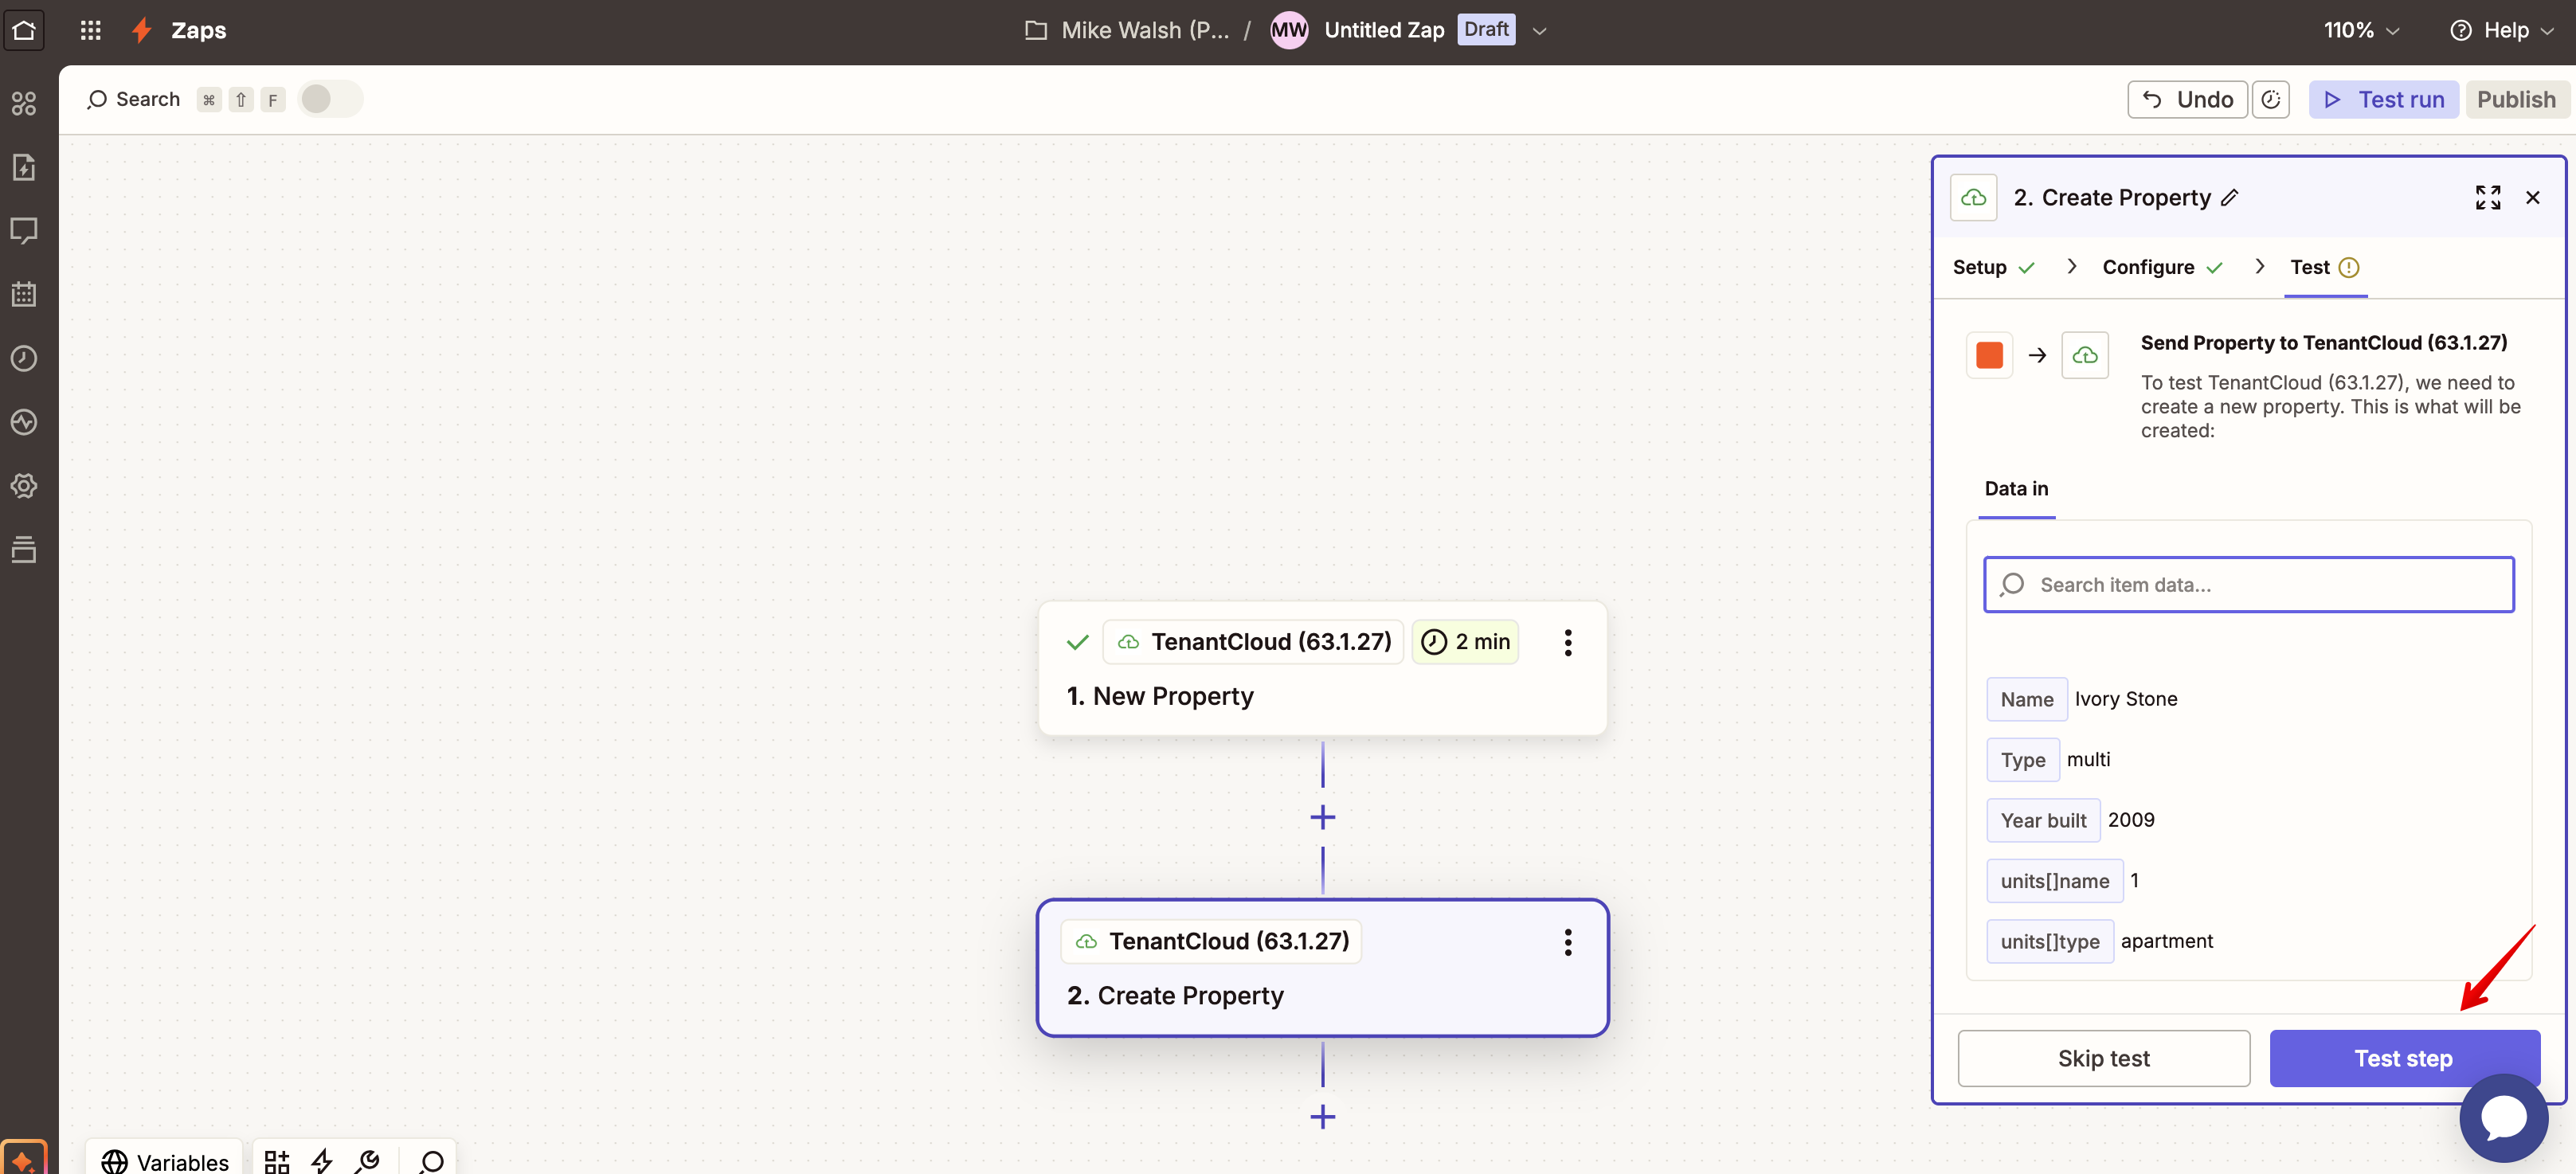
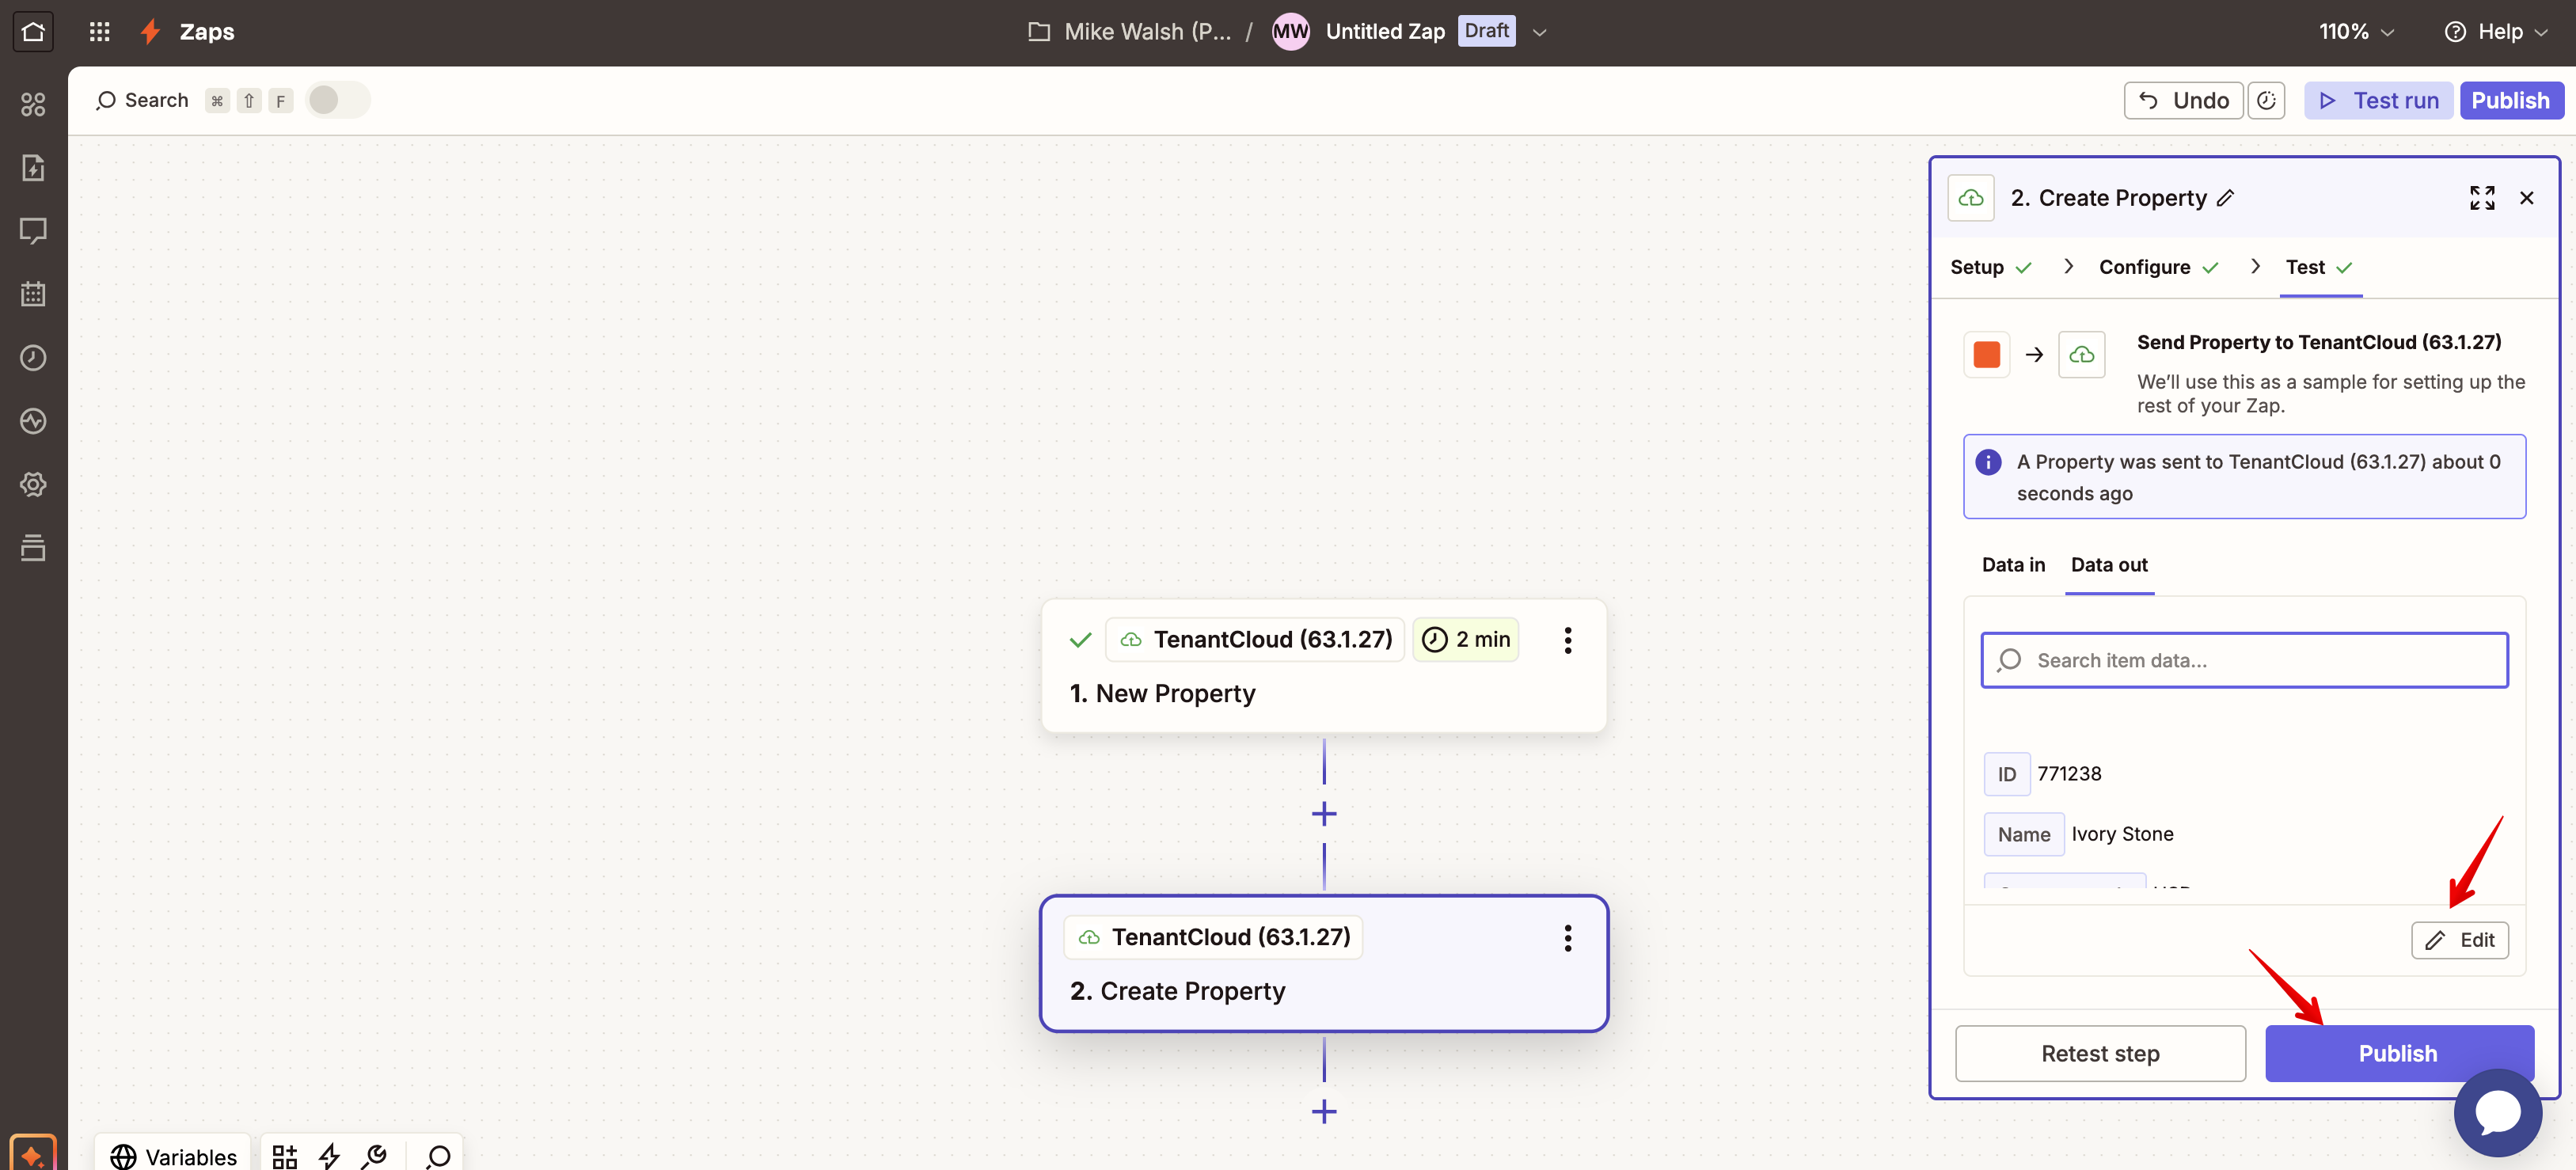
It will then let you know the property was sent to your TenantCloud account.
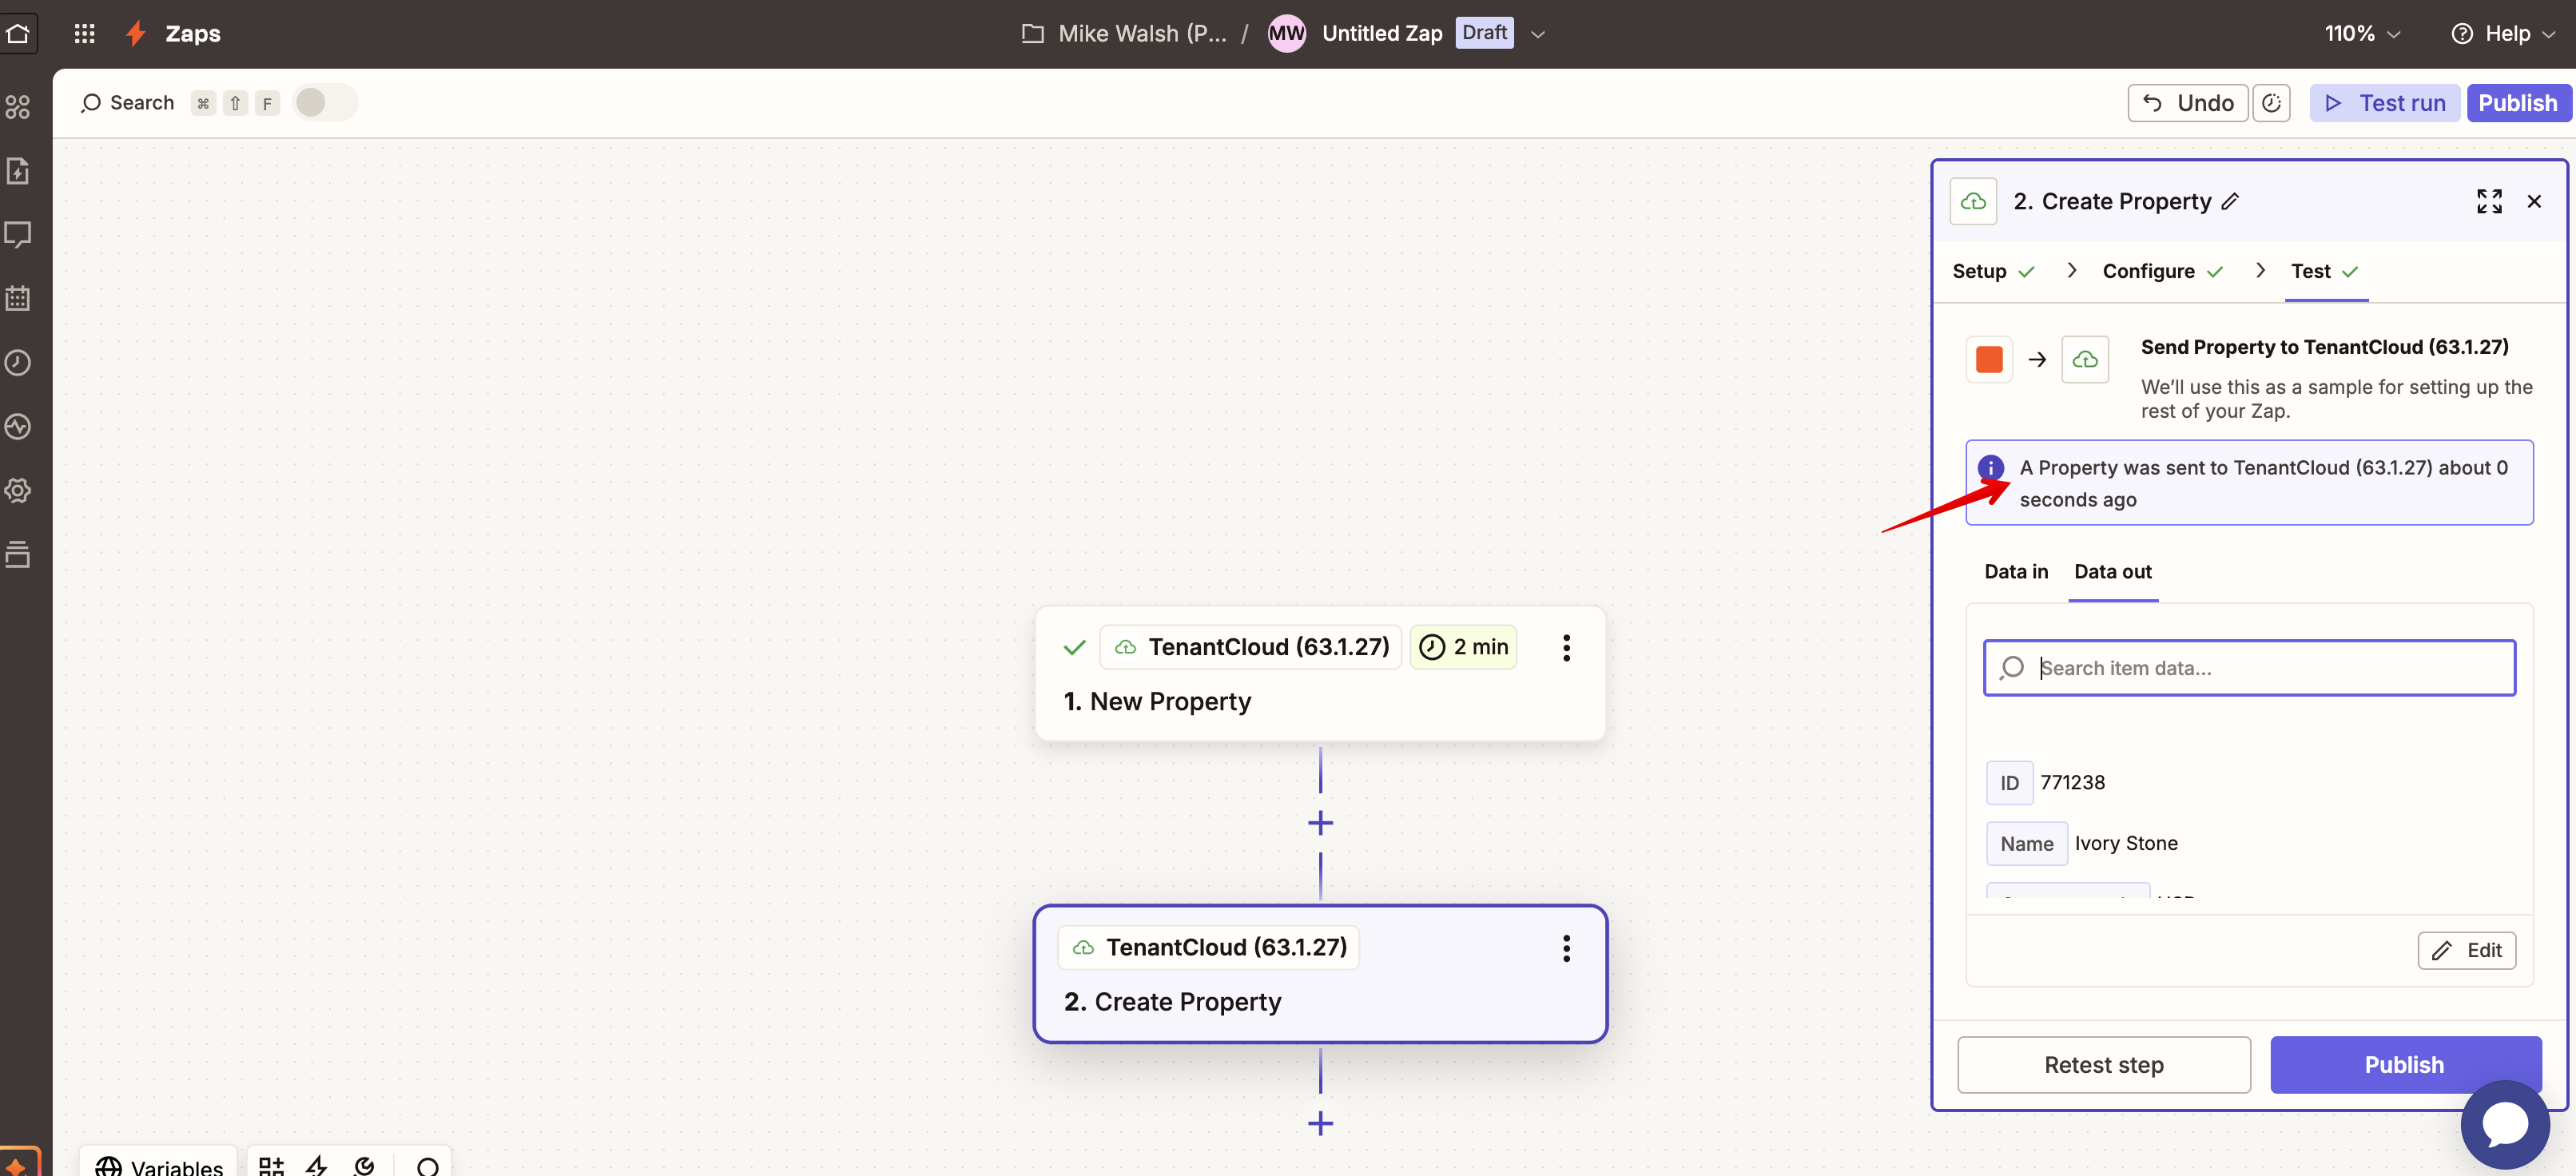
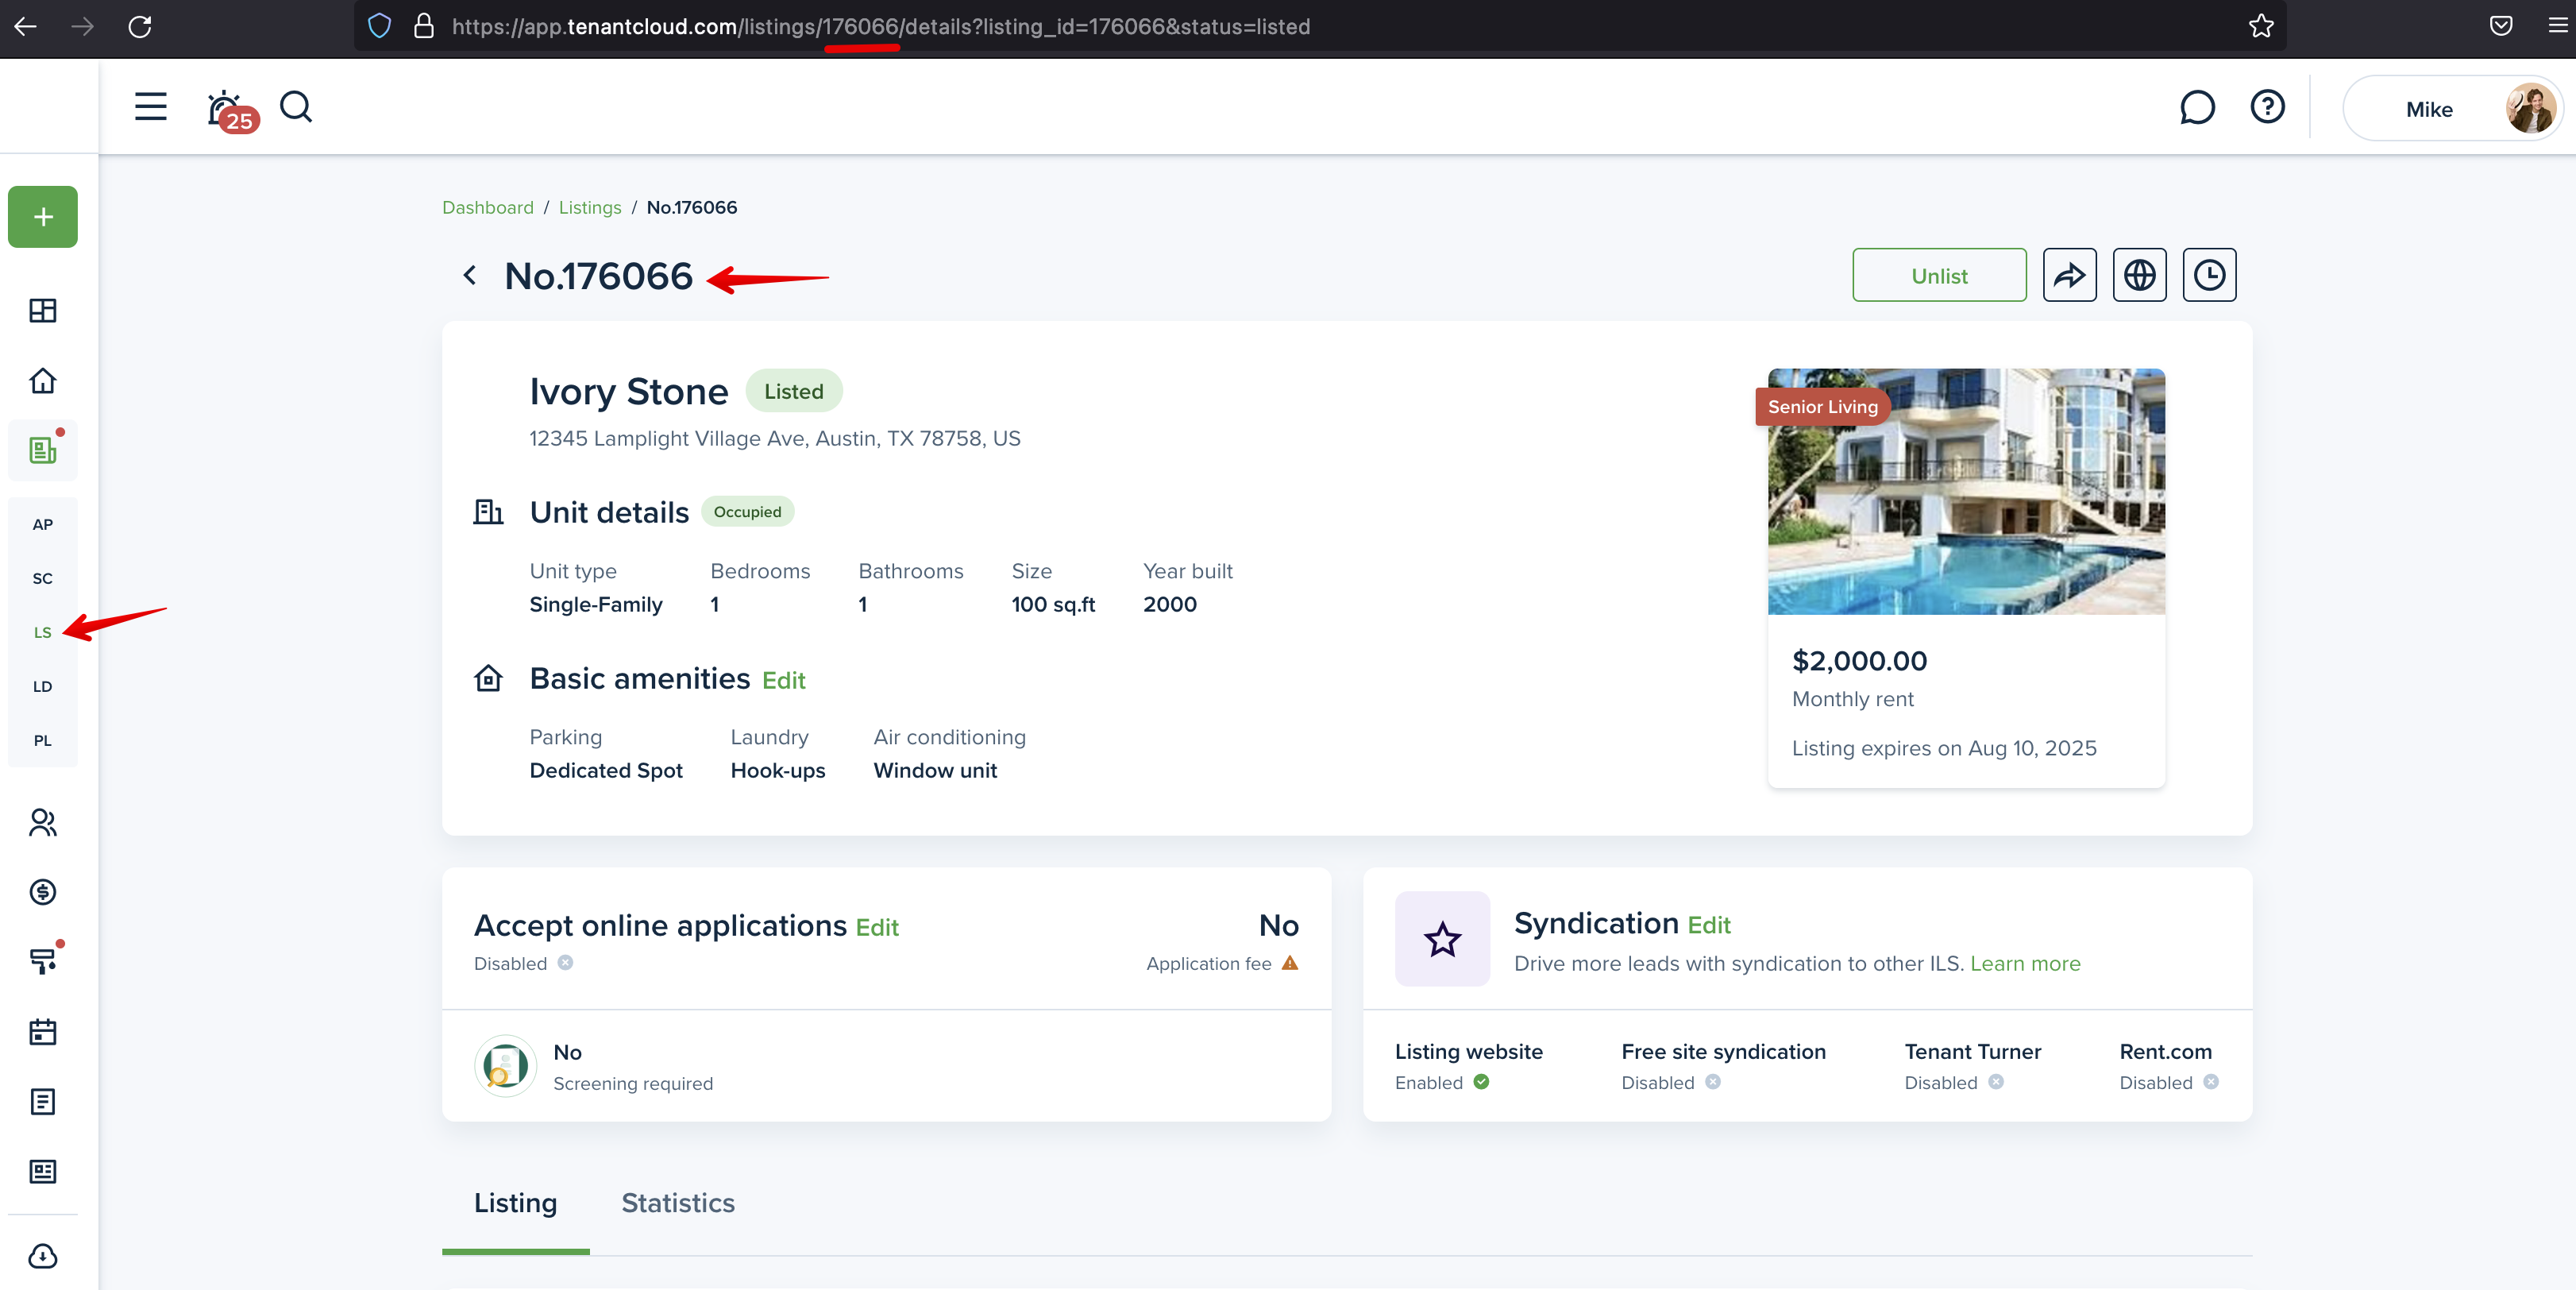
Next, visit your TenantCloud account to find the property you added.
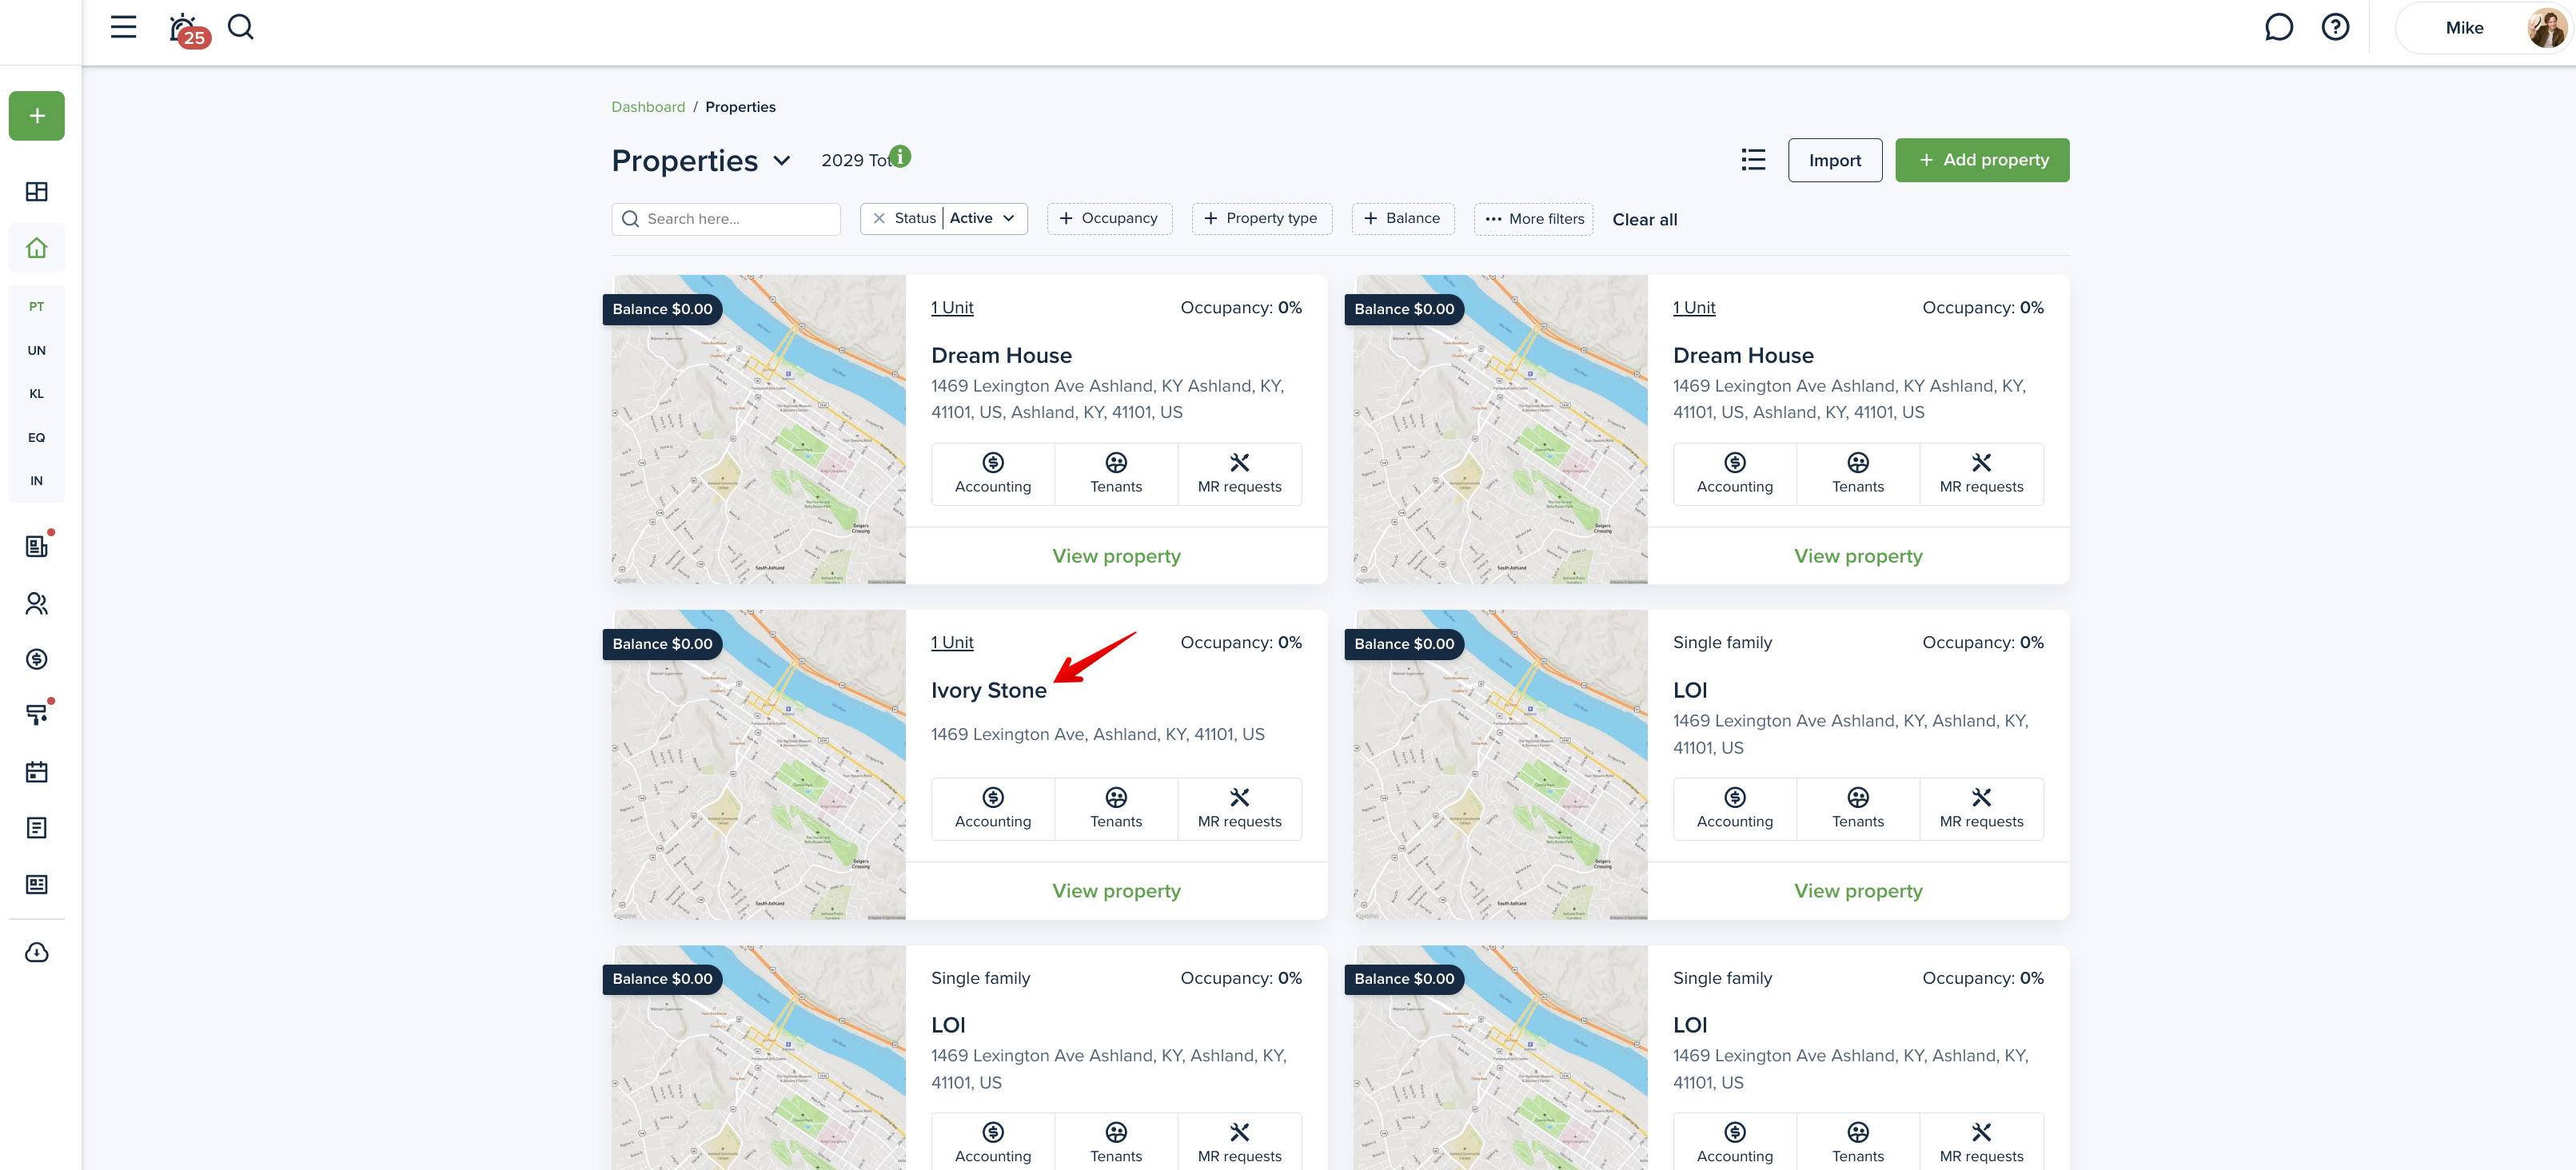
This is a draft version and you can edit the information at any time. However, once you click “Publish,“ you won’t be able to make any edits.
Some Zapier actions may require a TenantCloud ID (e.g., Property ID, Lease ID). You can find this:
In the URL of the page
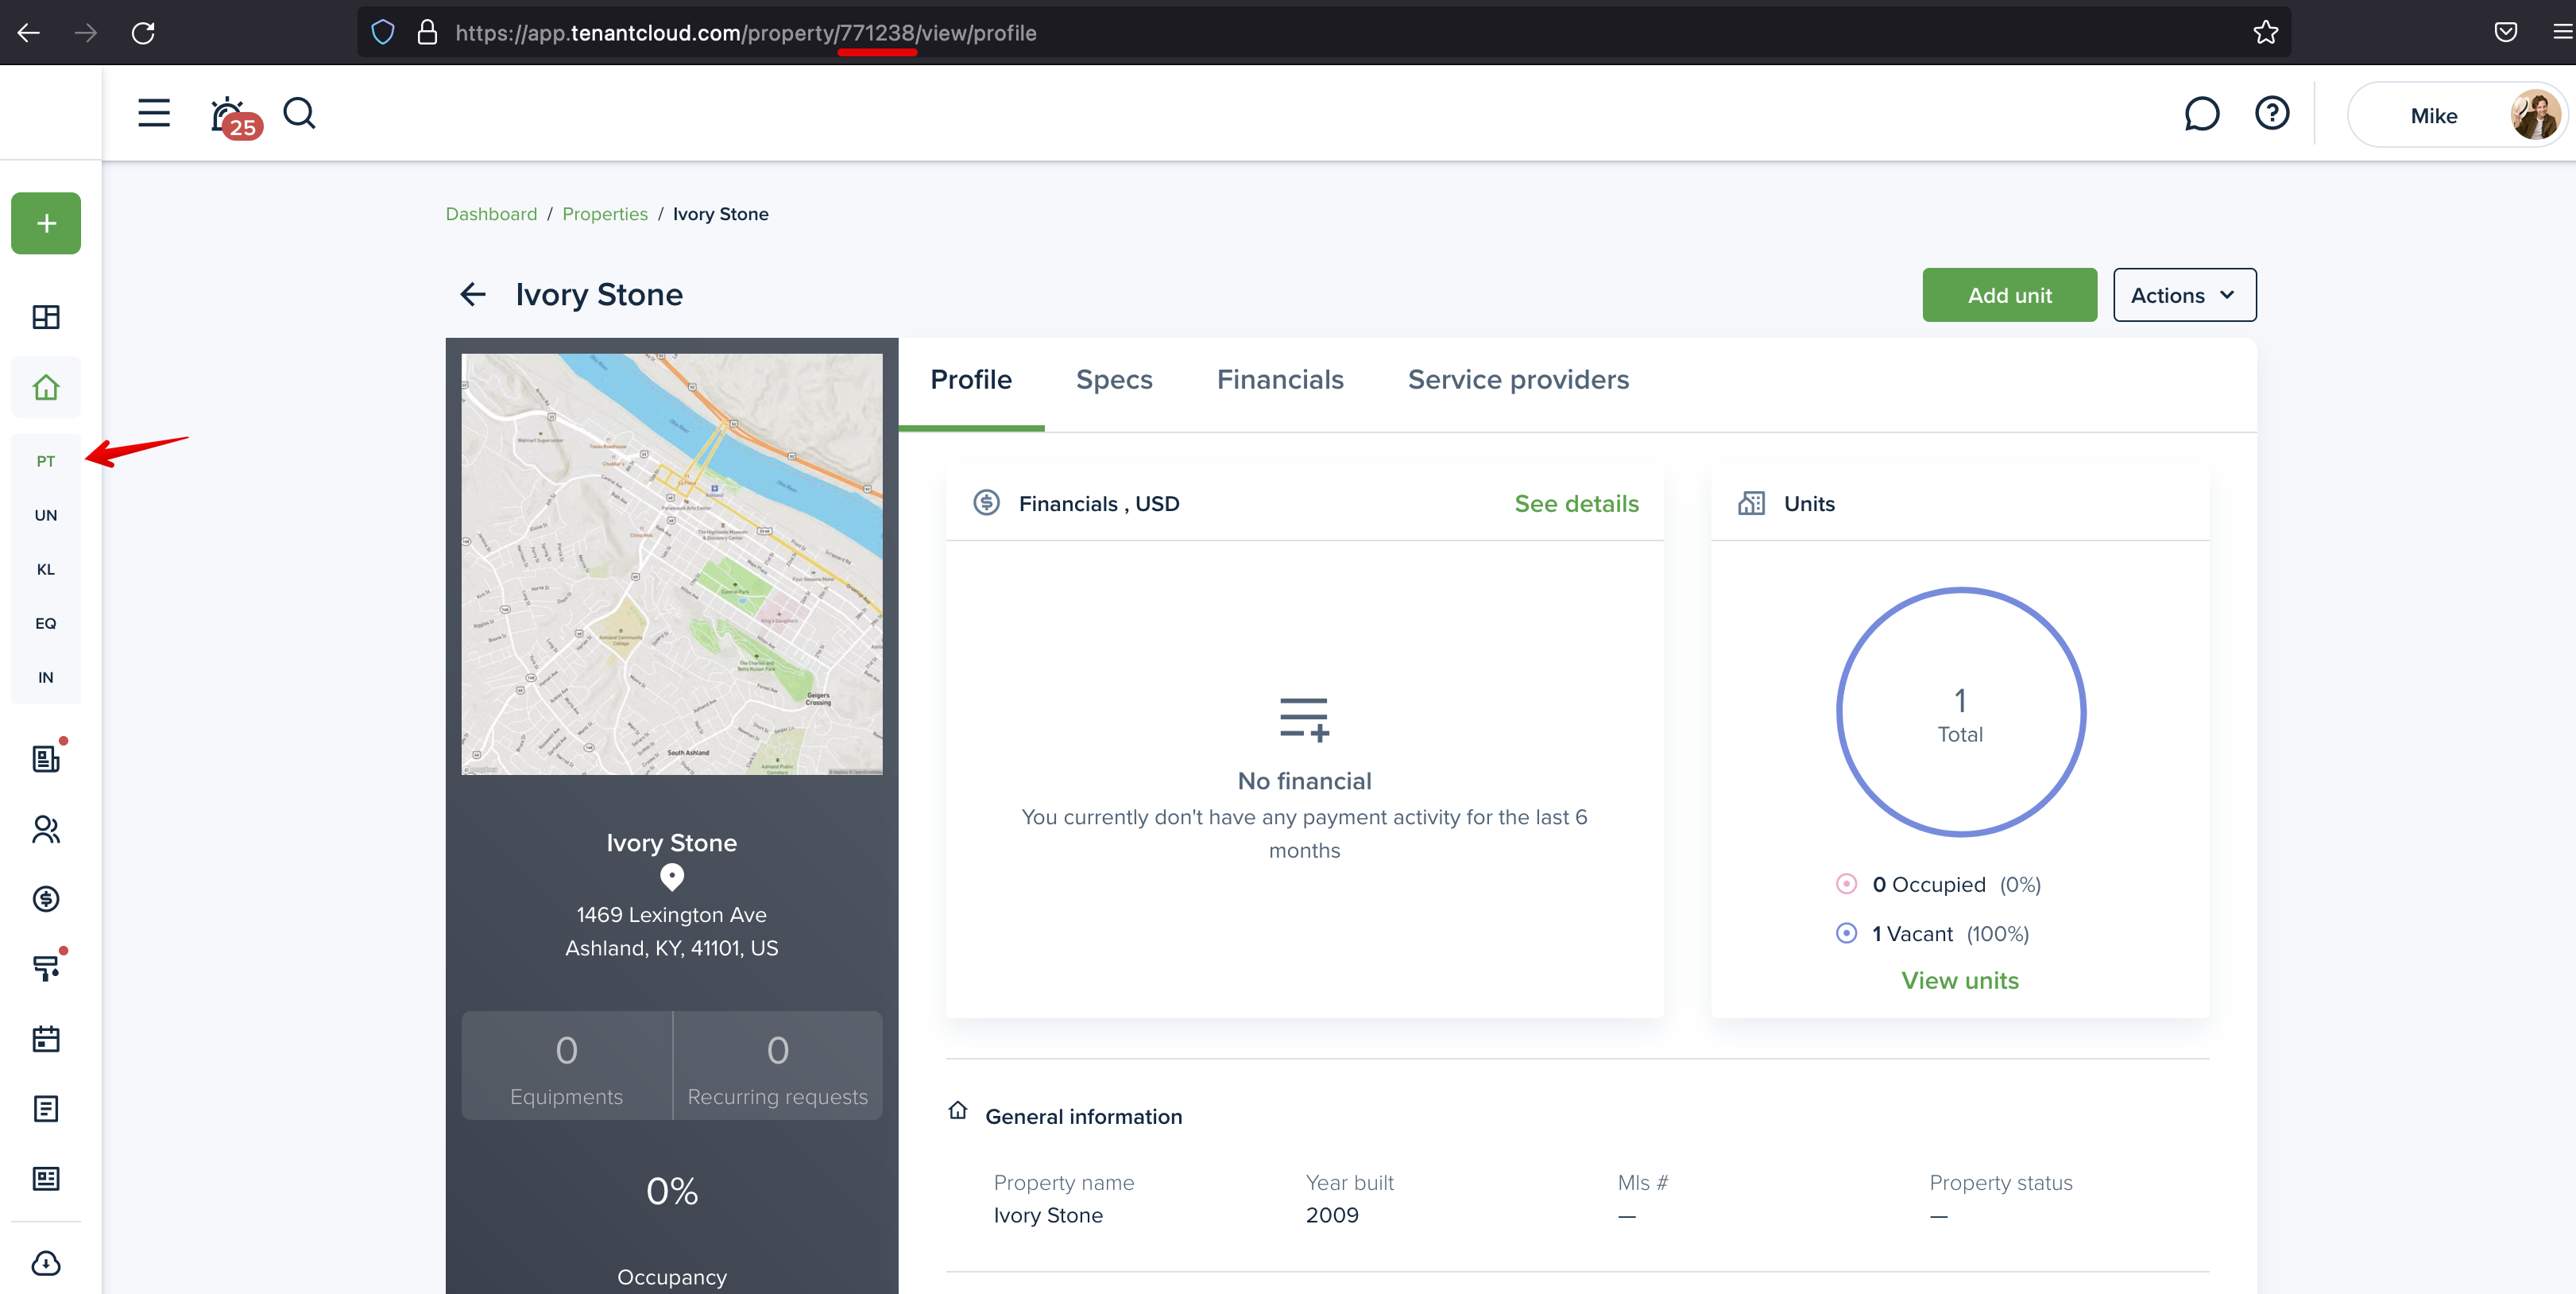
Or directly within the details section of the record
Please note!
This is Stage 1 of our Zapier integration—more triggers and actions will be added soon!
If you have feedback or would like to be part of the beta testing group, feel free to reach out to our support team.
Last updated:
Jul. 31, 2025