

How do I manage transaction tags?
Transaction tags provide a flexible way to personalize and organize your financial data in TenantCloud. By assigning tags, you can create your own categories to reflect specific goals, projects, or spending habits. This feature enables you to track your financial activity in more detail, allowing for enhanced customization.
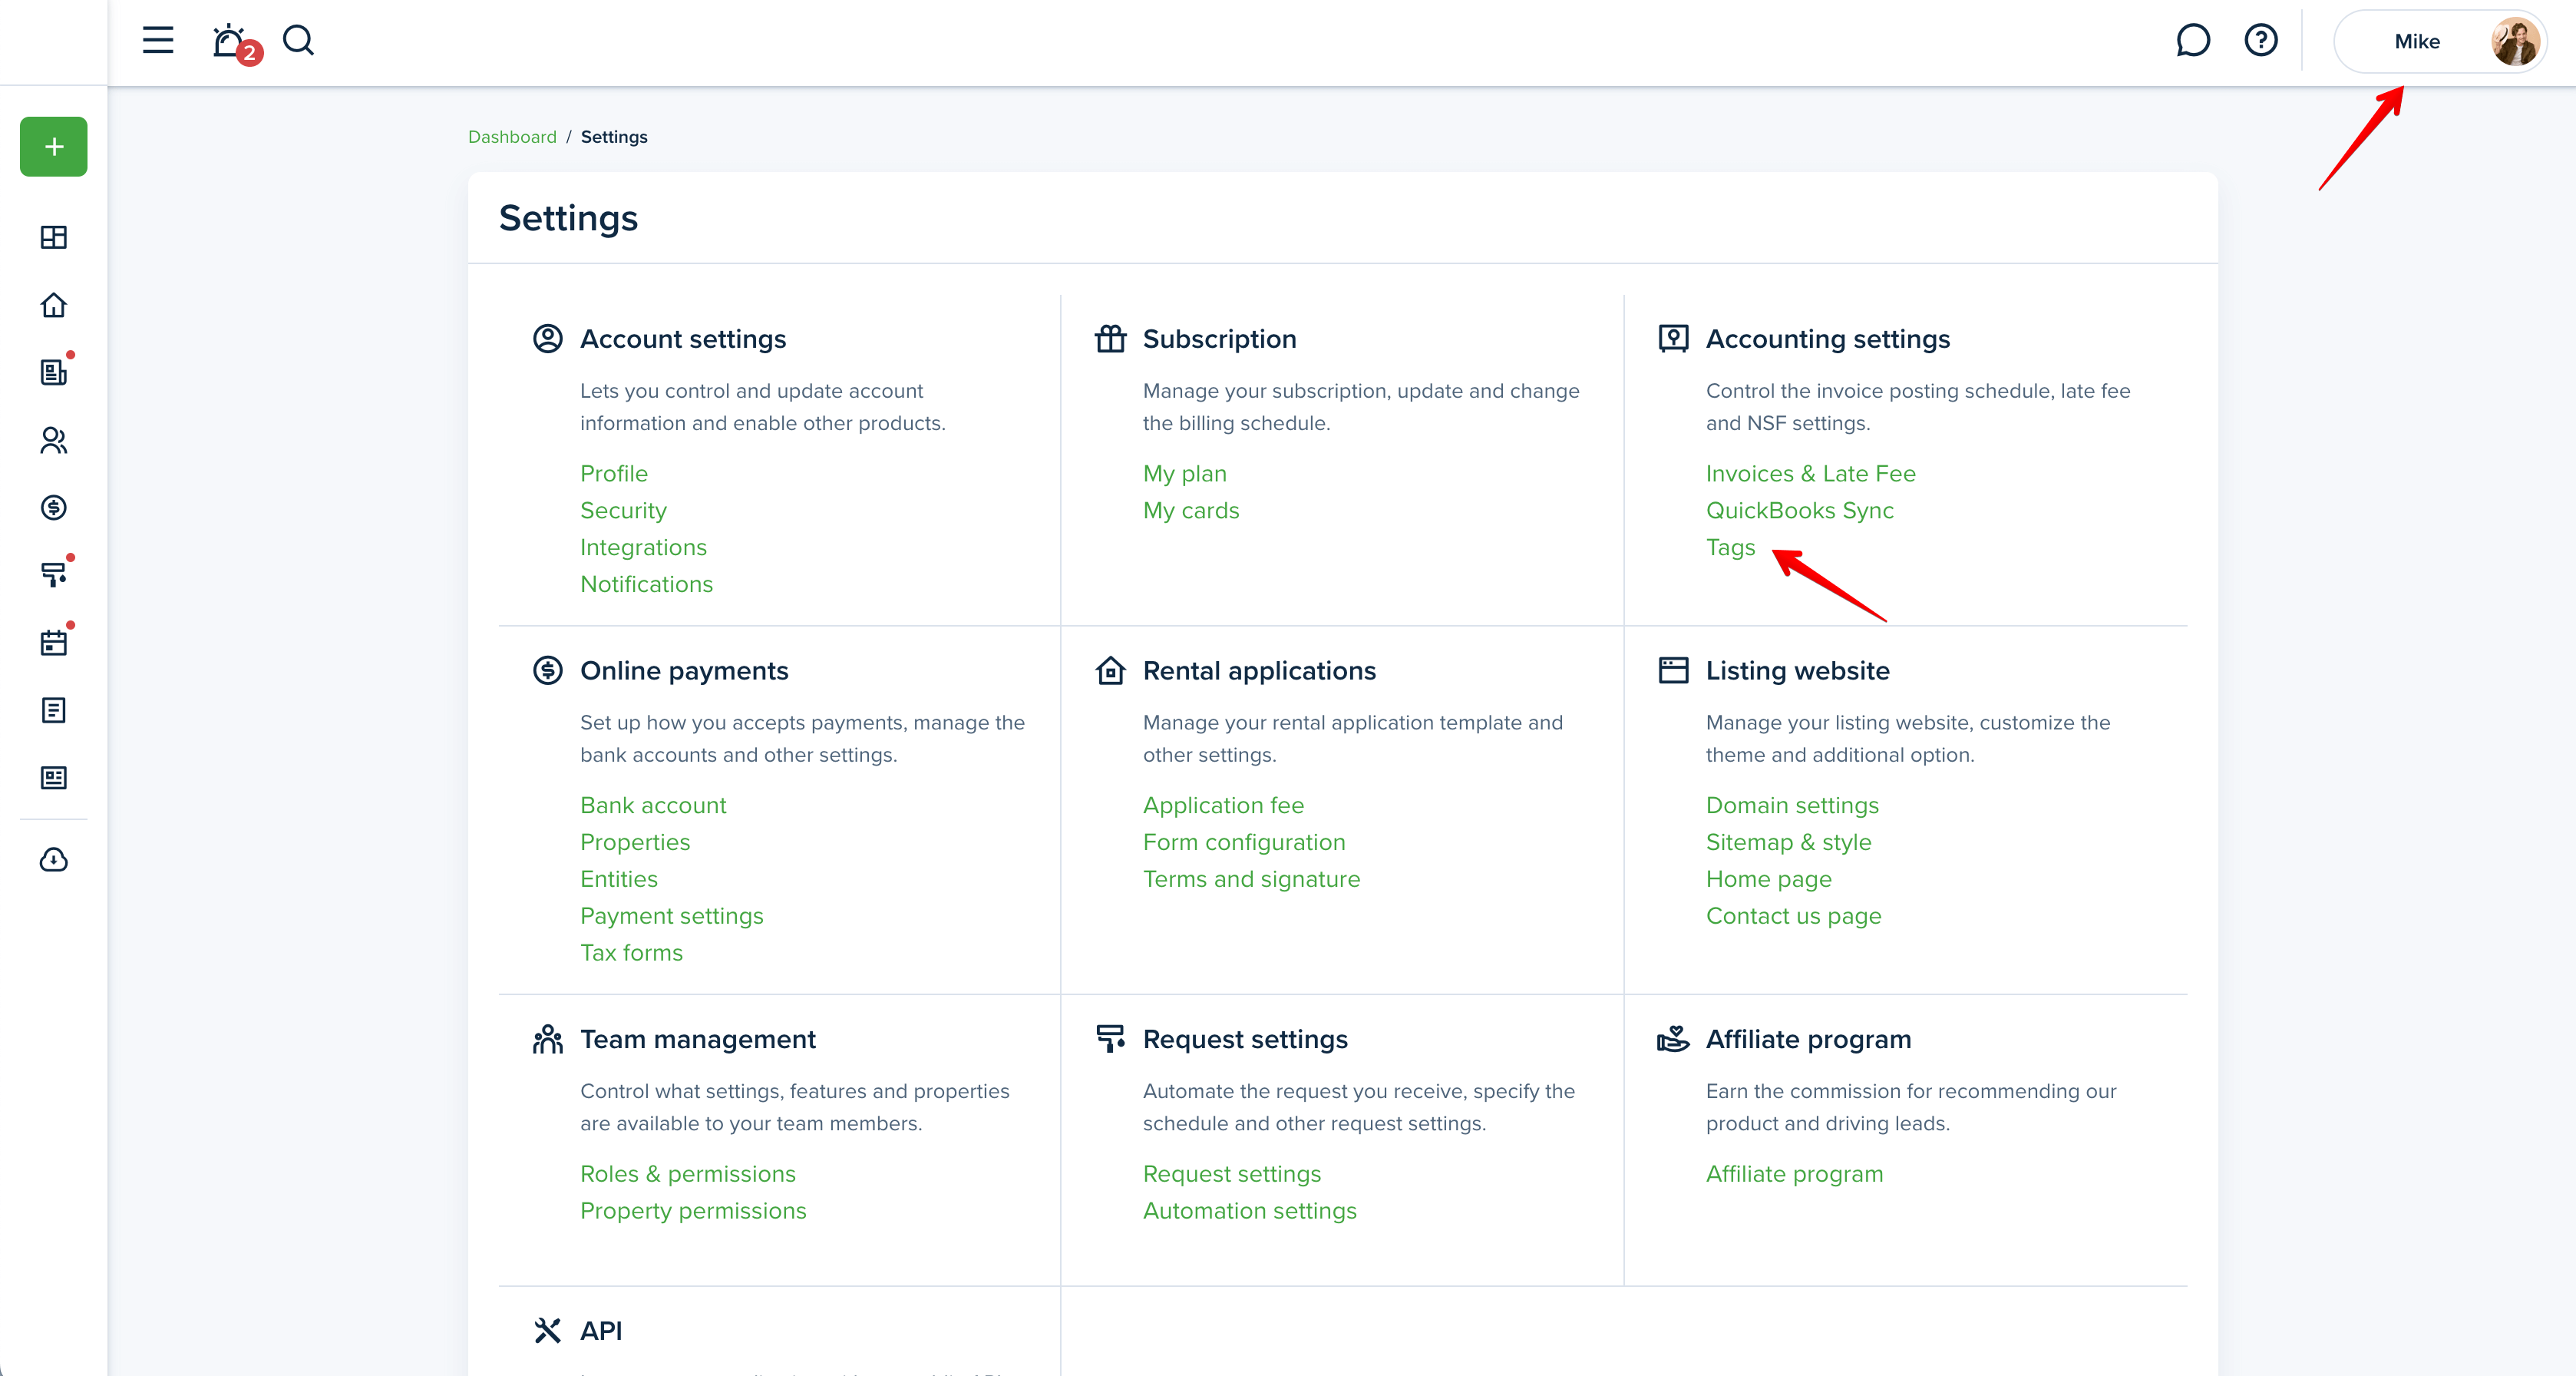
Navigate to Settings and clicking the Tags page under Accounting settings to find transaction tags.
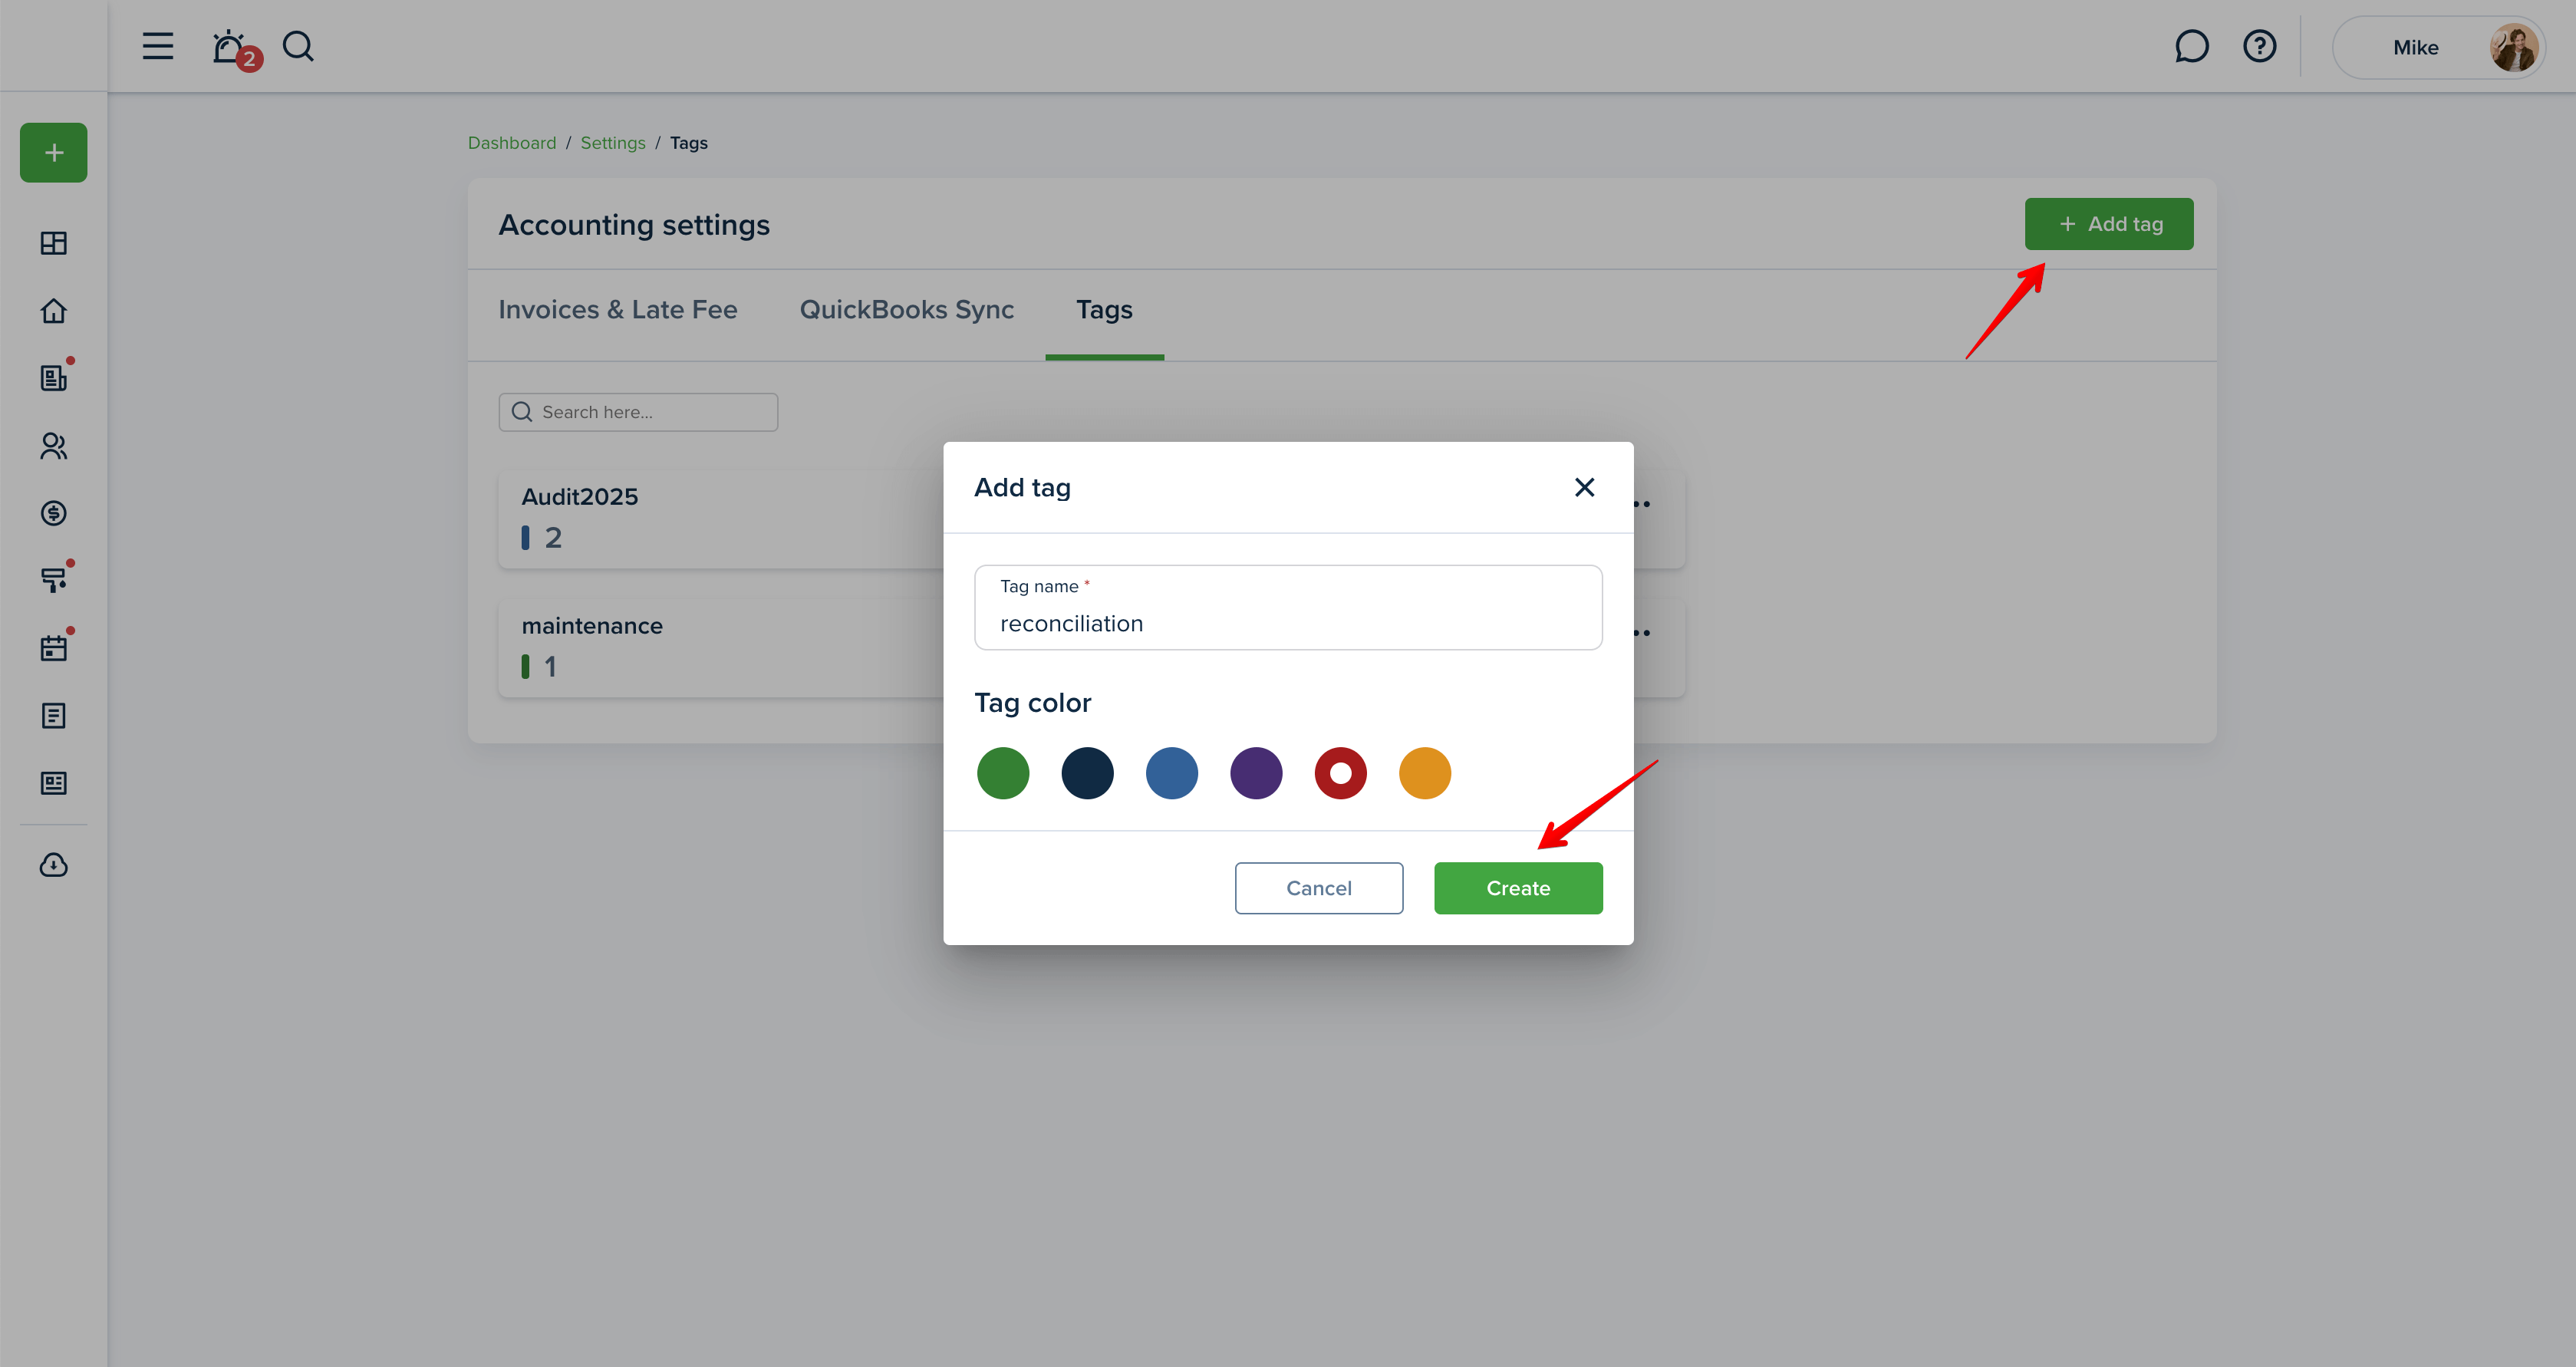
Here, you can create and color-code multiple tags to organize your accounting. To do this, click the + Add tag button.
You can edit or delete tags by opening the three-dot menu next to each tag.
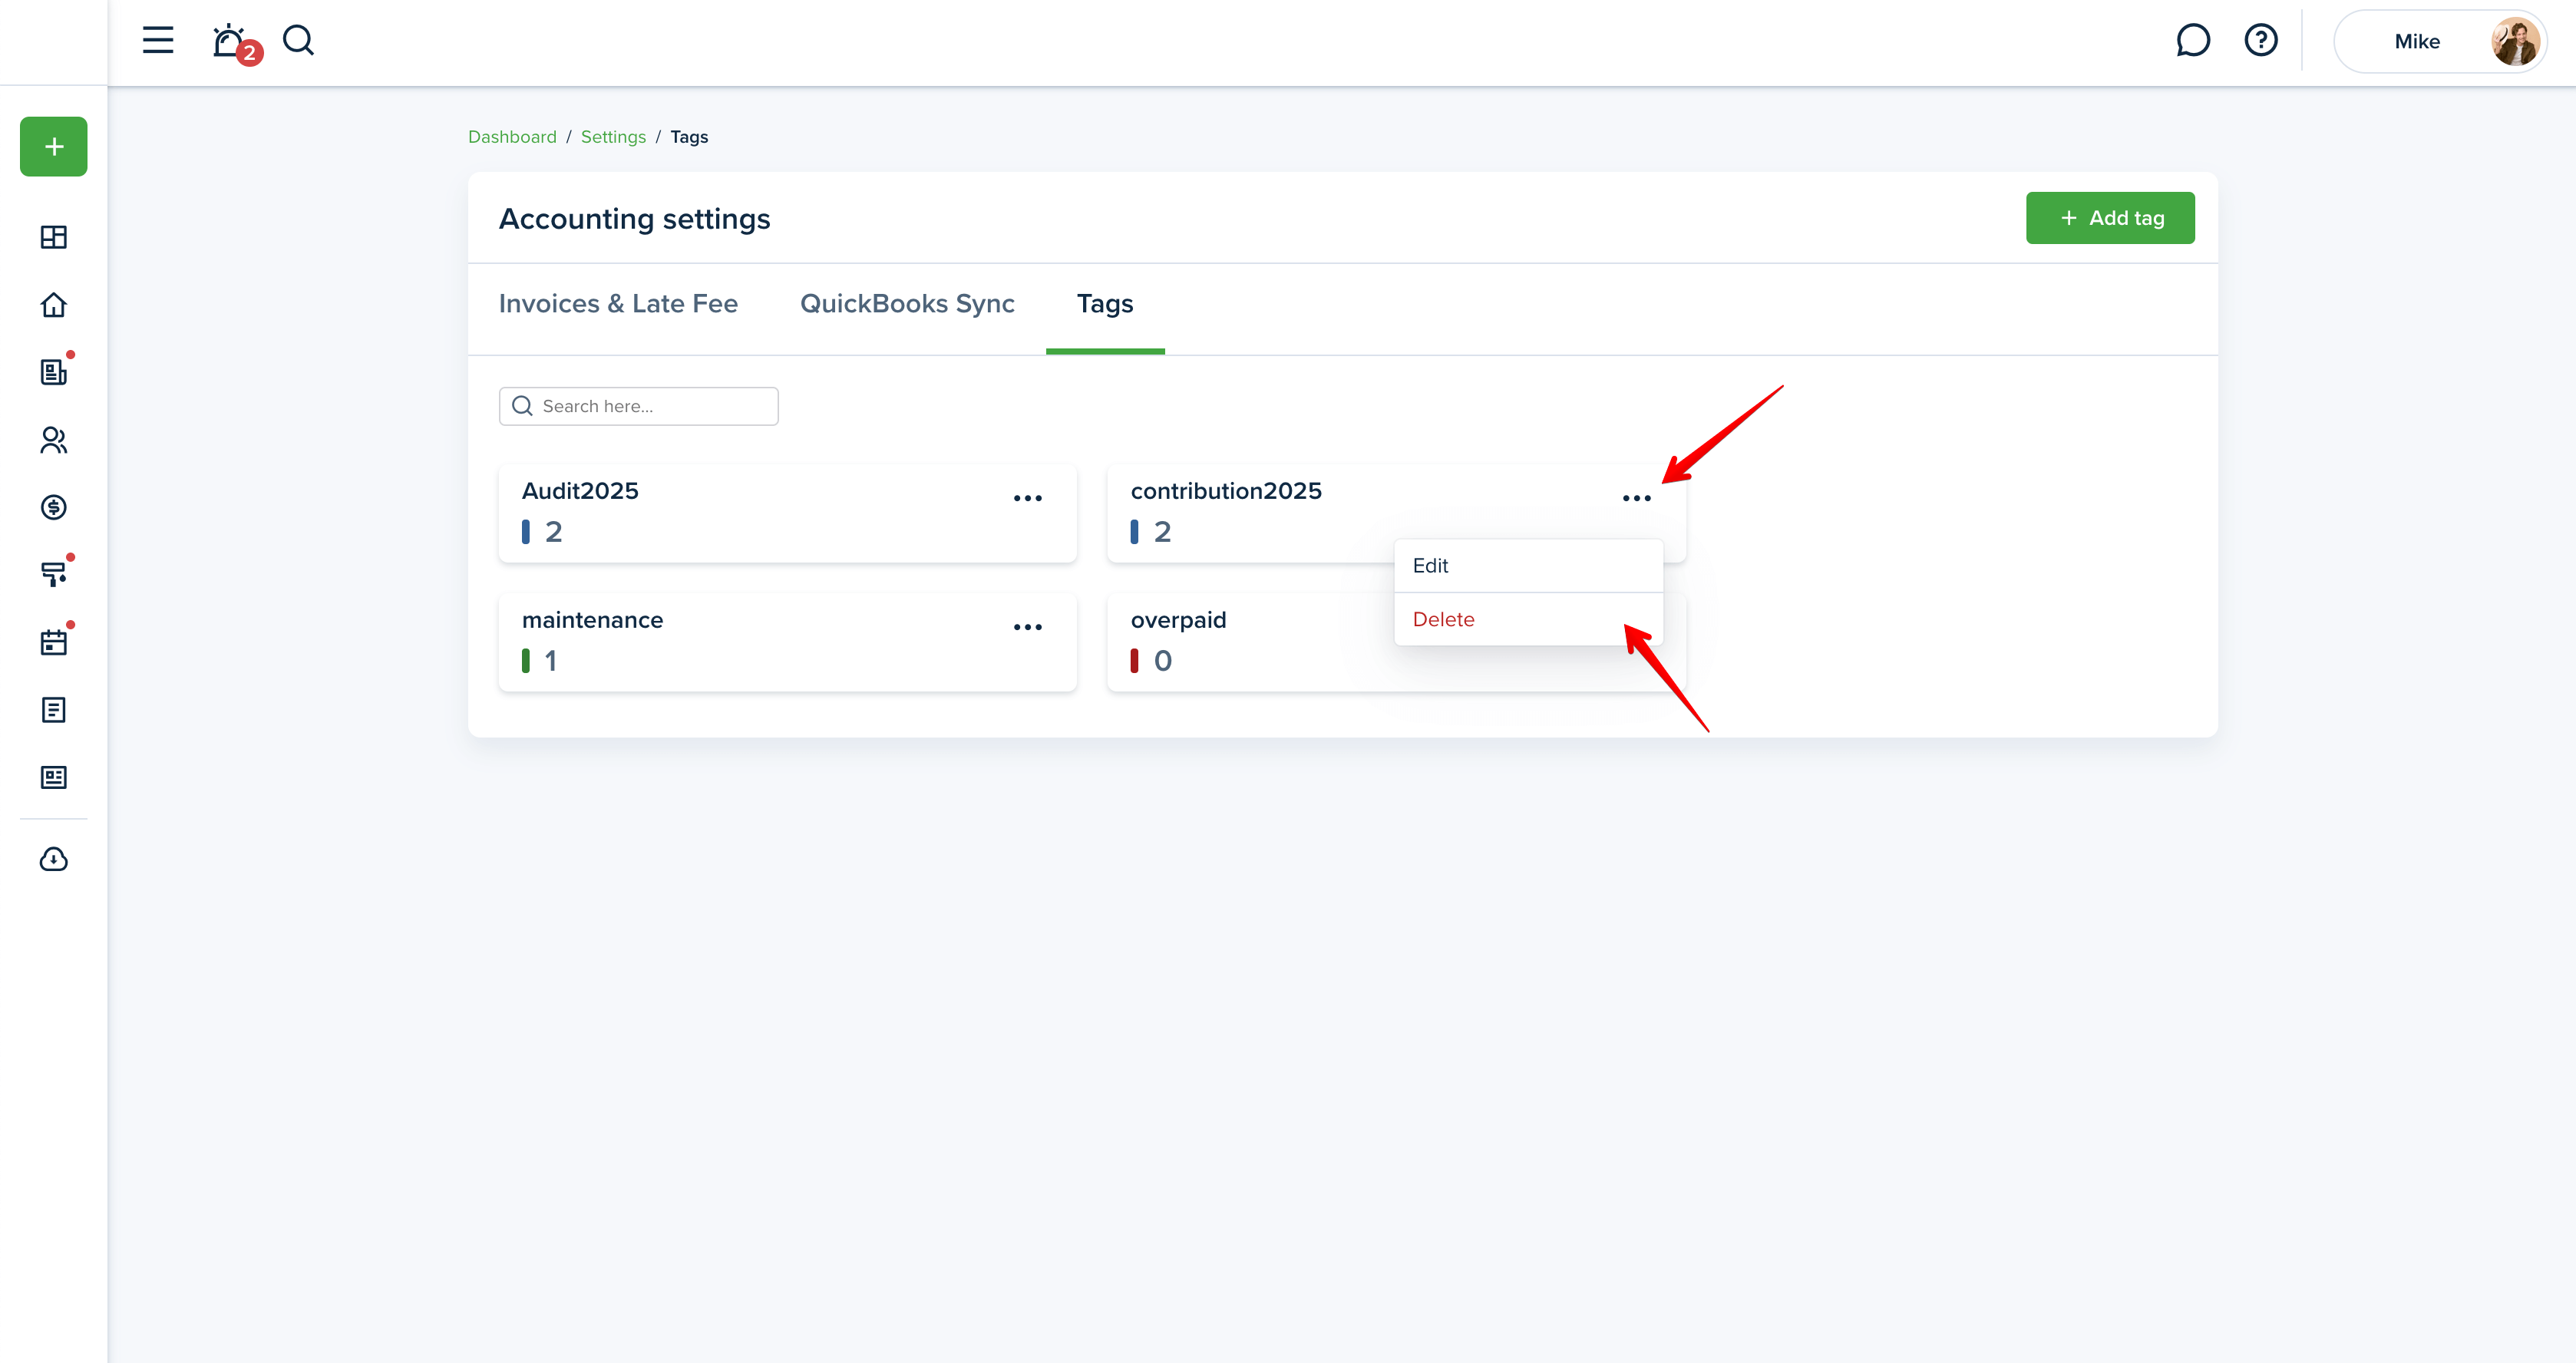
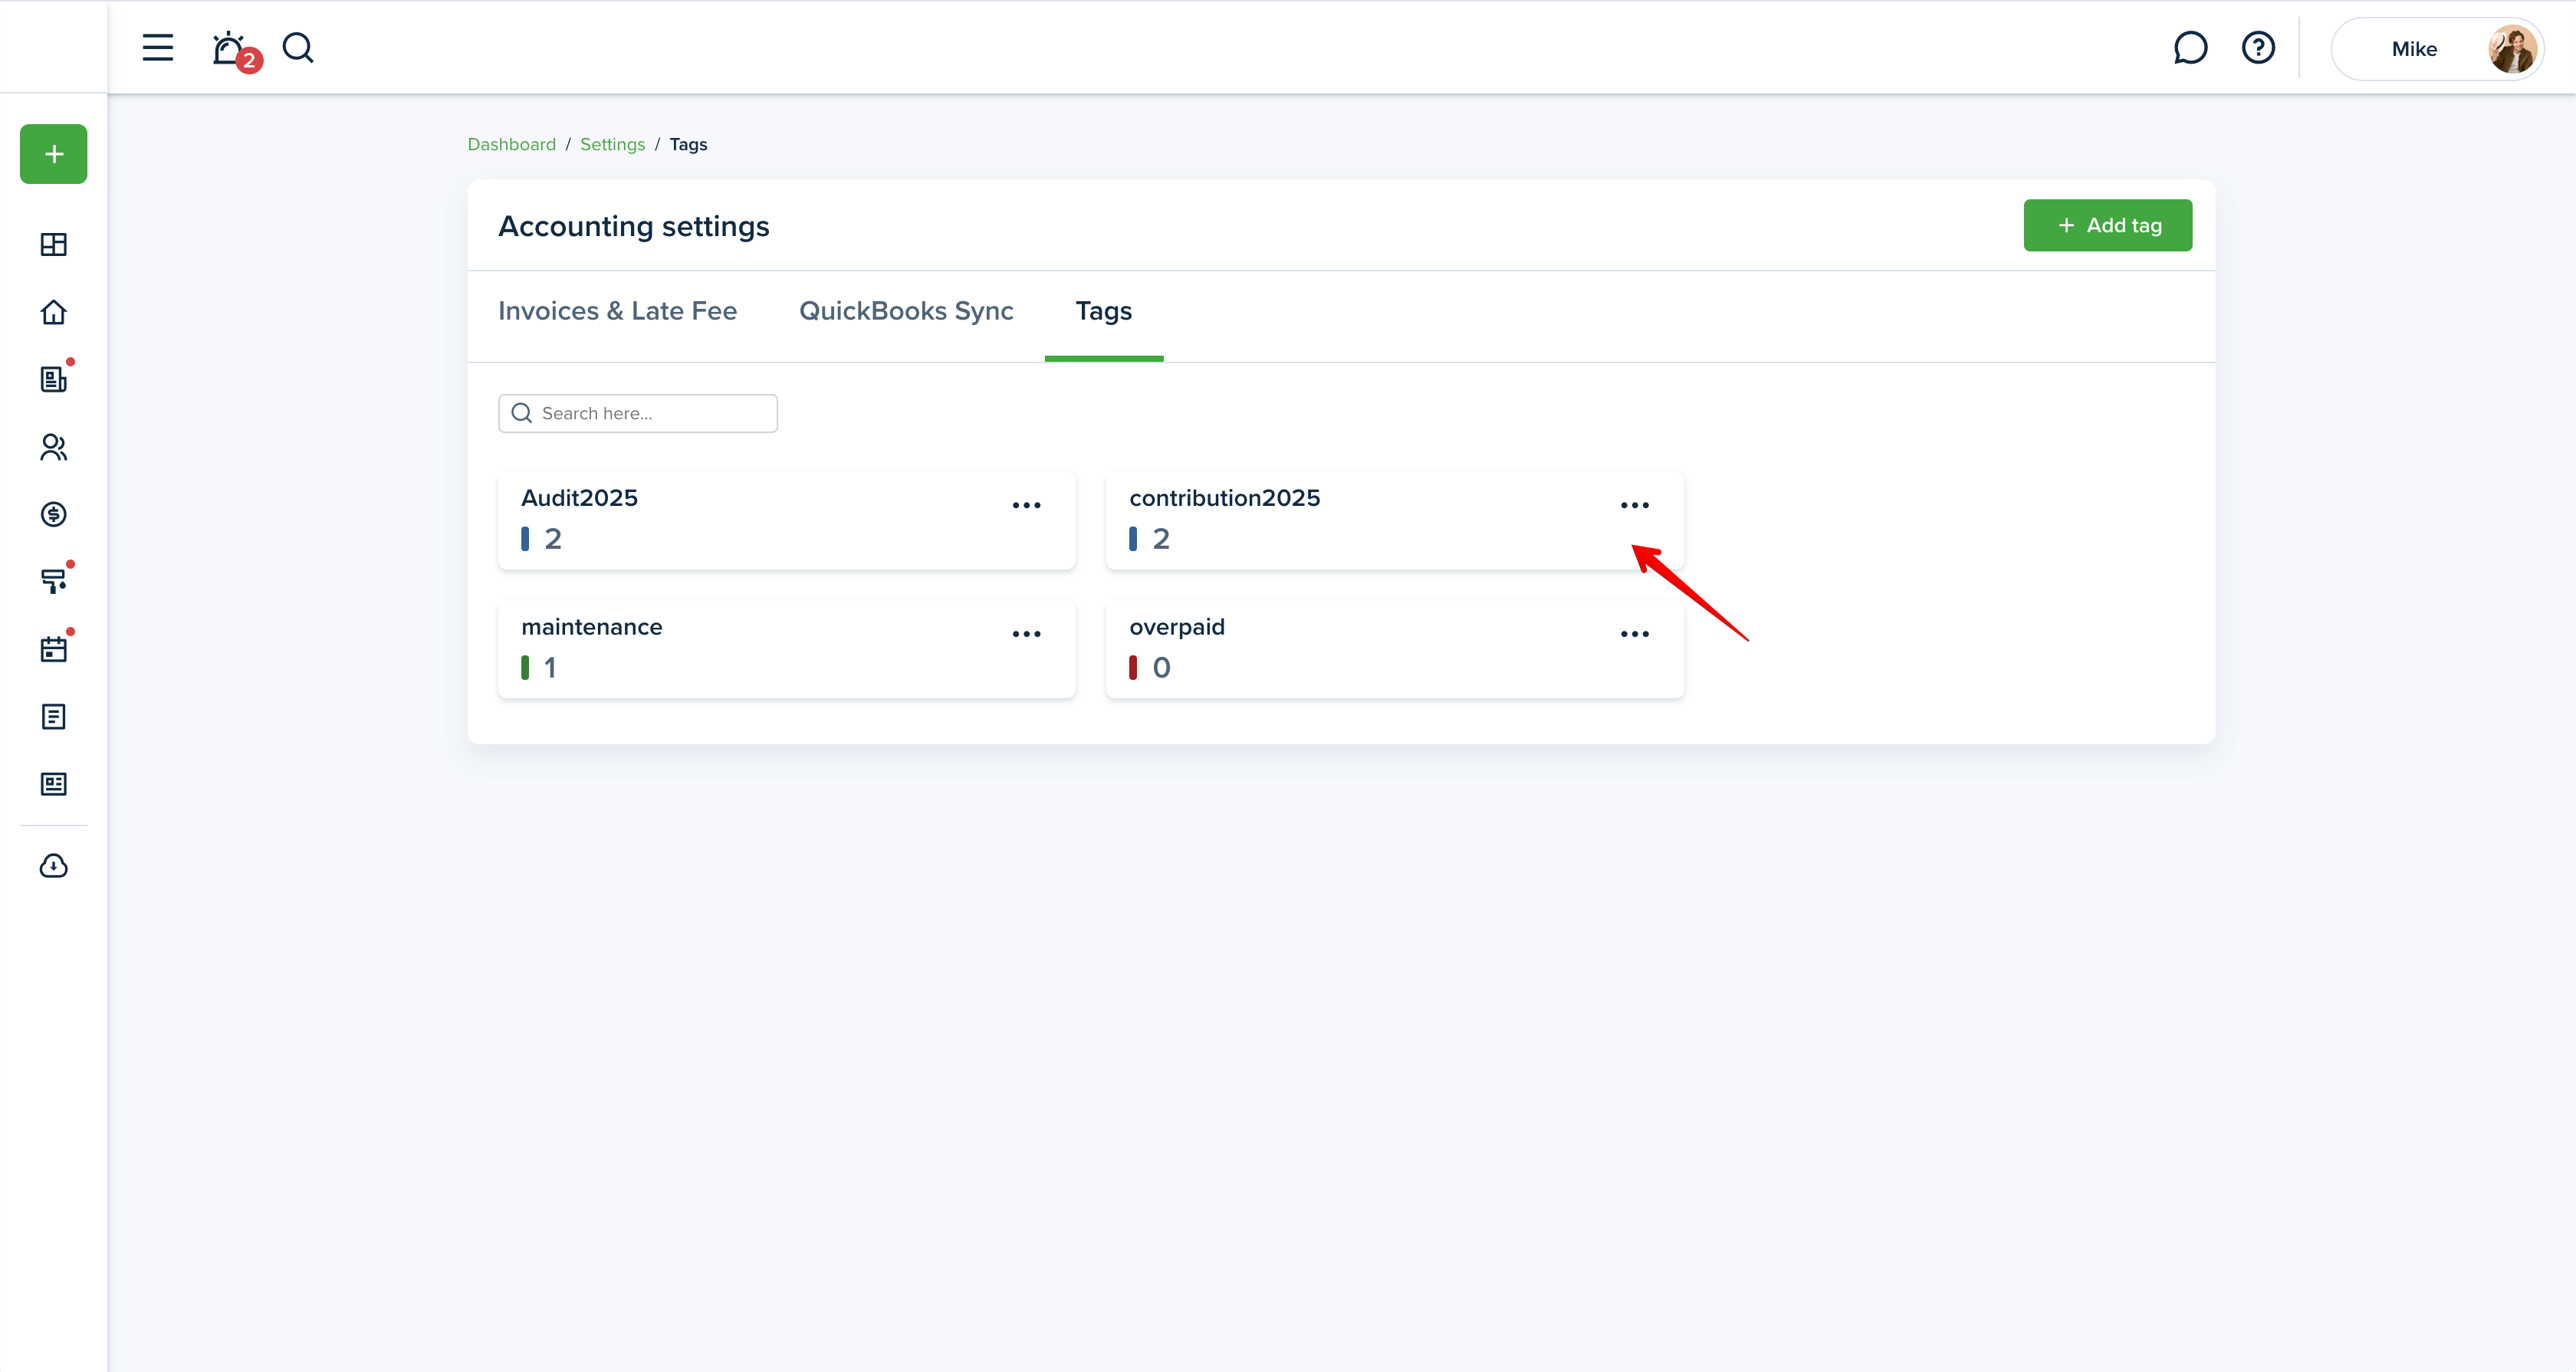
Each tag shows the number of invoices and recurring ones it’s been applied to. By clicking on a tag tile, you’ll be redirected to the Transactions page displaying all invoices that include that tag.
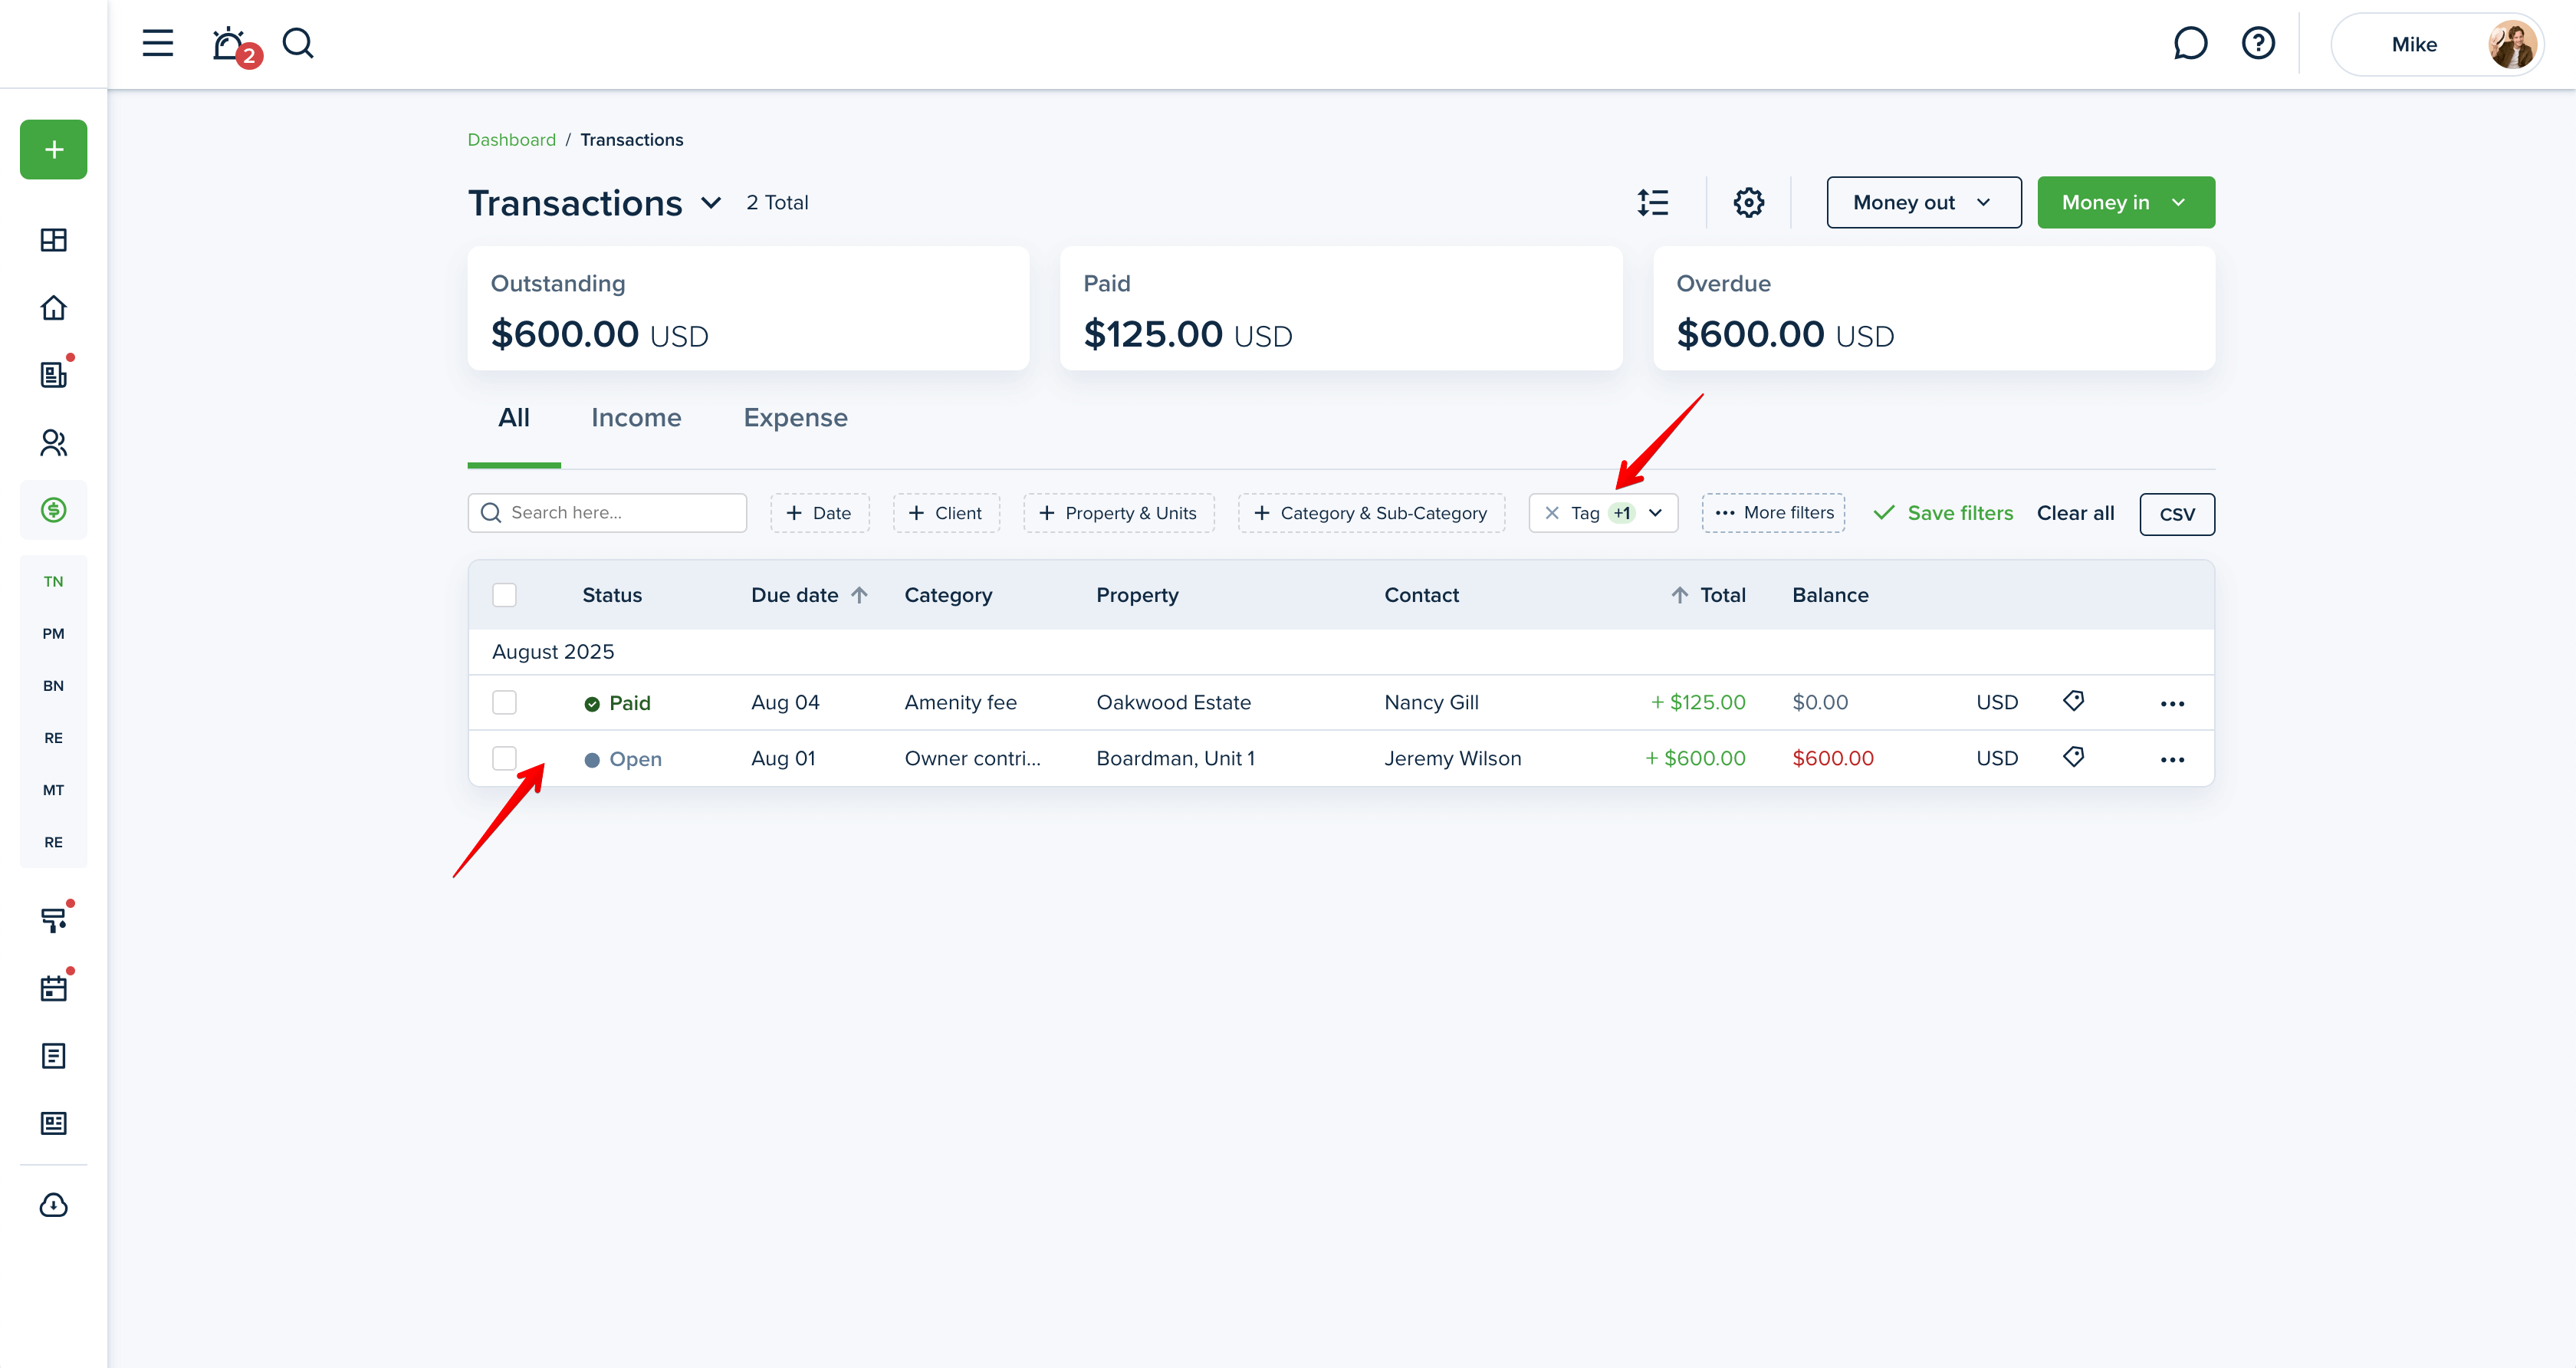
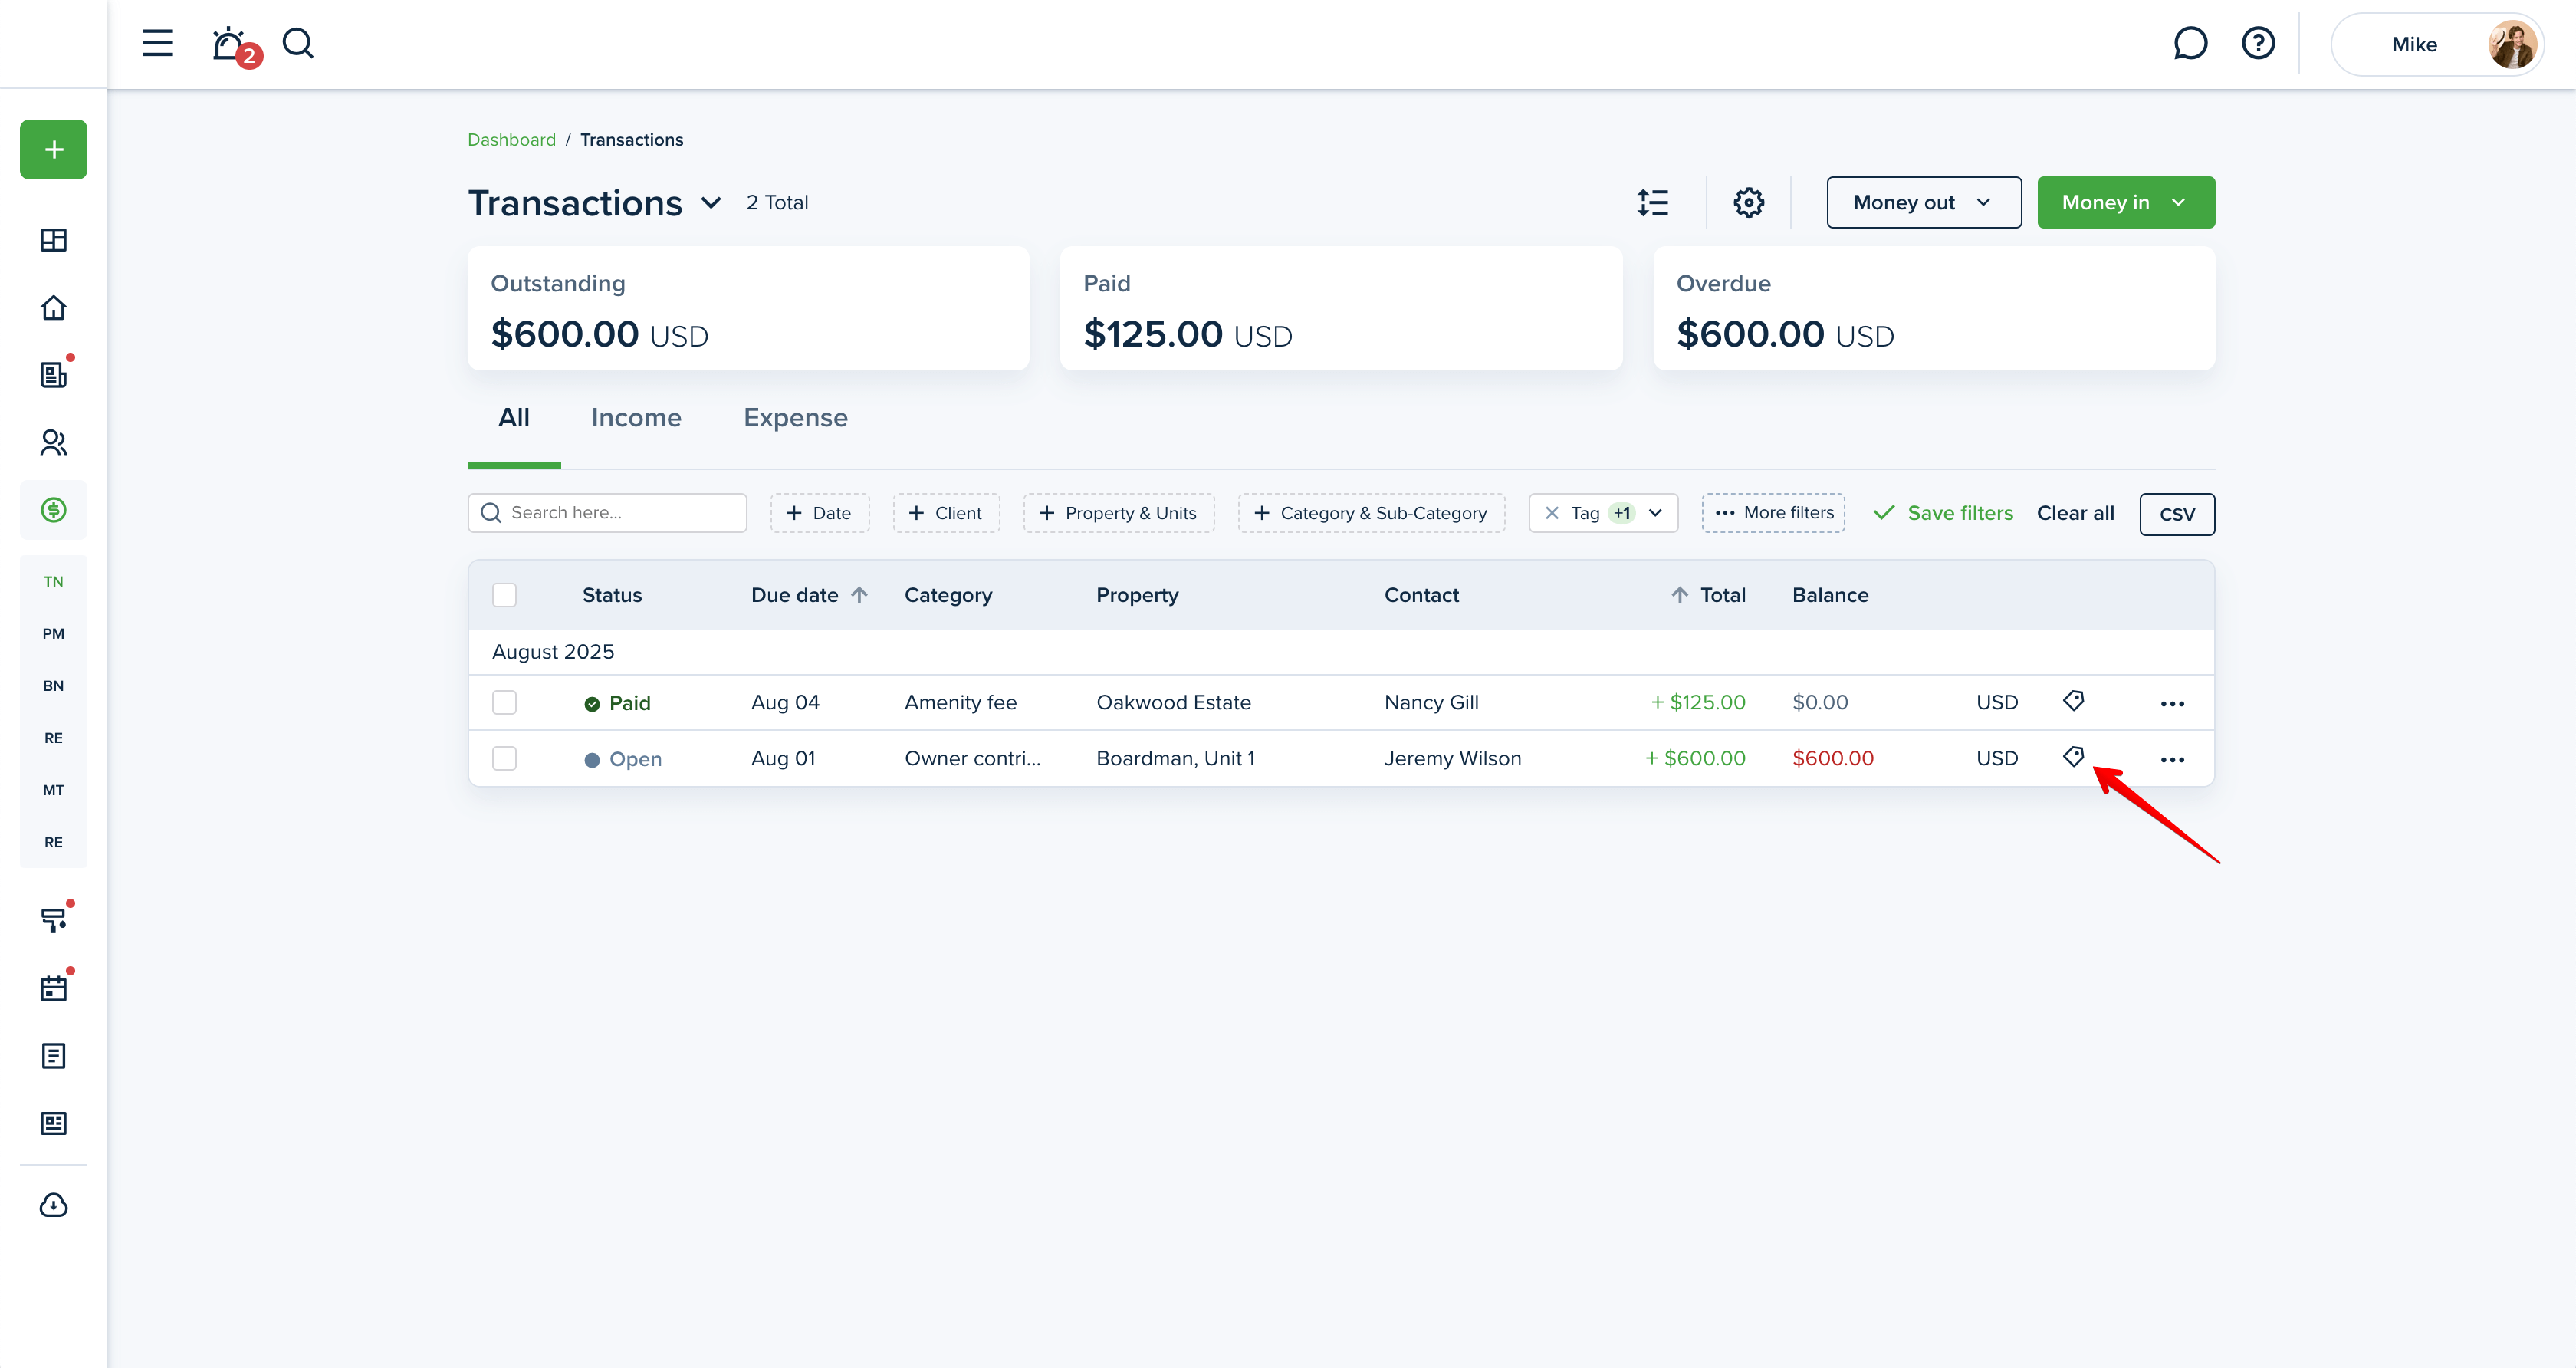
If at least one tag is added to an invoice, a tag icon will appear on the invoice line in the Transactions page.
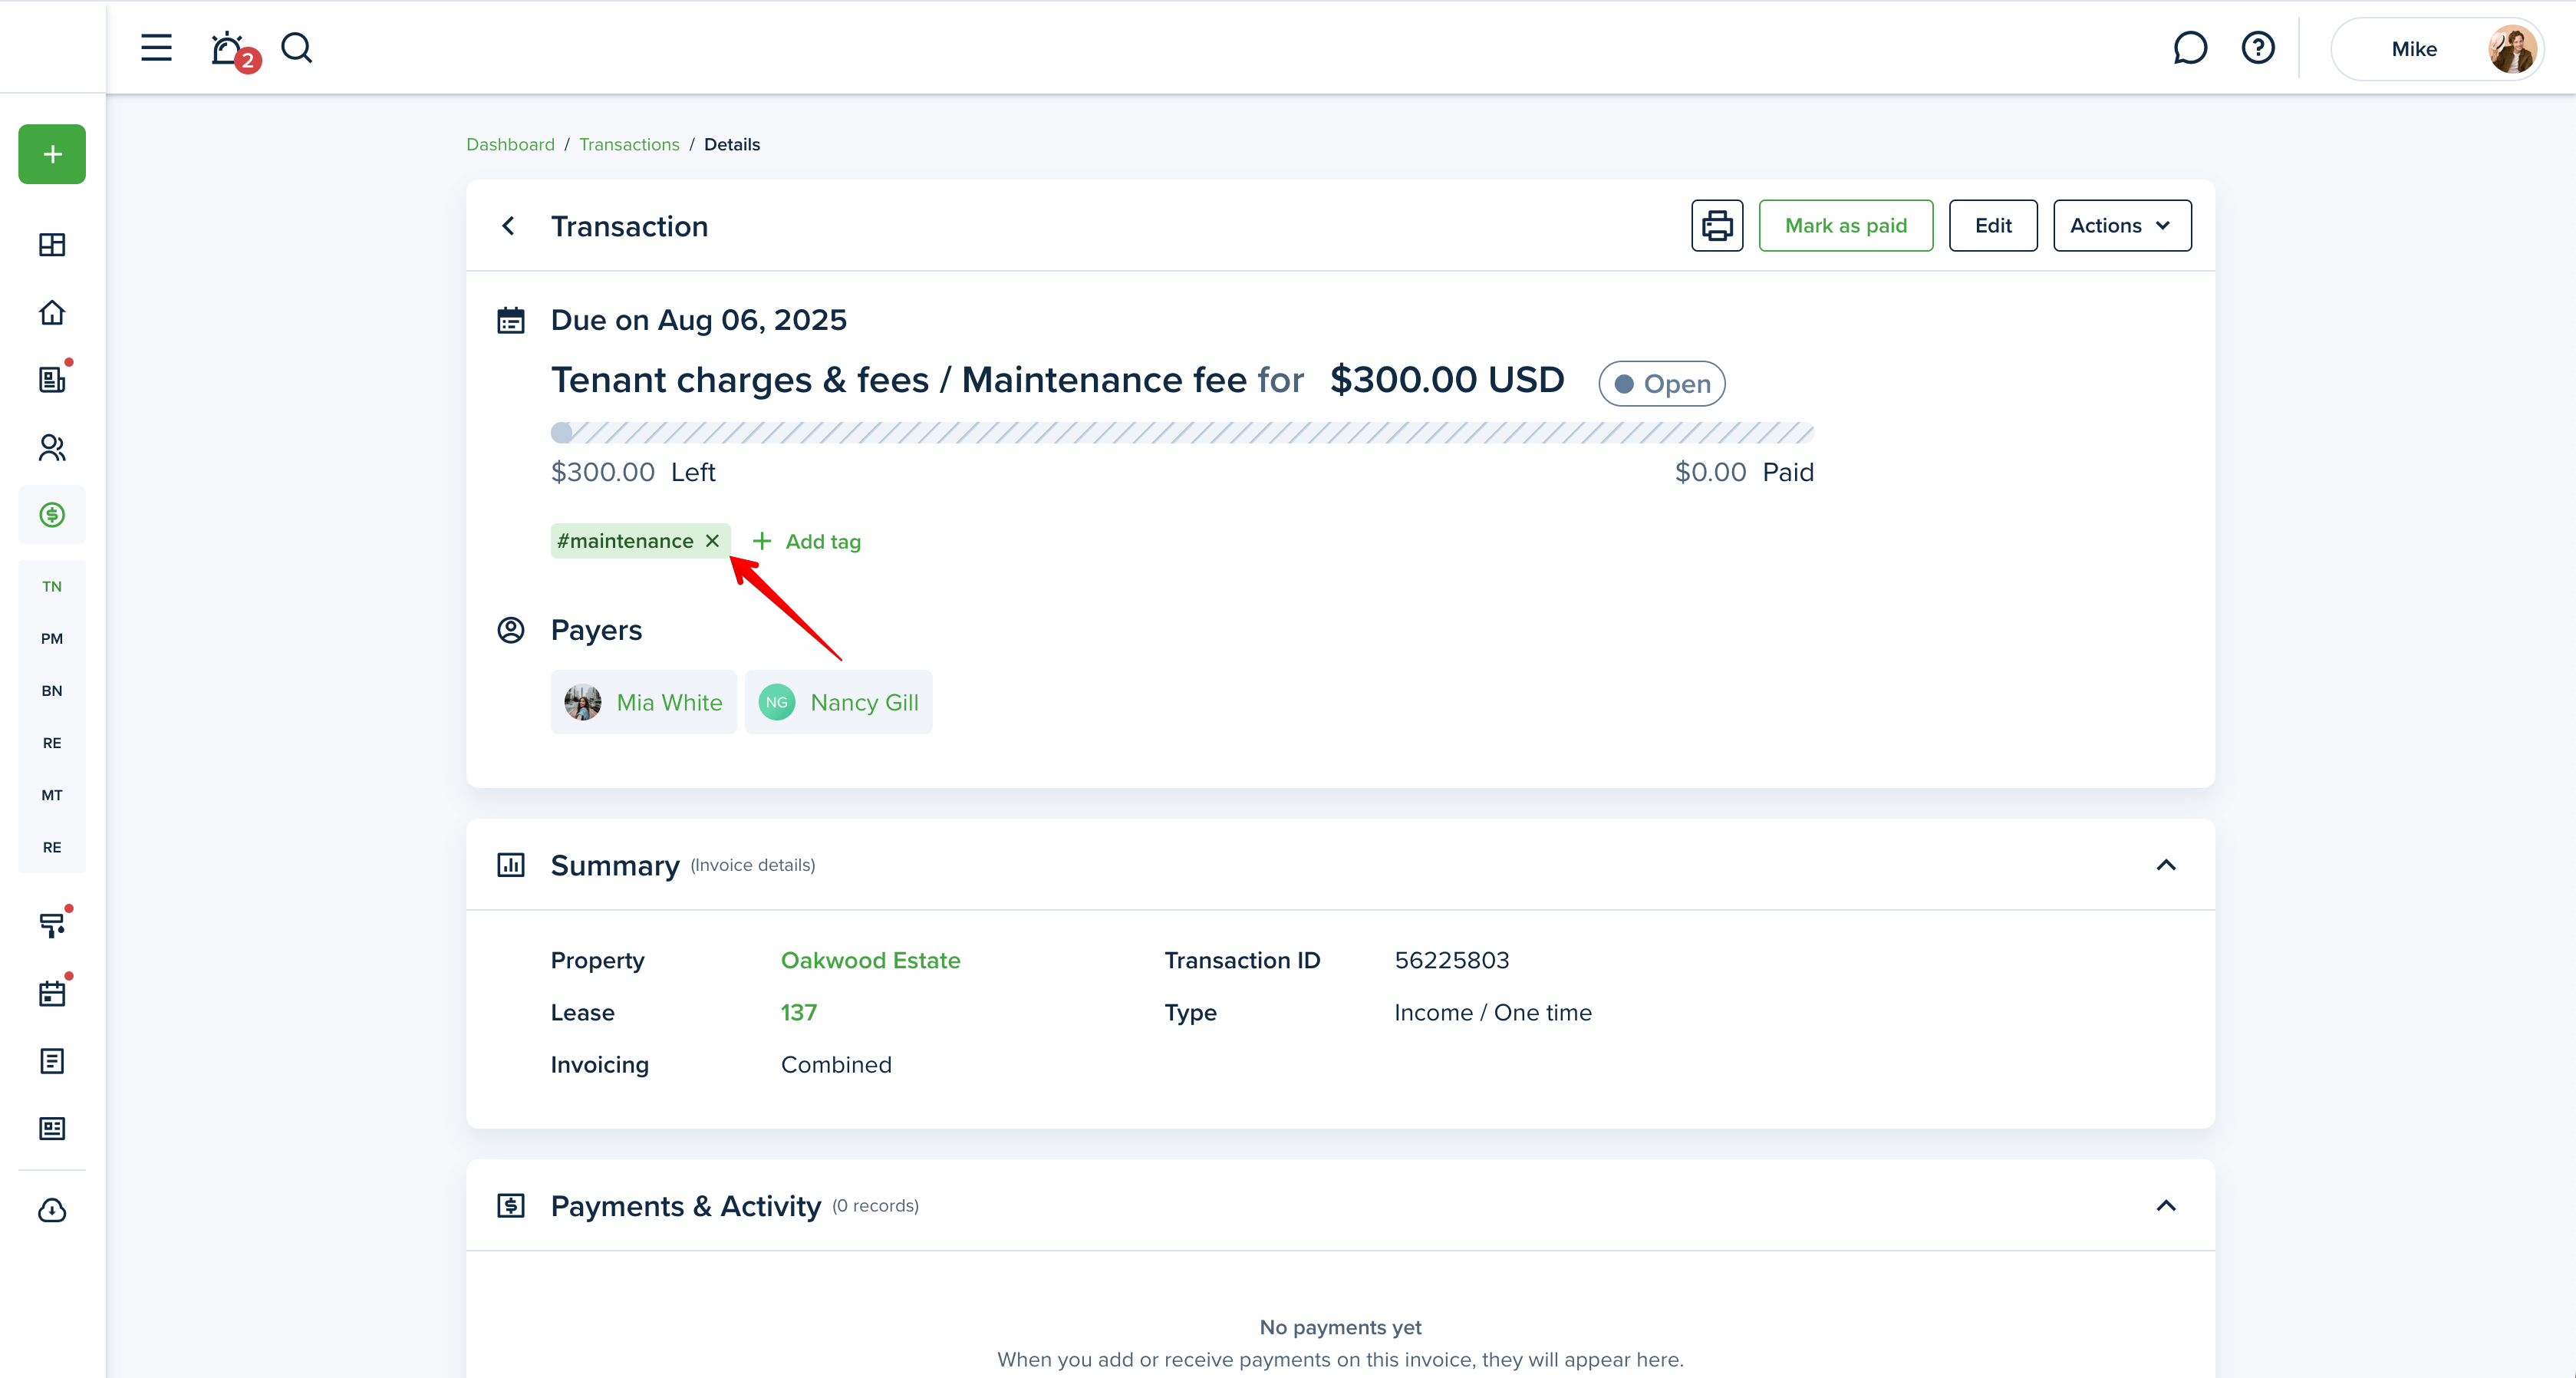
You can add a tag during invoice creation by filling in the Tag field. Alternatively, you can attach a tag to an existing invoice by editing it or using the + Add tag button on its details.
Please note!
You can add up to 5 tags to any invoice during the creation or editing process.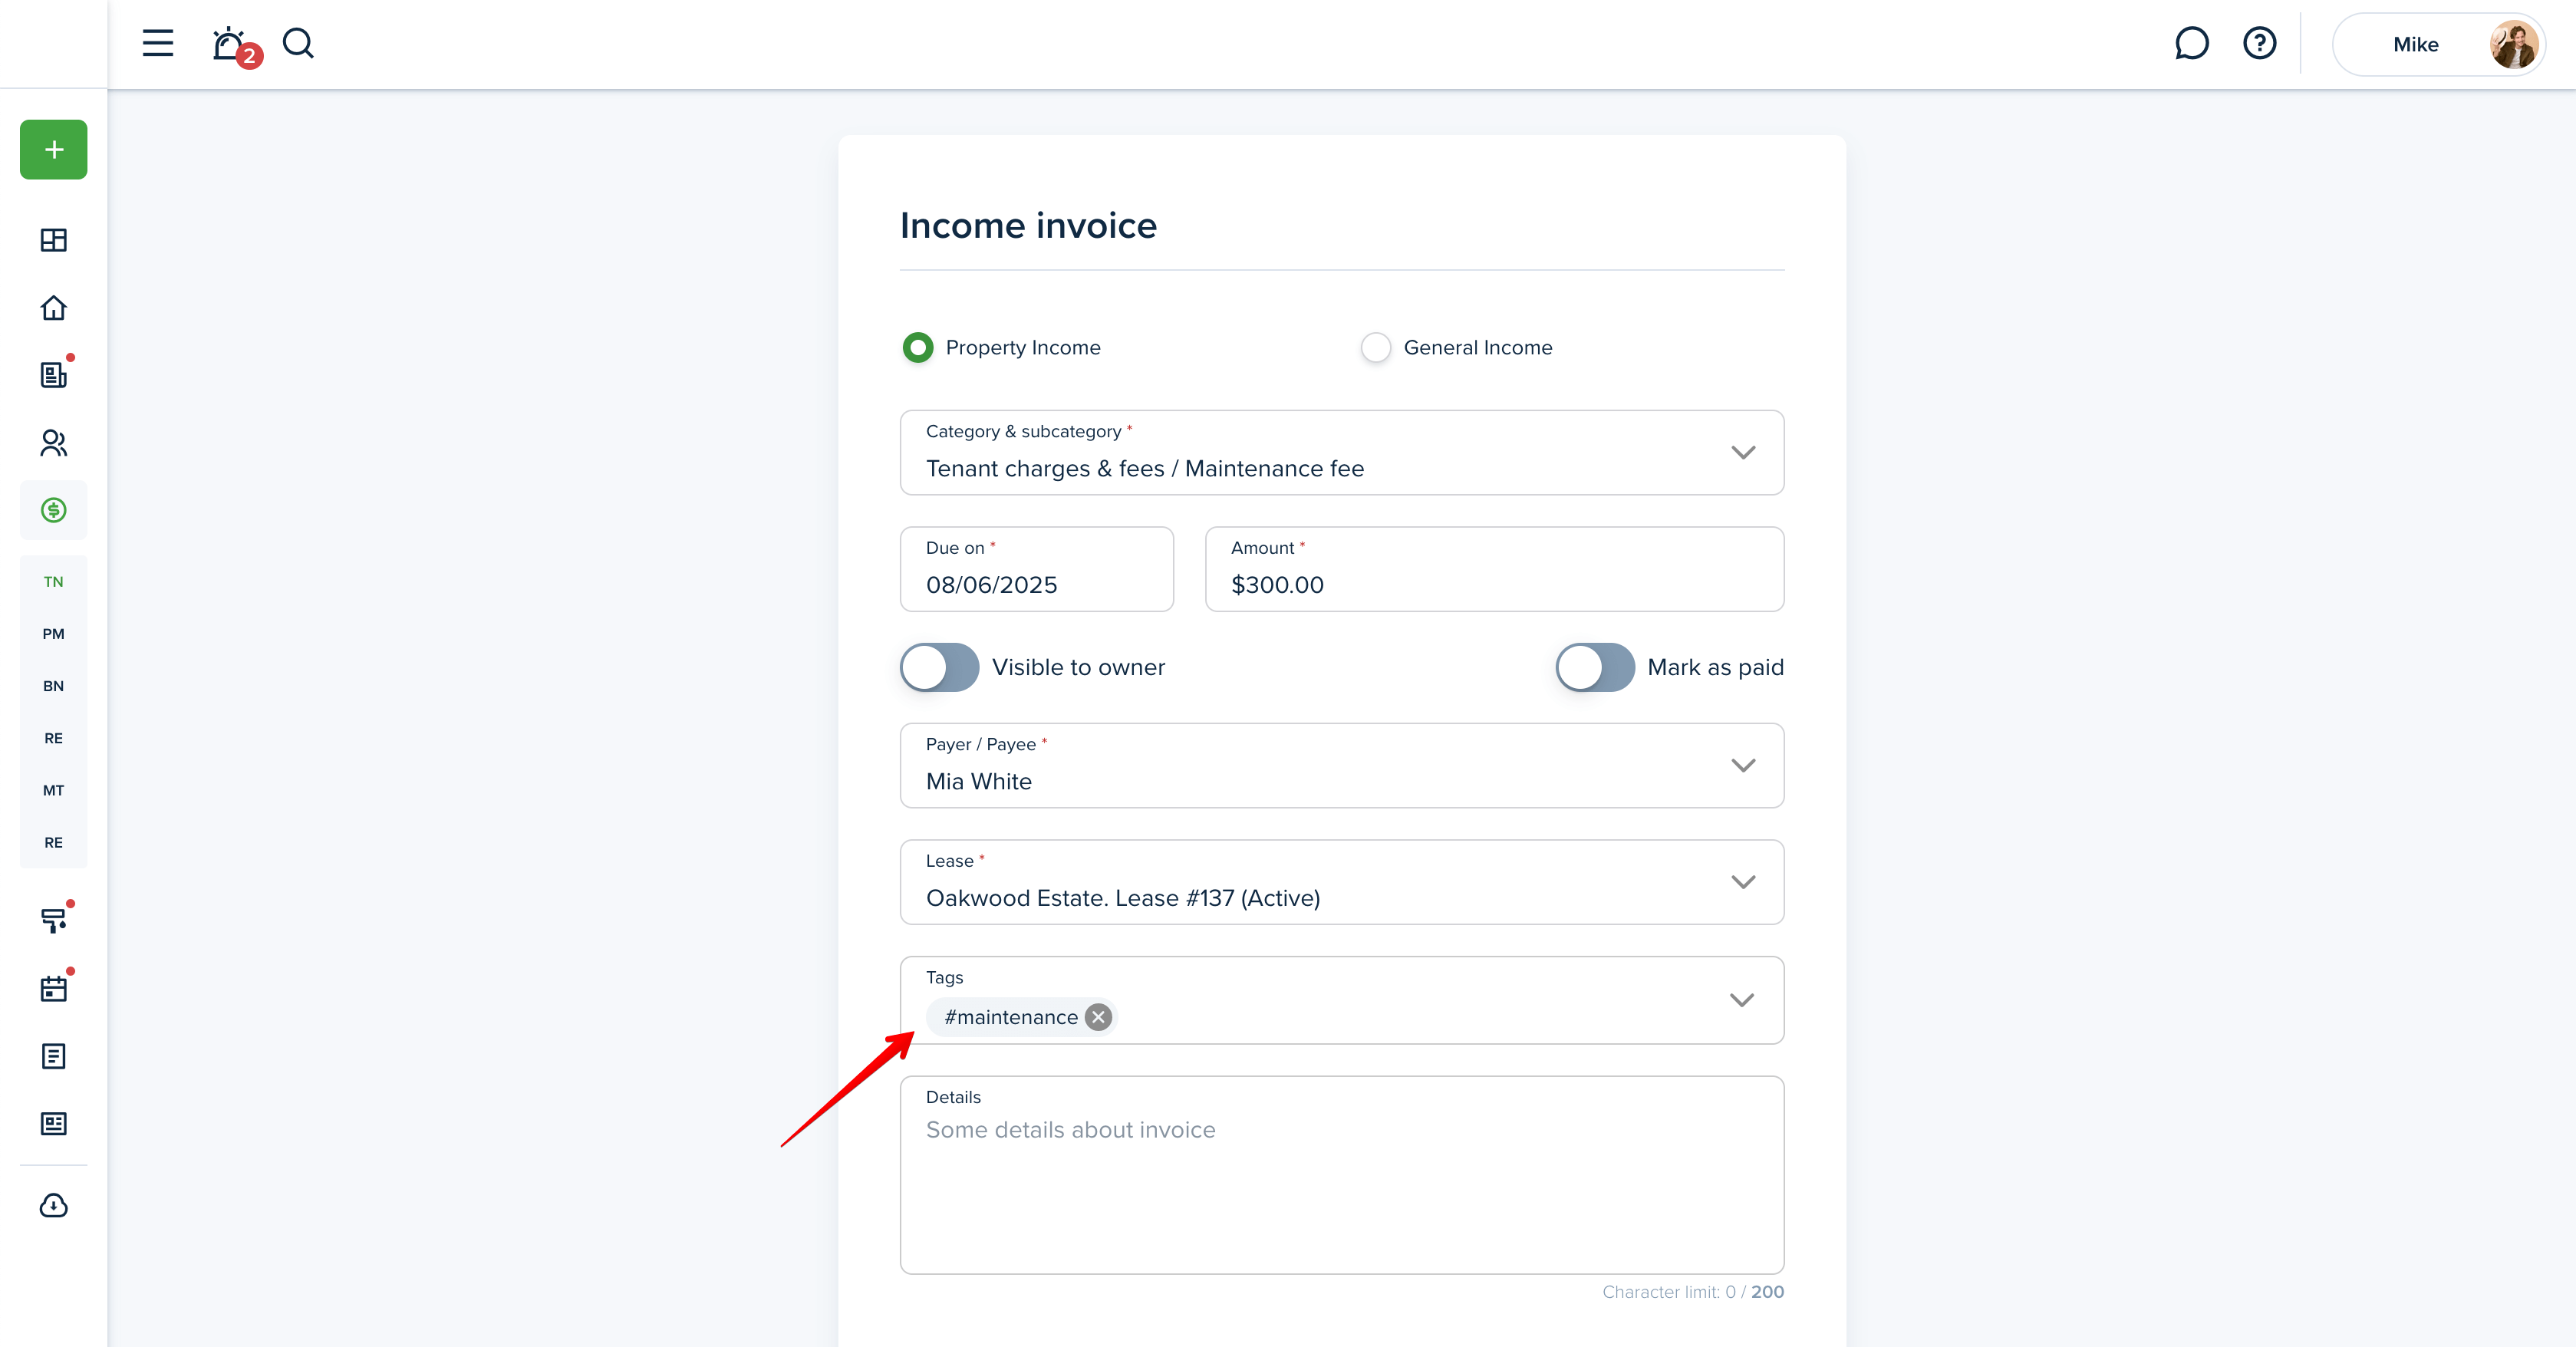

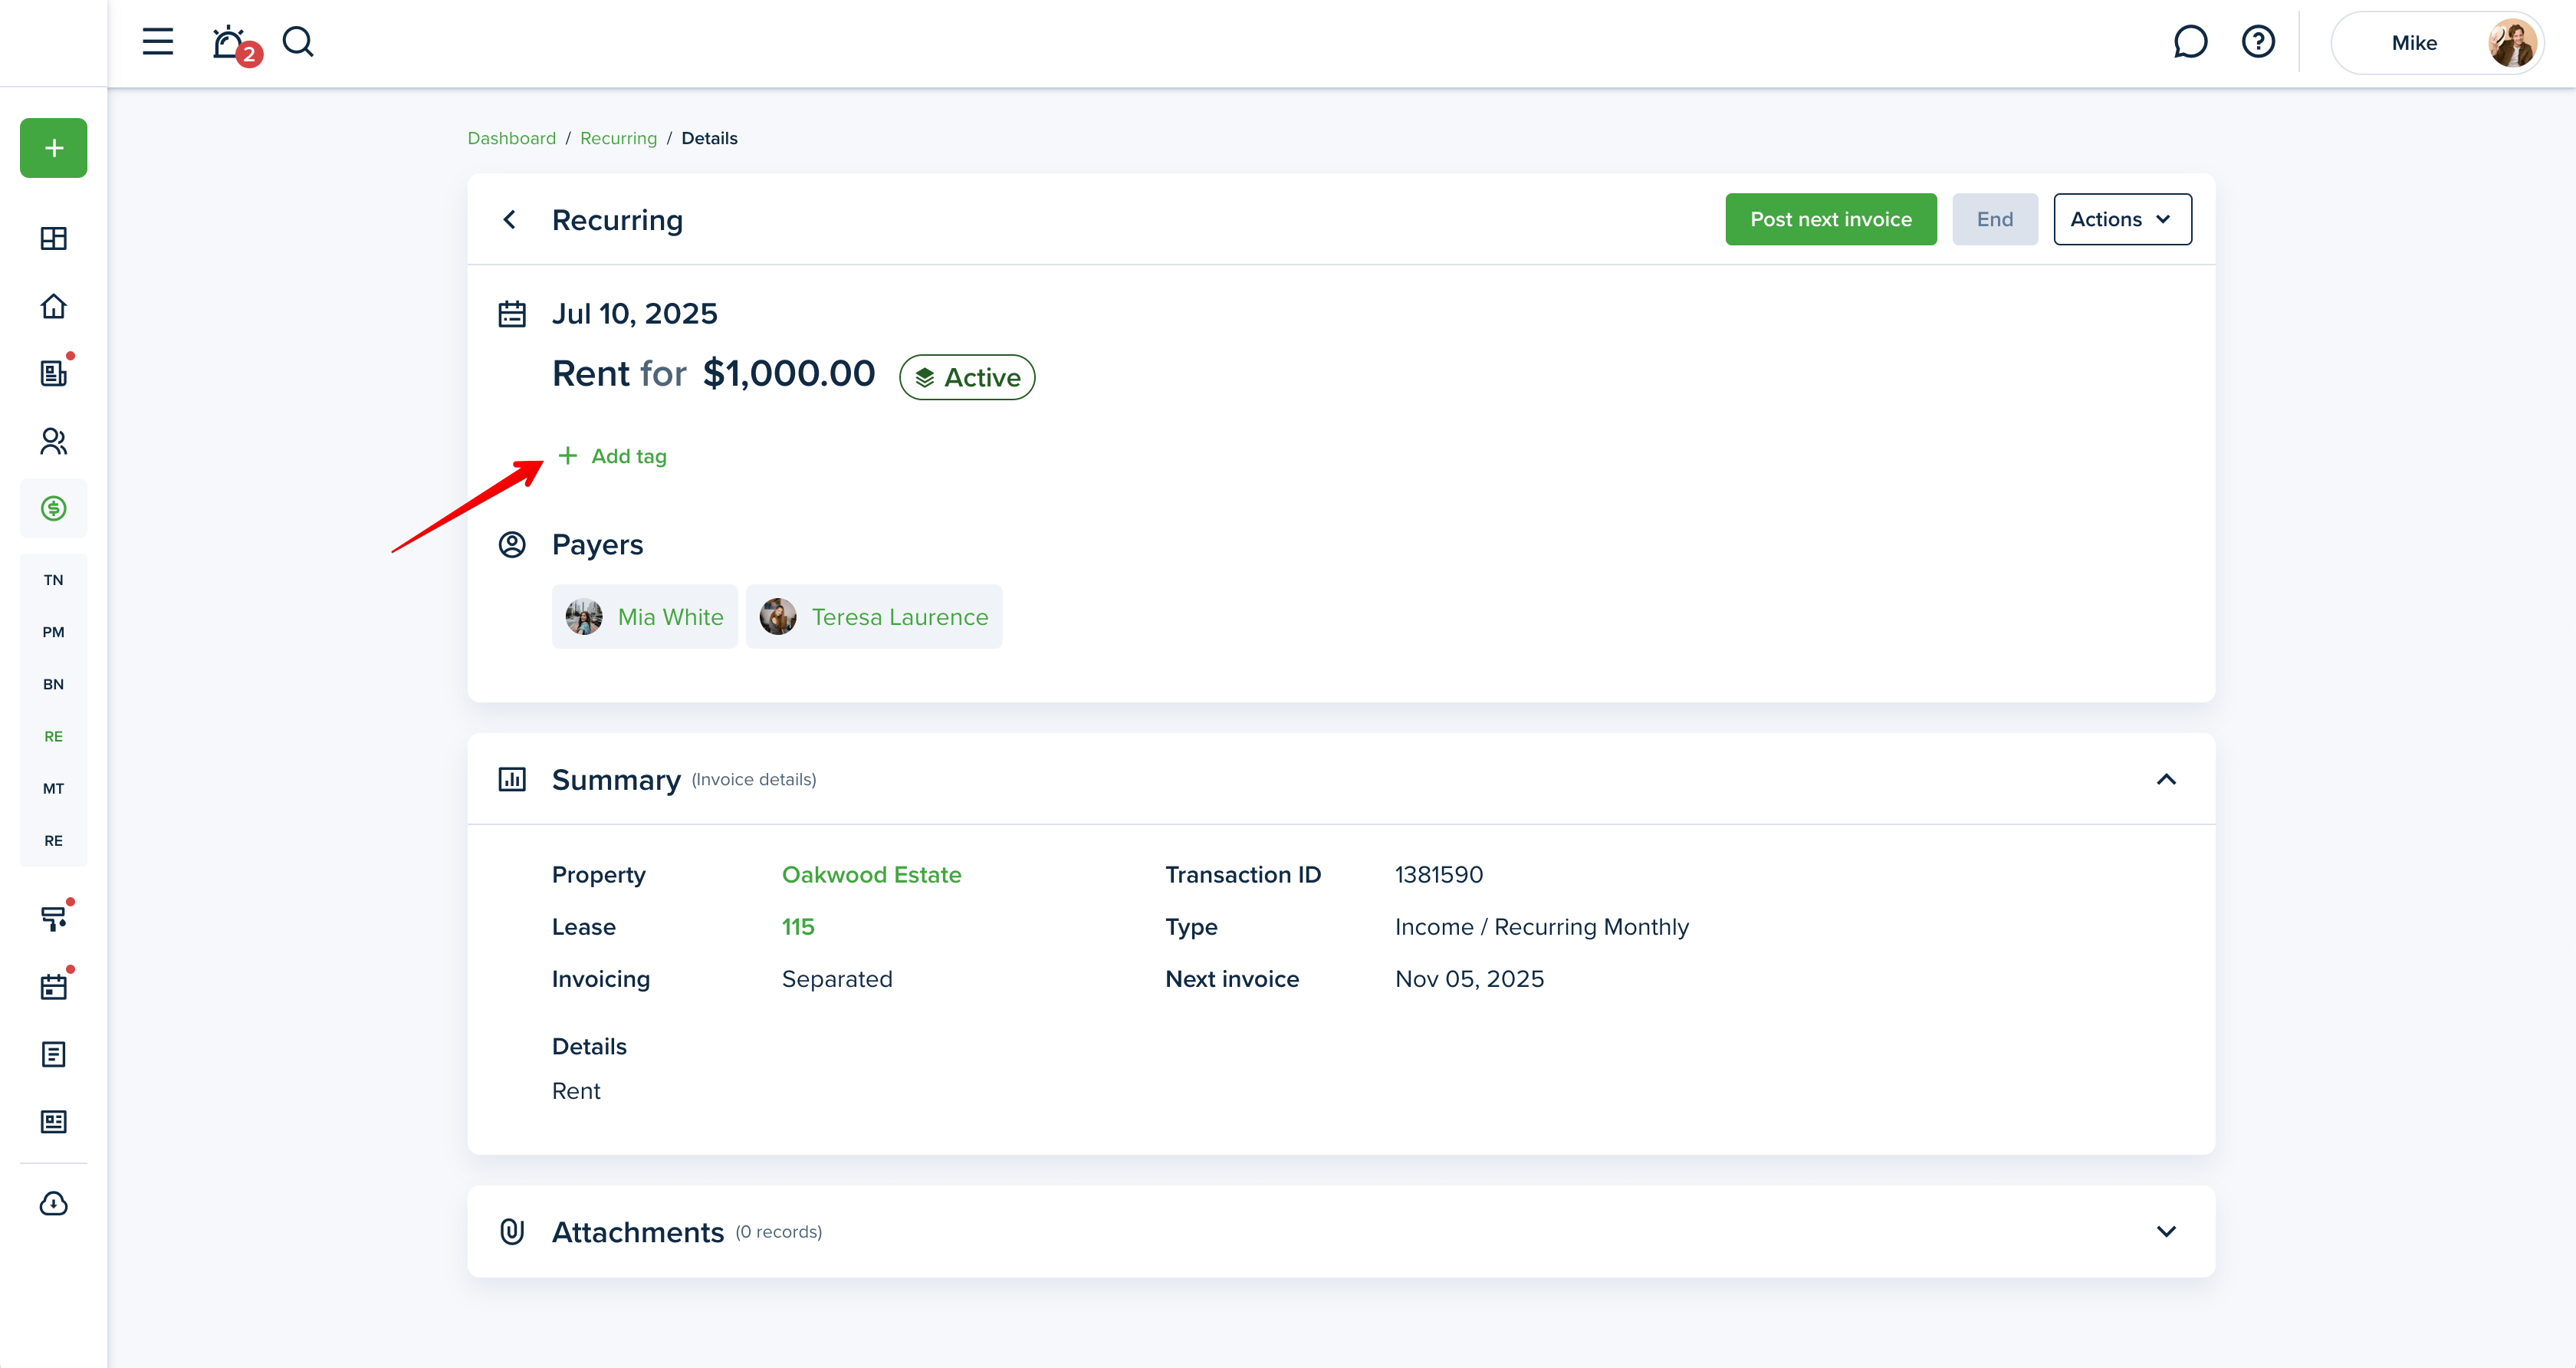
You can also add transaction tags to recurring invoices, so all generated invoices will automatically include the selected tag.
Please note!
If a tag is added or removed from an existing recurring invoice, the change will only apply to future transactions.
To remove a tag from the invoice, click on the cross near the tag.
Each plan has a limit on how many tags you can create. Limits are as follows:
Starter - 30
Growth - 75
Pro - 150
Business - Unlimited
Last updated:
Aug. 6, 2025